Sponsored Post[?]
Silver Halide (Prints) Using Analog Efex pro, Part 2
In part 1 of this article, we explored what a Silver Halide print is, how to prepare a file in Adobe Photoshop for Analog Efex Pro, and how to create a neutral B&W starting point in the filter. Now, it’s time to continue to explore Nik Collection‘s editing processes to make the most creative silver halide print!
Starting with a Neutral Image
In part 1 we created a neutral preset. Start by selecting that to load up a basic B&W conversion. This allows us to add effects, instead of takin them away. It also gives us an easy way to “reset” the image without having to go back and manually adjust a bunch of settings to neutral.
The Film Type adjustments have a lot of effects built into them already. So if you start by adjusting exposure or curves or vignetting, you may end up negating those with the film type. Therefore, start here, and then make adjustments afterwards.
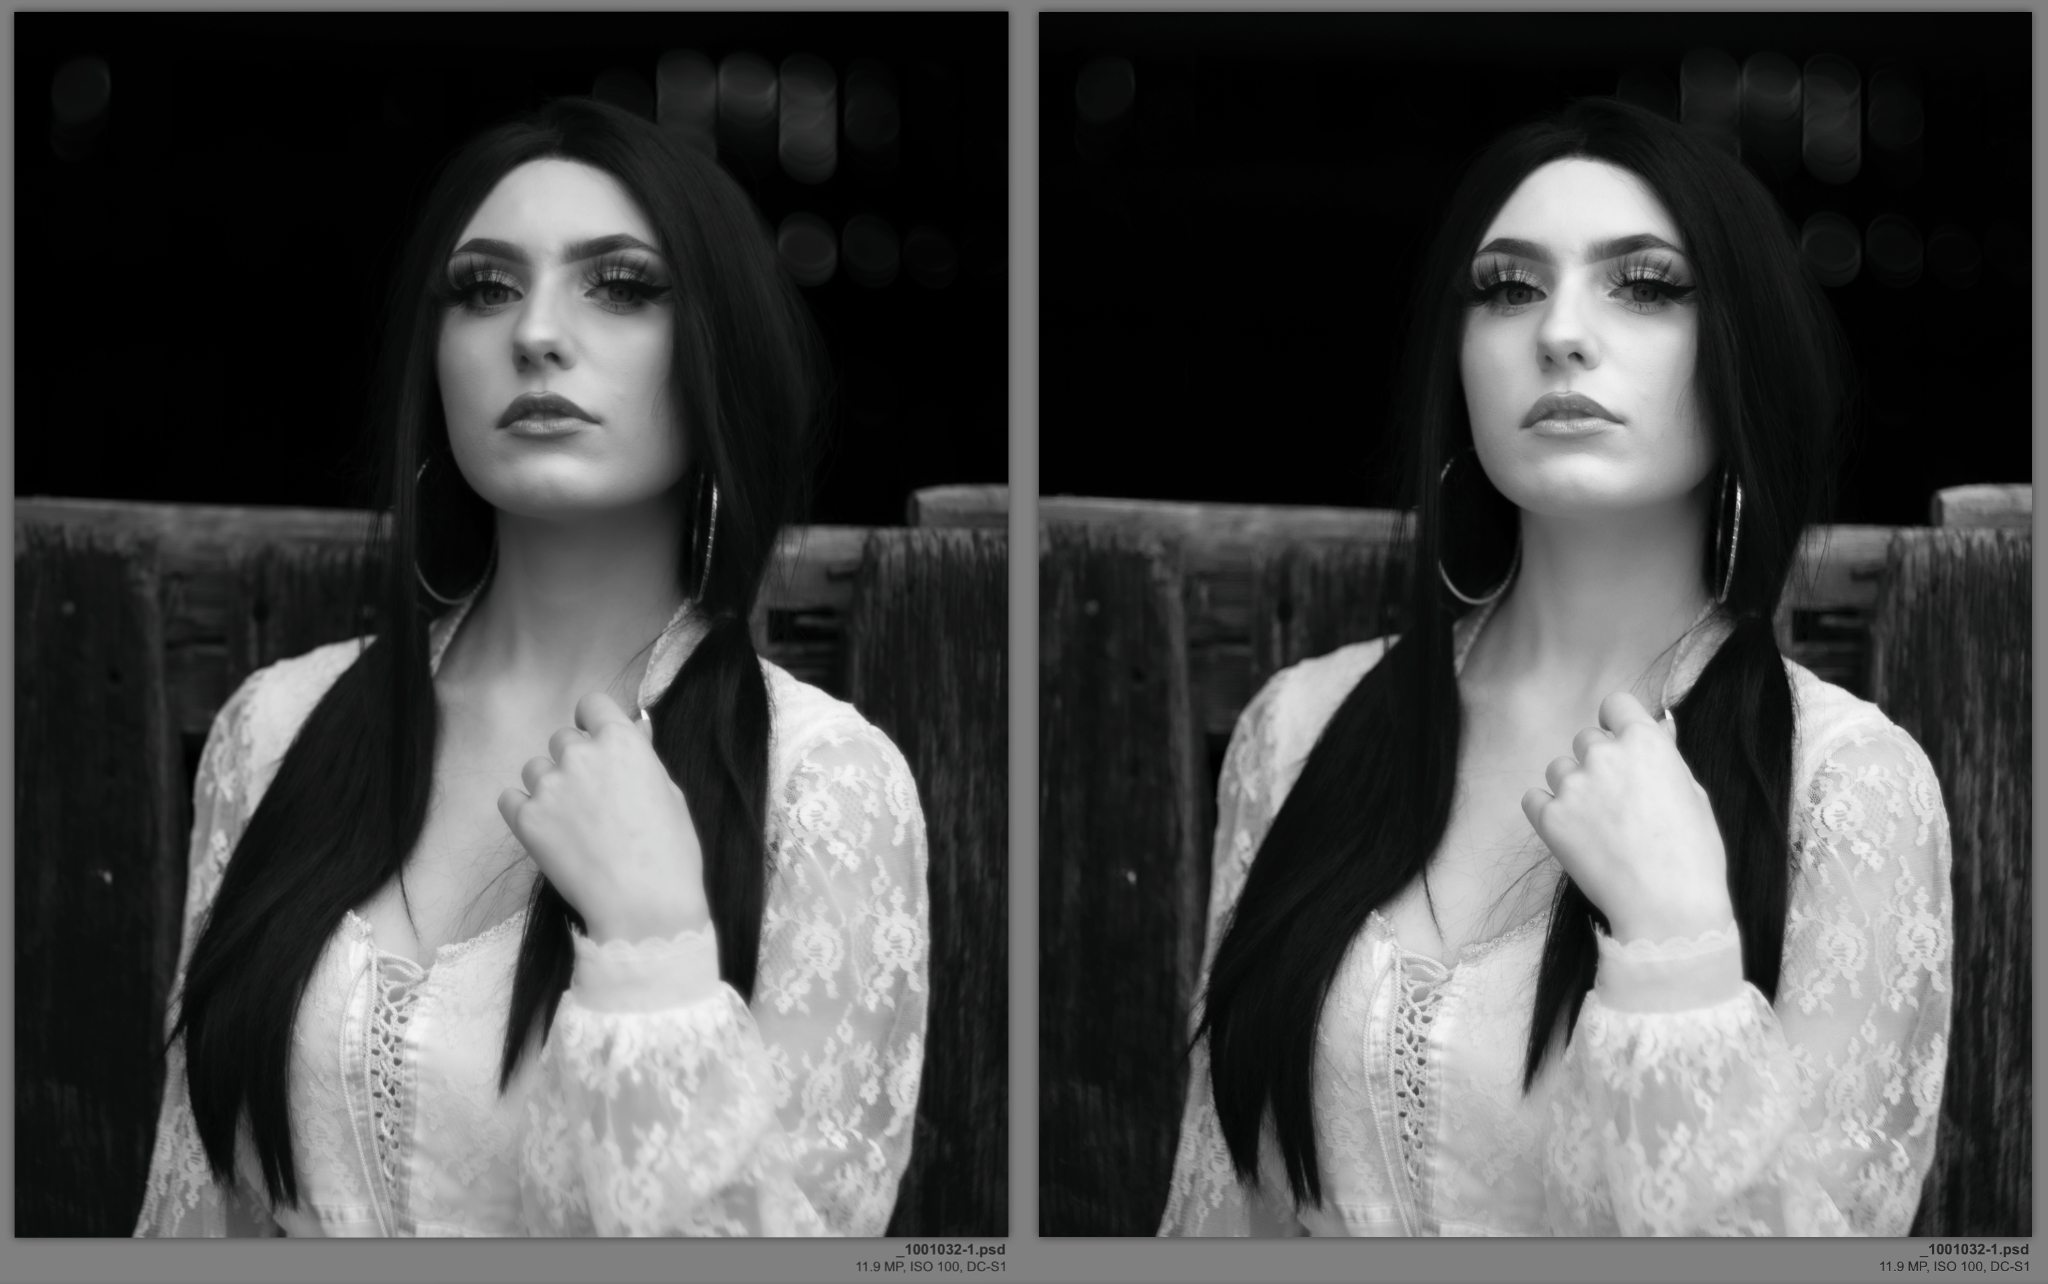
This adjustment doesn’t offer much guidance on what you’ll get with each option. You really just have to click through them and see what looks best for your particular photo. For the photo I’m workin with, the #2 preset in the middle row works out quite well. You’ll see that her eyes are a little too dark, so we’ll fix that next.

Apply Basic Adjustments as Needed
On this photo, a little bit of Detail Extraction actually benefits it greatly. Not only does it amplify her blouse, but it also brings out details in her hair, setting it against the background quite nicely. It even brings her eyes up a bit — it’s a pretty great all-in-one adjustment! (post continued on DxO's Blog; link below…)
Learn more about DxO Nik Collection
To read the rest of this article, please visit the DxO Blog!
More like this
- Tip
- Tip
- Tip
- Tip
- Tip
