HDR Panoramic Photos in Lightroom
Last week I was at Adobe MAX, and attended a seminar where instructor Jack Davis showed that not only can you make HDR and Panoramic images in the latest Lightroom, but that they can be combined into massive HDR panoramic RAW (DNG) files. This was an idea I found quite intriguing.
See, I'm not a huge fan of HDR. Let's just put that out there… the vast majority of them I find to be over-processed, over-saturated, and hyper-real to the point of distraction. That said, the idea of HDR is of course very intriguing. After all, who wouldn't want a RAW file with dozens of stops of dynamic range?
The best alternative to HDR I've ever seen is what my friend Sean Bagshaw does. His landscape work is borderline ridiculous and one of these days I'm gonna get him to write on this site. He uses a technique called “luminosity masks” (which I've mentioned here and there before) to extract massive data from bracketed files, in a very, very visually pleasing way. Also very complicated and time consuming. Anyway, that's another topic.
HDR + Panoramic
This post is about the HDR and Panoramic features in Lightroom CC 2015.
 Photo > Photo Merge > HDR and Panoramic is where the magic happens
Here's the gist of what I learned in this class. First, when you make an HDR in Lightroom, you don't get back a TIF or JPEG HDR file. No, you get back a DNG. A DNG with 20 stops (–10 to +10) of exposure latitude (and that's just off the exposure slider!) that you can treat like any other RAW file, pulling and pushing the highlights and shadows wherever you want, as you normally would.
Second, you can combine these HDR RAW files into a panoramic, given you a RAW HDR panoramic. Like… wow.
So I walked out of this session inspired and excited. It was nearing sunset, but given that it was Los Angeles and it was 72℉ and sunny, with nary a cloud in the sky, my options were dismal. But I decided to shoot one anyway.
I picked up my LUMIX GX8 and set it to a seven shot, 1-stop difference bracket. That means I got –3, –2, –1, 0, +1, +2 and +3 exposures. I held the camera vertically (may as well maximize the vertical resolution) and — handheld! — fired off the first sequence of seven. Then I panned a little bit, and repeated eight more times.
I want to point out that there were people and cars moving through this scene. About the only concession for them I gave was to not shoot a sequence when a car or bus was driving through the shot. Otherwise, I just fired away. I panned the camera into nine different positions, resulting in 9×7=63 individual RAW files. Here's what that looks like in Lightroom (screenshot made after all HDR and Panoramic work was done; the red ones are my HDR images).
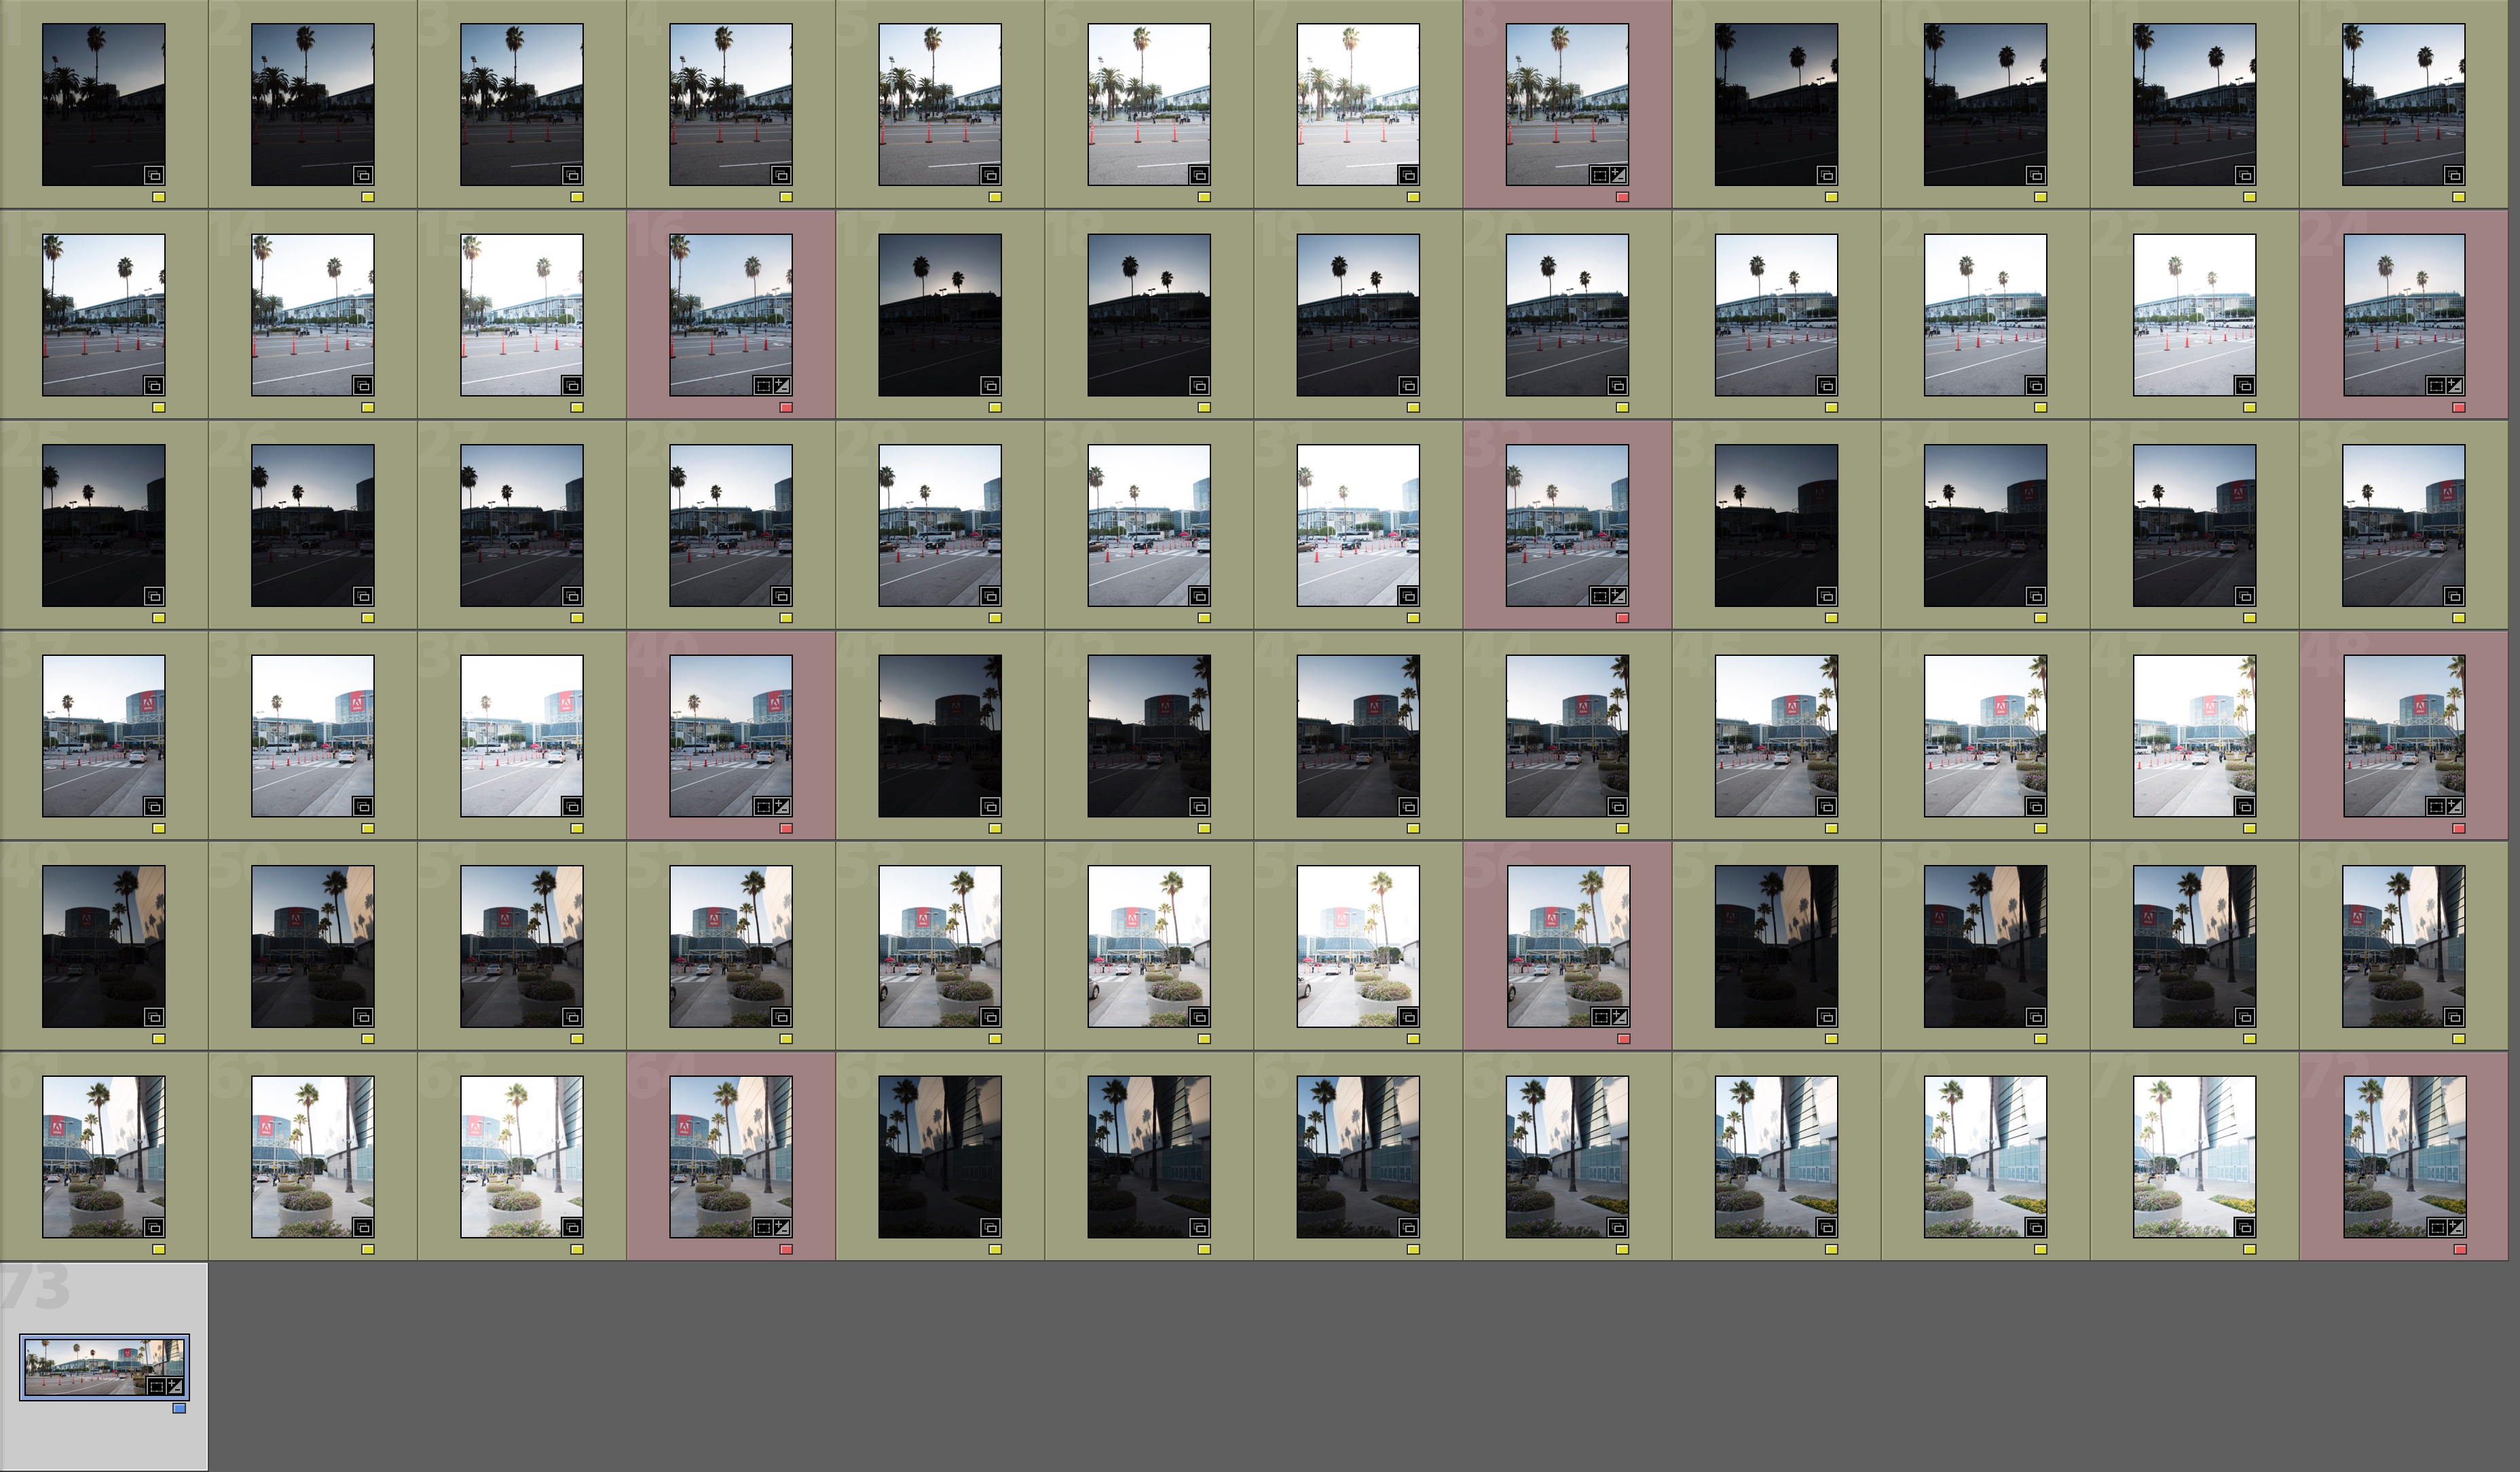 That’s a whole lotta files — seven-stop bracket, nine-position HDR for a total of 63 RAW files to merge
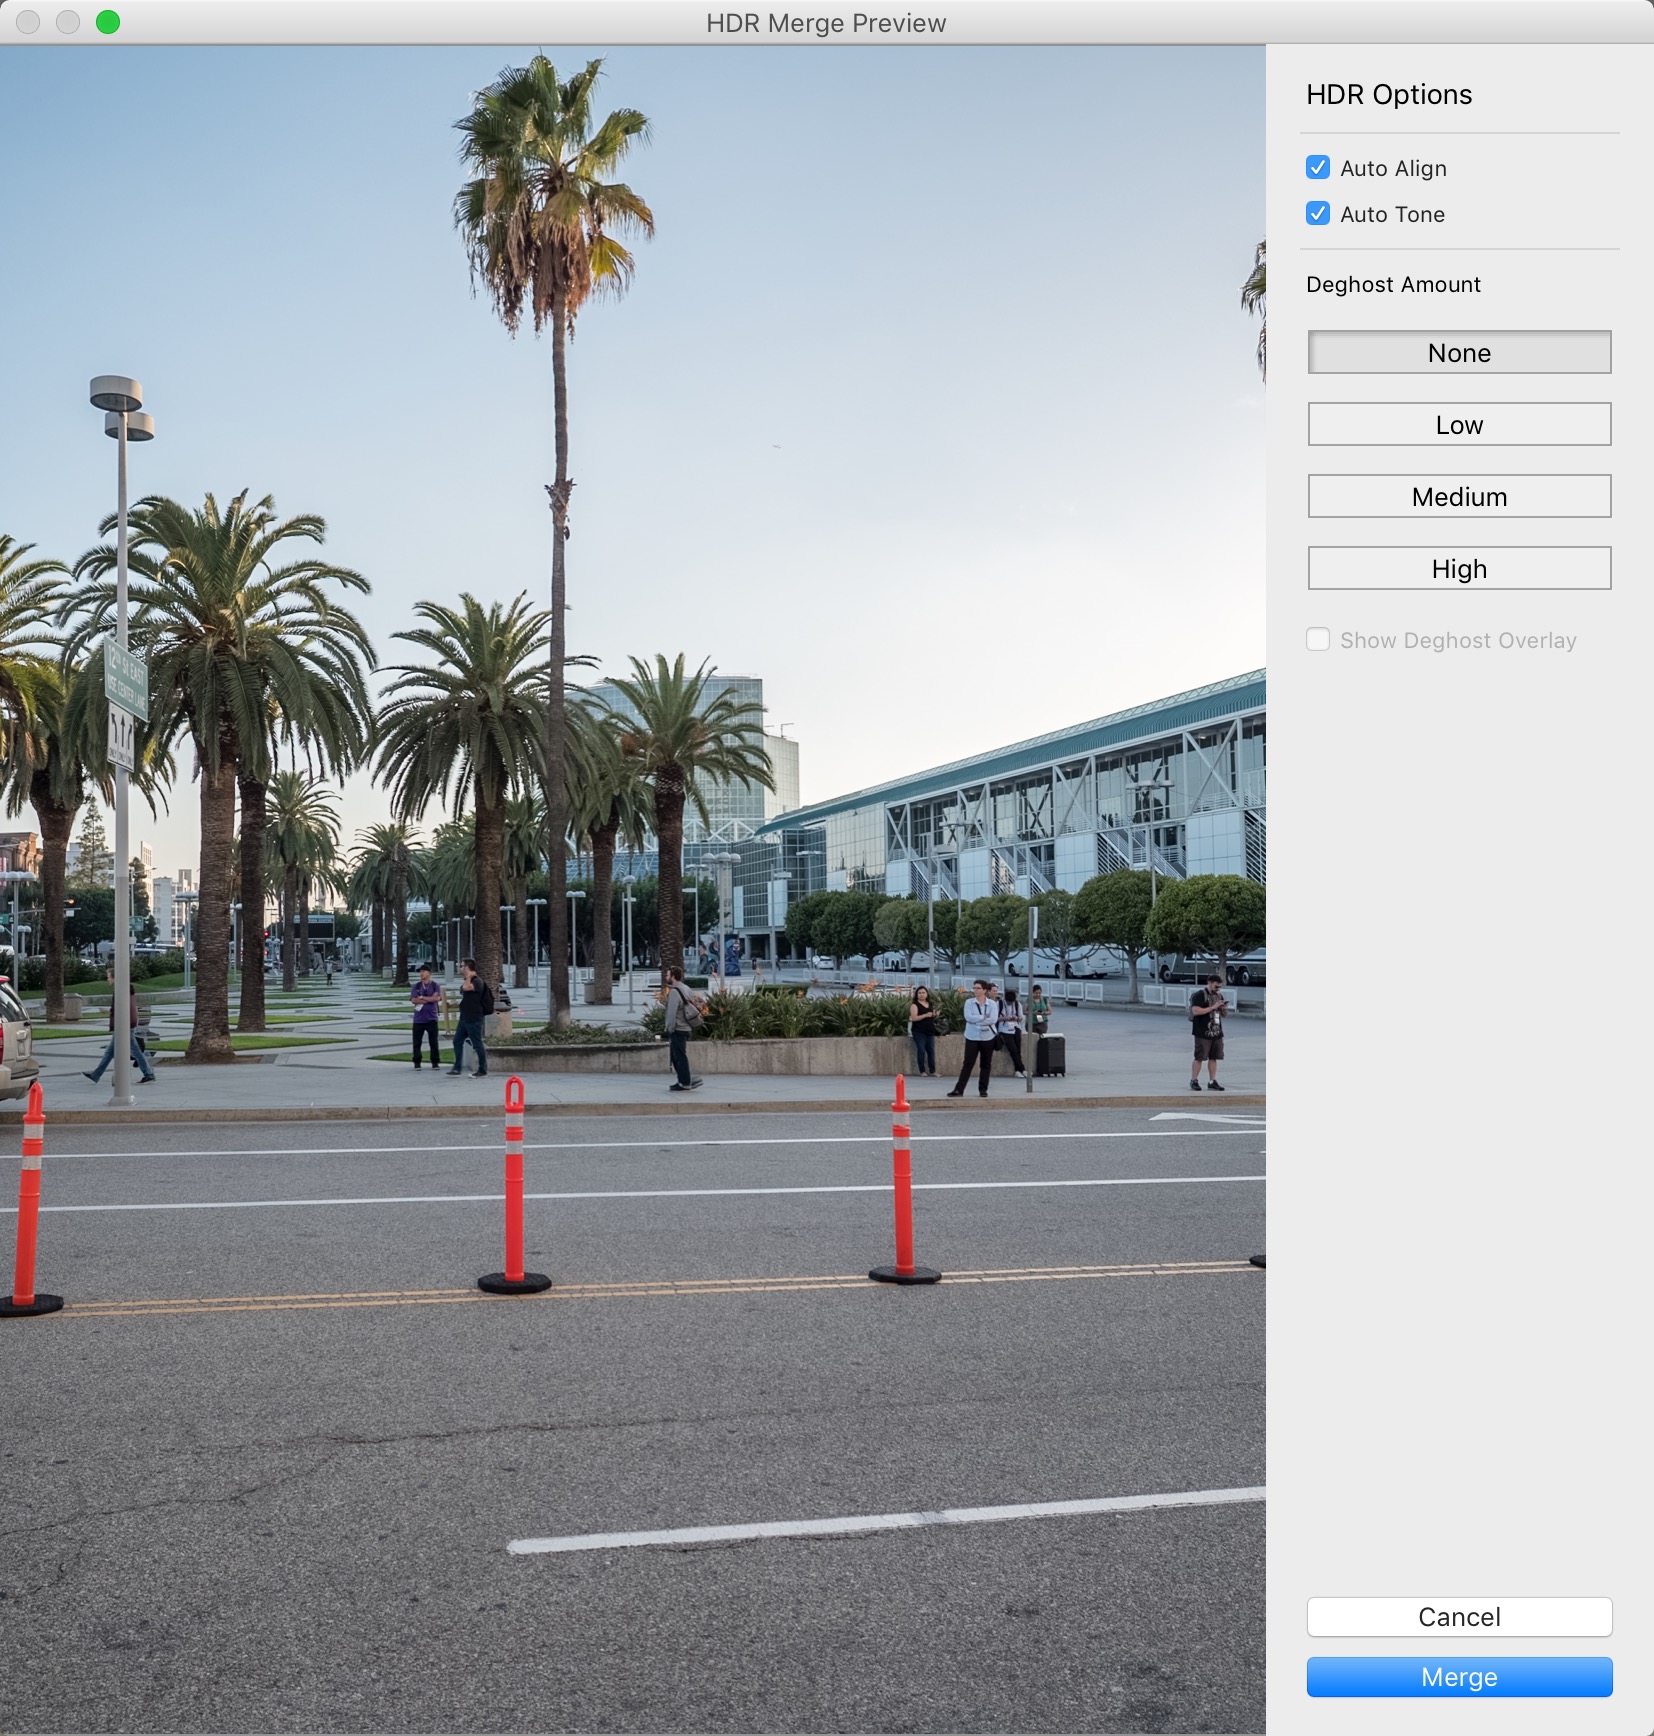
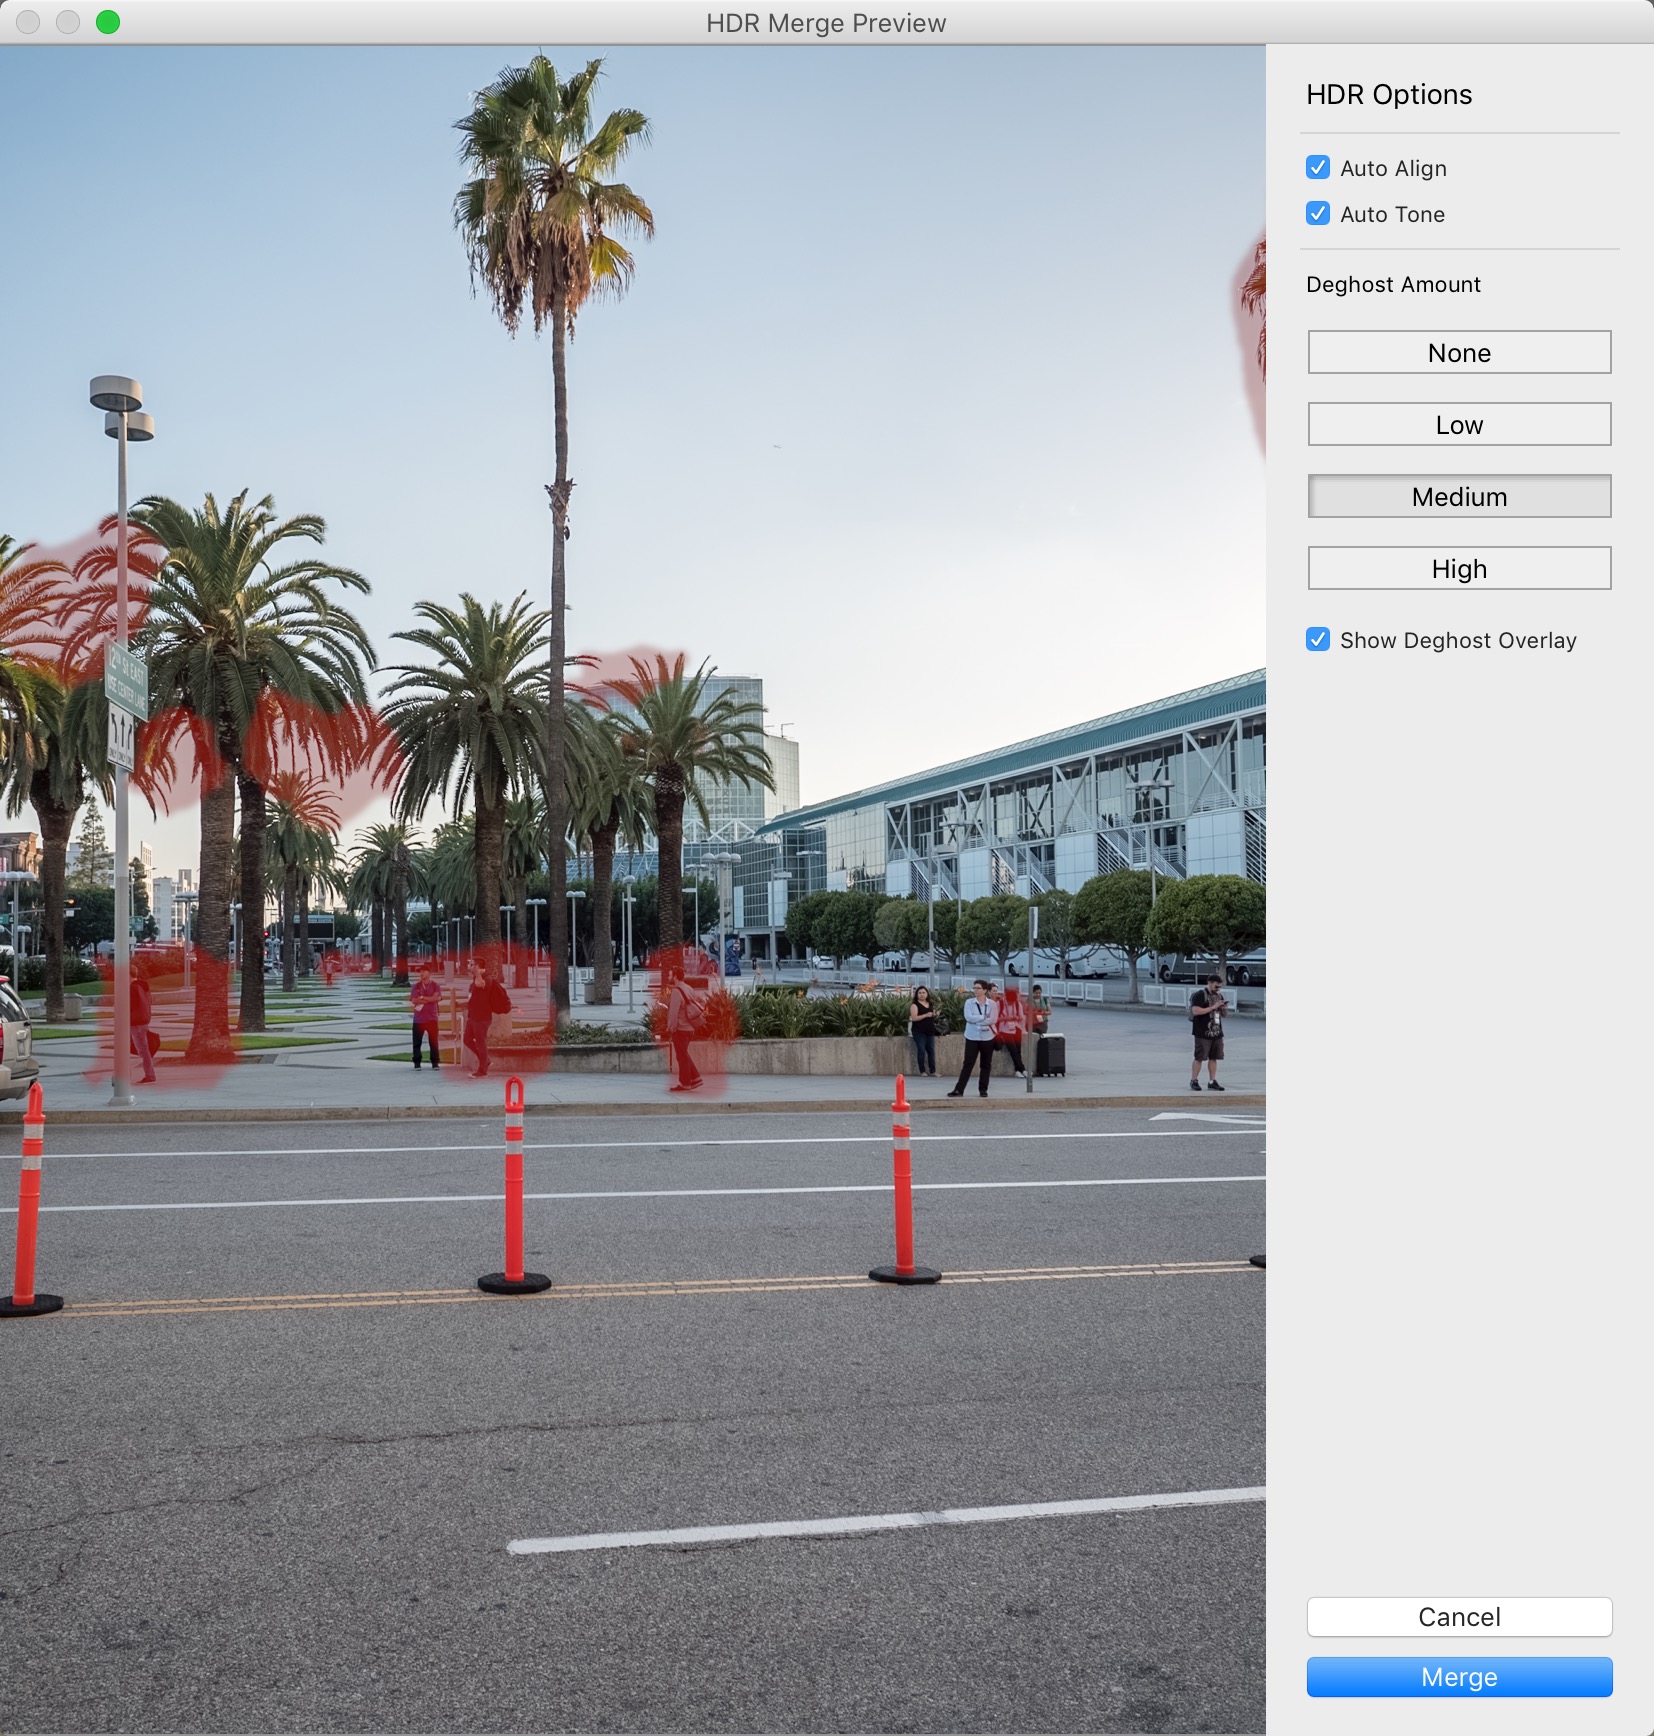
Once in Lightroom, I merged each set of seven into an HDR file. When you merge, you have a few options. First, there's Auto Align, which if you're shooting handheld is of course critical. If you're on a tripod, it should be safe to disable. Then there's Auto Tone, which means Lightroom will take a stab at blending the exposures. I'd say it's worth leaving that on, because even if you hate it, you can just reset the adjustments later. But if you don't leave it on, you may have a hard time figuring out how to adjust the sliders to get the image you want. And finally, you have Deghost Amount, which compensate for things moving in the scene. If I understood correctly, you want this as low as possible while still achieving the right result. In these shots, with people walking through the scene, I found that a setting of Medium was required to keep double-legs and other oddities from appearing.
Below is a comparison screenshot of the same seven photos combined with no deghosting applied, and medium. The medium setting also has Show Deghtost Overlay enabled, so you know where to look for the changes.
The resulting file again has an incredible latitude. Check out the exposure slider. Where you normally would have –5 to +5 range, once turned into an HDR you have –10 to +10.
 Exposure from –10 to +10
Once all nine of the seven-stop HDR files were created, I selected those nine HDR files and put them through the Panoramic tool. There are few options here; you can choose the Projection or let the software pick it for you, and then you can choose to Auto Crop or not.
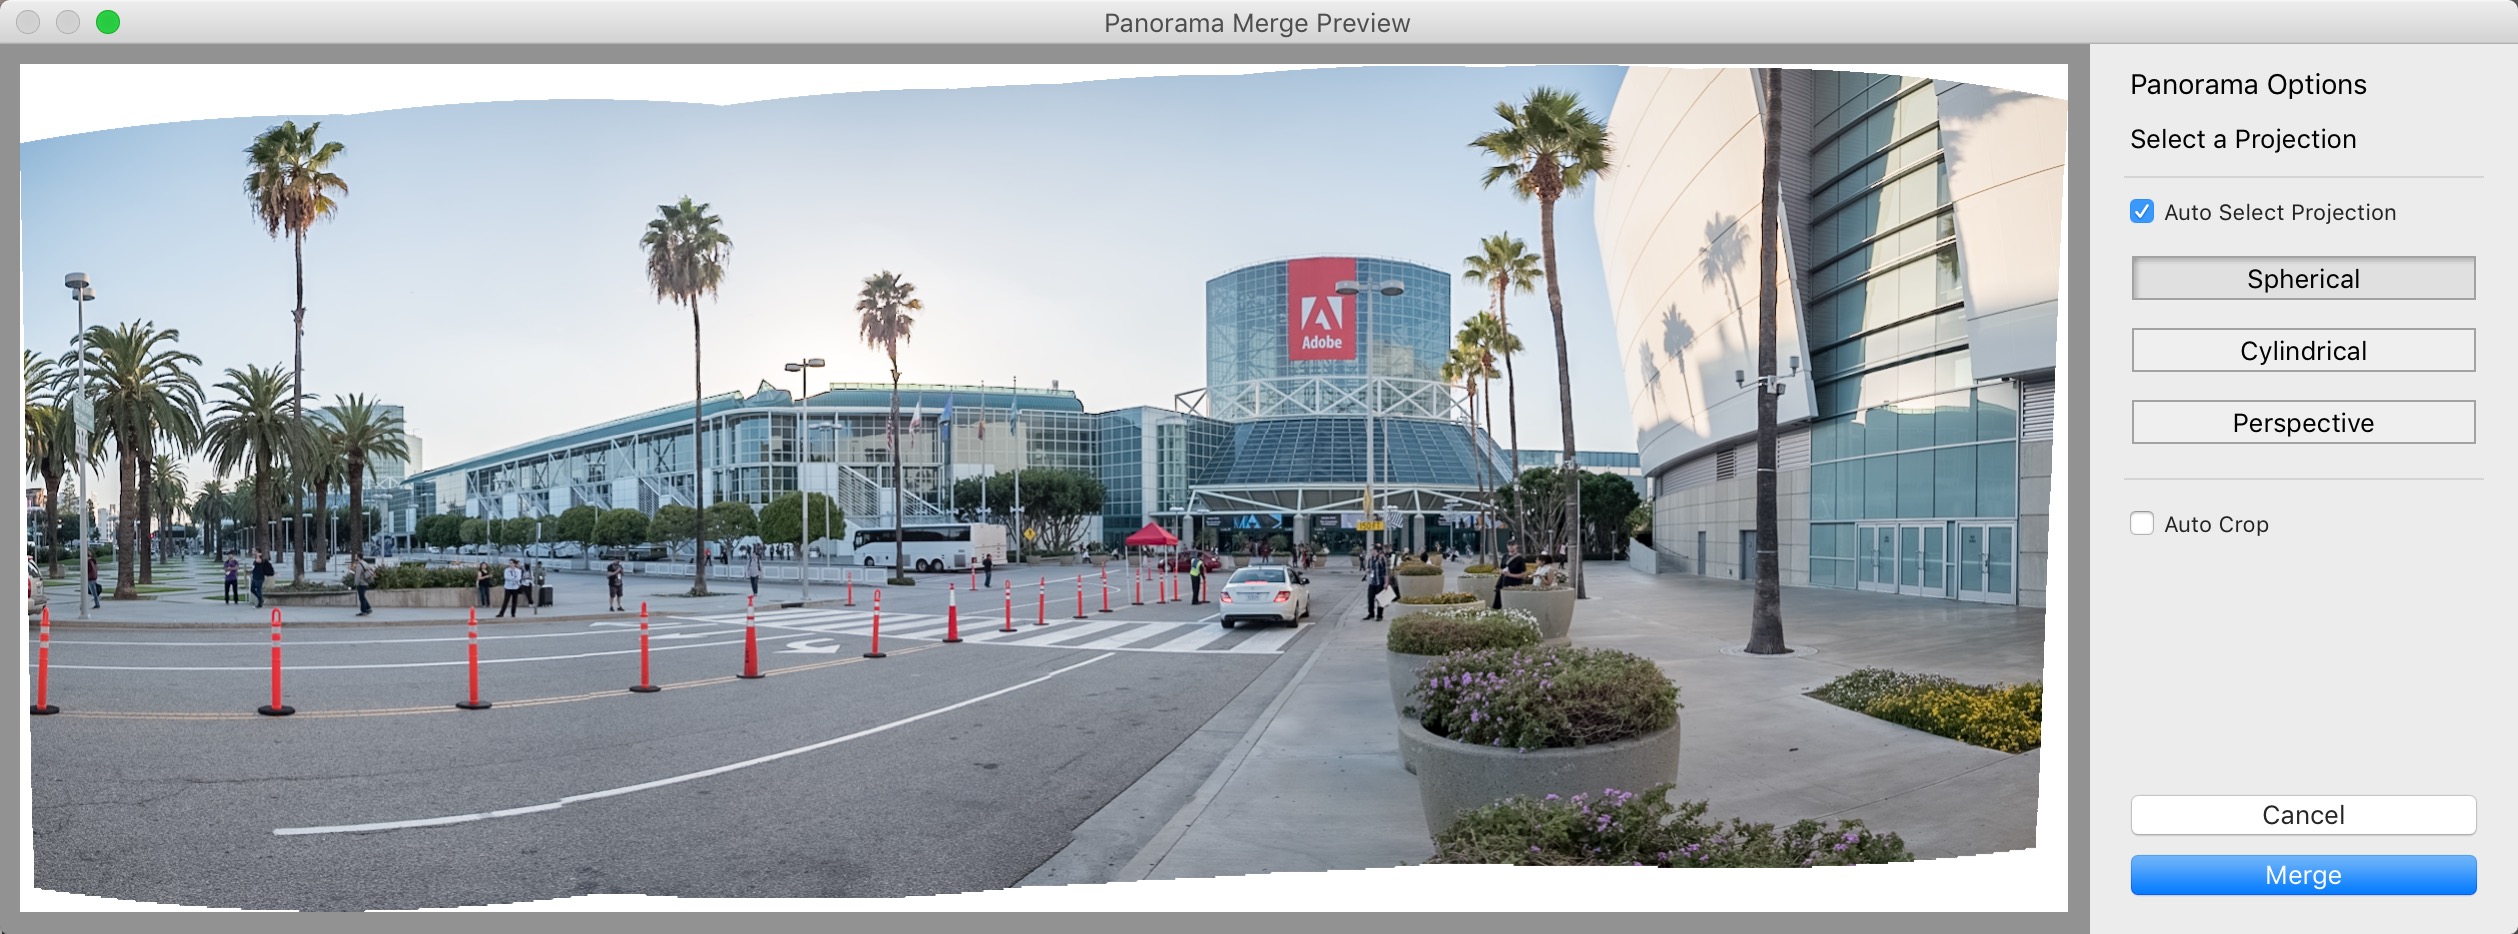
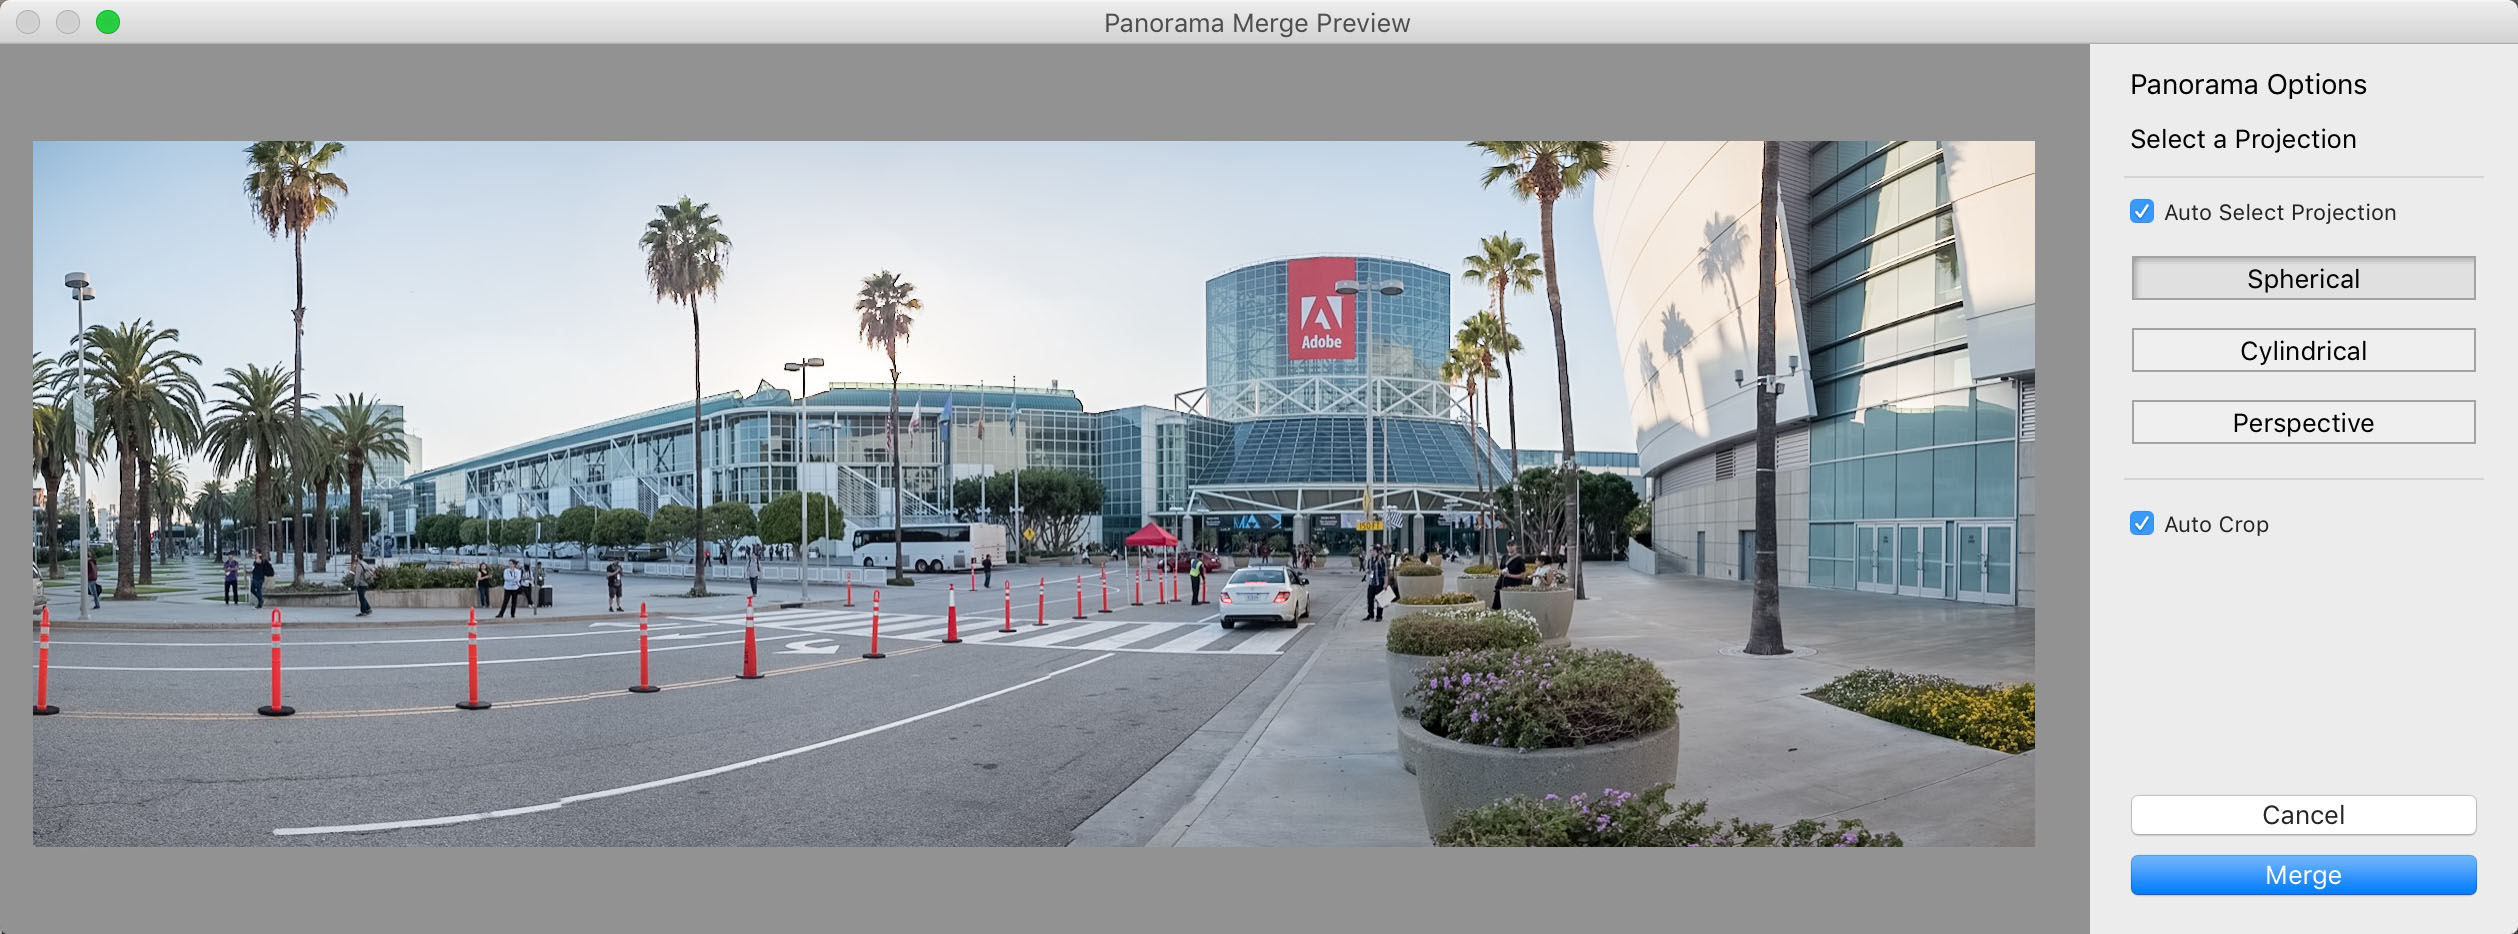
The instructor Jack advised leaving auto crop off, because you can often fill in the gaps with Photoshop's Content Aware Fill. No doubt you can, and now re-looking at the top of this scene, that would have been clever to try. But I didn't, so I saved out a cropped version. Of course that crop is non-destructive, so I could go back and re-crop and open in Photoshop and all that… but I won't.
Also I want to point out that the resulting cropped file was 11,846 × 4,167 pixels, which is a 49.4 Megapixel file. Nice.
And here's the end result, with a bit more exposure adjusting, gradual and radial filters, and more.
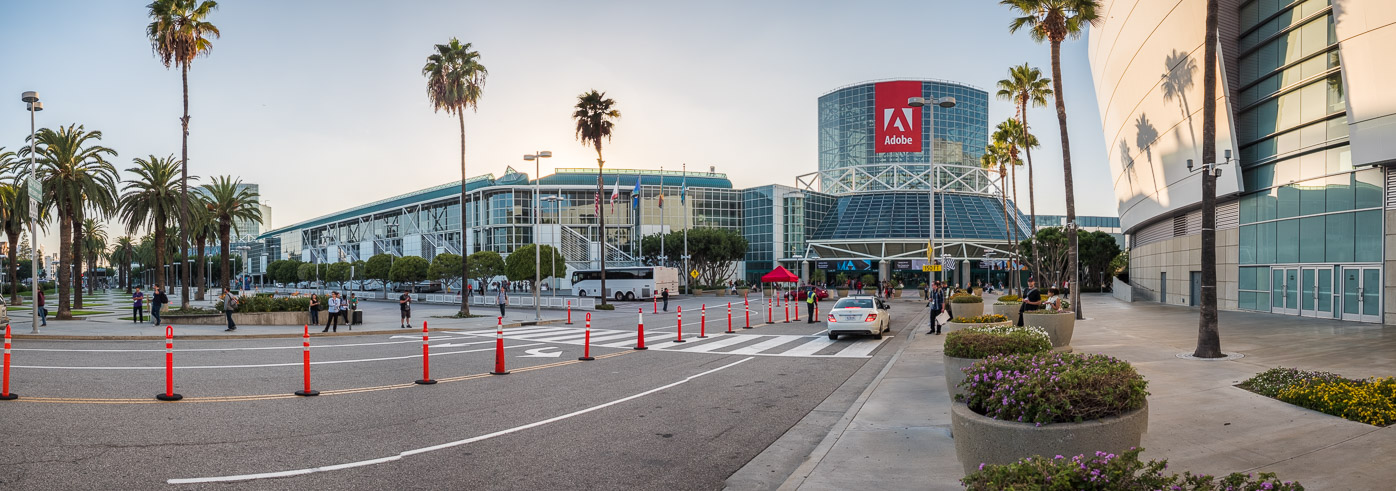 Not a beautiful photo, but it’s what’s on the inside that counts
If you want to, download the full size file [24 MB, nearly 50 MP JPEG image] so you can see how good of a job the software did with the Panoramic. OK look I'm no pano expert, and there may be software that does it better. But I'm way impressed that there are no half- or three-legged people running around, or even phantom half-cars or half-busses, given how much movement there was when I shot this. In fact the only obvious error I've spotted is on the white lines in the road, which is pretty funny considering how easy those should have been relative to the moving trees and people.
I'll definitely be playing with this some more. I need to find a killer pano scene that begs for HDR bracketing, and see what I can come up with!
If you've done this before… share the imagine the comments below. I'd love to see them!

Comments
on October 14, 2015 - 4:10pm
Joseph, Nice review. May have to try this out as well.
Florian
Florian Cortese
www.fotosbyflorian.com