In the past year I’ve seen some experienced photographers make some simple mistakes with serious consequences. Mistakes that could have been prevented with some simple common-sense preventative measures. I know I’m not breaking any new ground here, but it’s always good to be reminded to stay vigilant and look at simple ways to stay organized.
Minimize the Likelihood of Data Loss:
Problem: The short time just after the shoot and before you import your images on a computer is probably the most dangerous point in a workflow. The images exist in one place… on the memory cards. Many things can happen. You can drop them down a storm grate, you can forget them in a restaurant, they can get stolen from your car along with your camera among other things.
Solution: Immediately after the shoot, remove the cards from the cameras. Put them in your memory card wallet, usually upside down so you know they haven’t been imported. Then, put the card wallet in your front pocket and don’t remove it under any circumstances until you are ready to import. The only way you’ll lose the data is if you get mugged or die in a fiery crash. (Don’t forget to put new cards in the cameras and format.)
Problem: The importing procedure can also be fraught with disaster. You can mix up cards, you can accidentally send to an unintended destination and commit any number of fatal mistakes.
Solution: Before importing stack your cards face down next to the card reader. As they are done, stack them face up on the opposite side of the computer. Don’t ask Aperture do delete the images when they done importing. Establish a method that doesn’t change. It should be second nature. When done, put the cards back in the wallet (with the images still on them.)
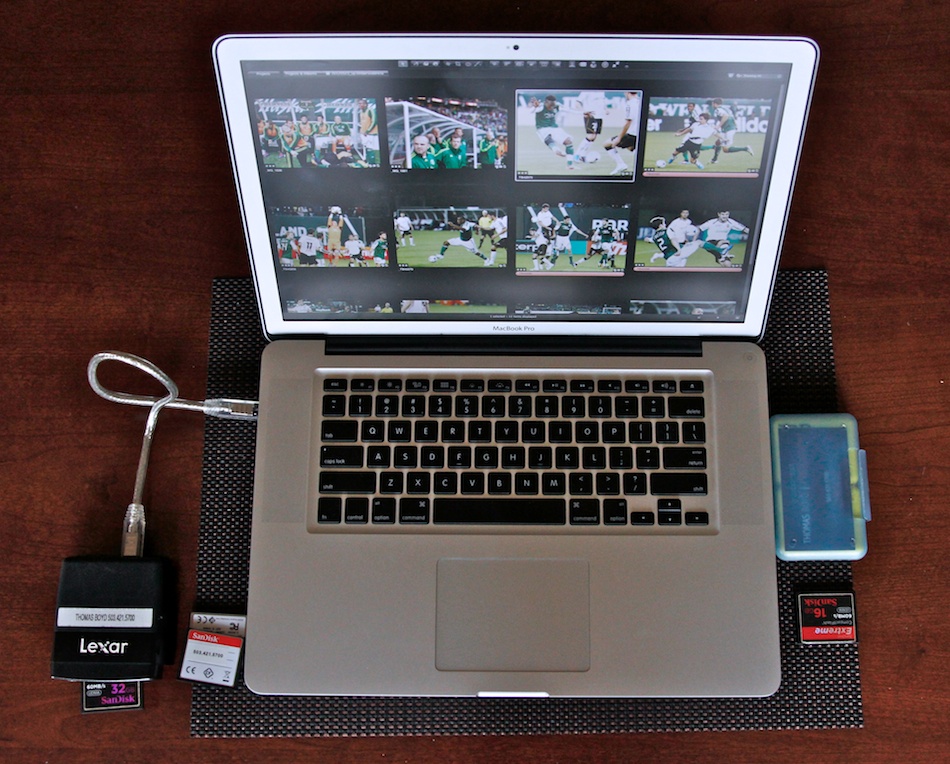 I like to stack un-imported cards upside down on the left next to my card reader and imported cards face-up on the right.
Problem: Even after the images are on your computer and exist in two places (remember they are still on the cards), they haven’t been backed up properly. This is especially dangerous when working on the road with a laptop.

