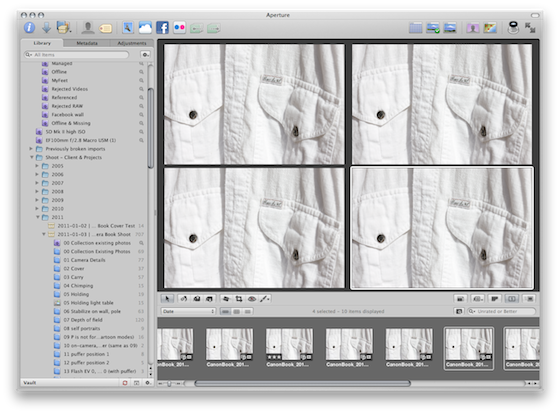
ApertureExpert Live Training Session 002: Importing Your Photos pt 2

By PhotoJoseph
March 5, 2011 - 7:25am

This book was written for the budding photographer, the proud new owner of a Canon dSLR, or the dSLR user who’s never gotten that dial on top of their camera out of the fully automatic, “green square” mode. If you’re ready to step up your game, this book’s for you.
$9.97

Importing Your Photos (part 1)
Live Training Session 001
The very first “Live Training” begins to explore the extensive import window in Aperture 3.
Duration: 01:03 hr
Included with membership
The First FREE ApertureExpert LiveTraining Session—This Sunday!
By PhotoJoseph
February 24, 2011 - 7:47am
Two New PresetPacks! “Textures” Now Possible in Aperture 3
By PhotoJoseph
February 20, 2011 - 9:39am
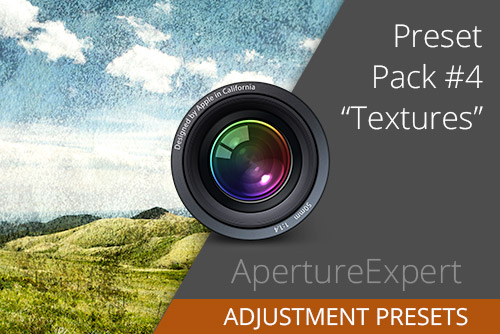
Create never-before-possible textured photographs without ever leaving Aperture, with presets that are infinitely adjustable, changeable, and controllable.
$4.99
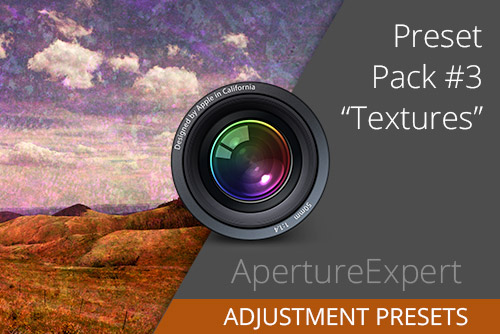
Create never-before-possible textured photographs without ever leaving Aperture, with presets that are infinitely adjustable, changeable, and controllable.
$4.99
Digital Camera Raw Compatibility Update 3.6 for Aperture 3 & iPhoto ’11
By PhotoJoseph
February 18, 2011 - 12:20am