Warm Your Photos with a Graduated Filter

Introduction
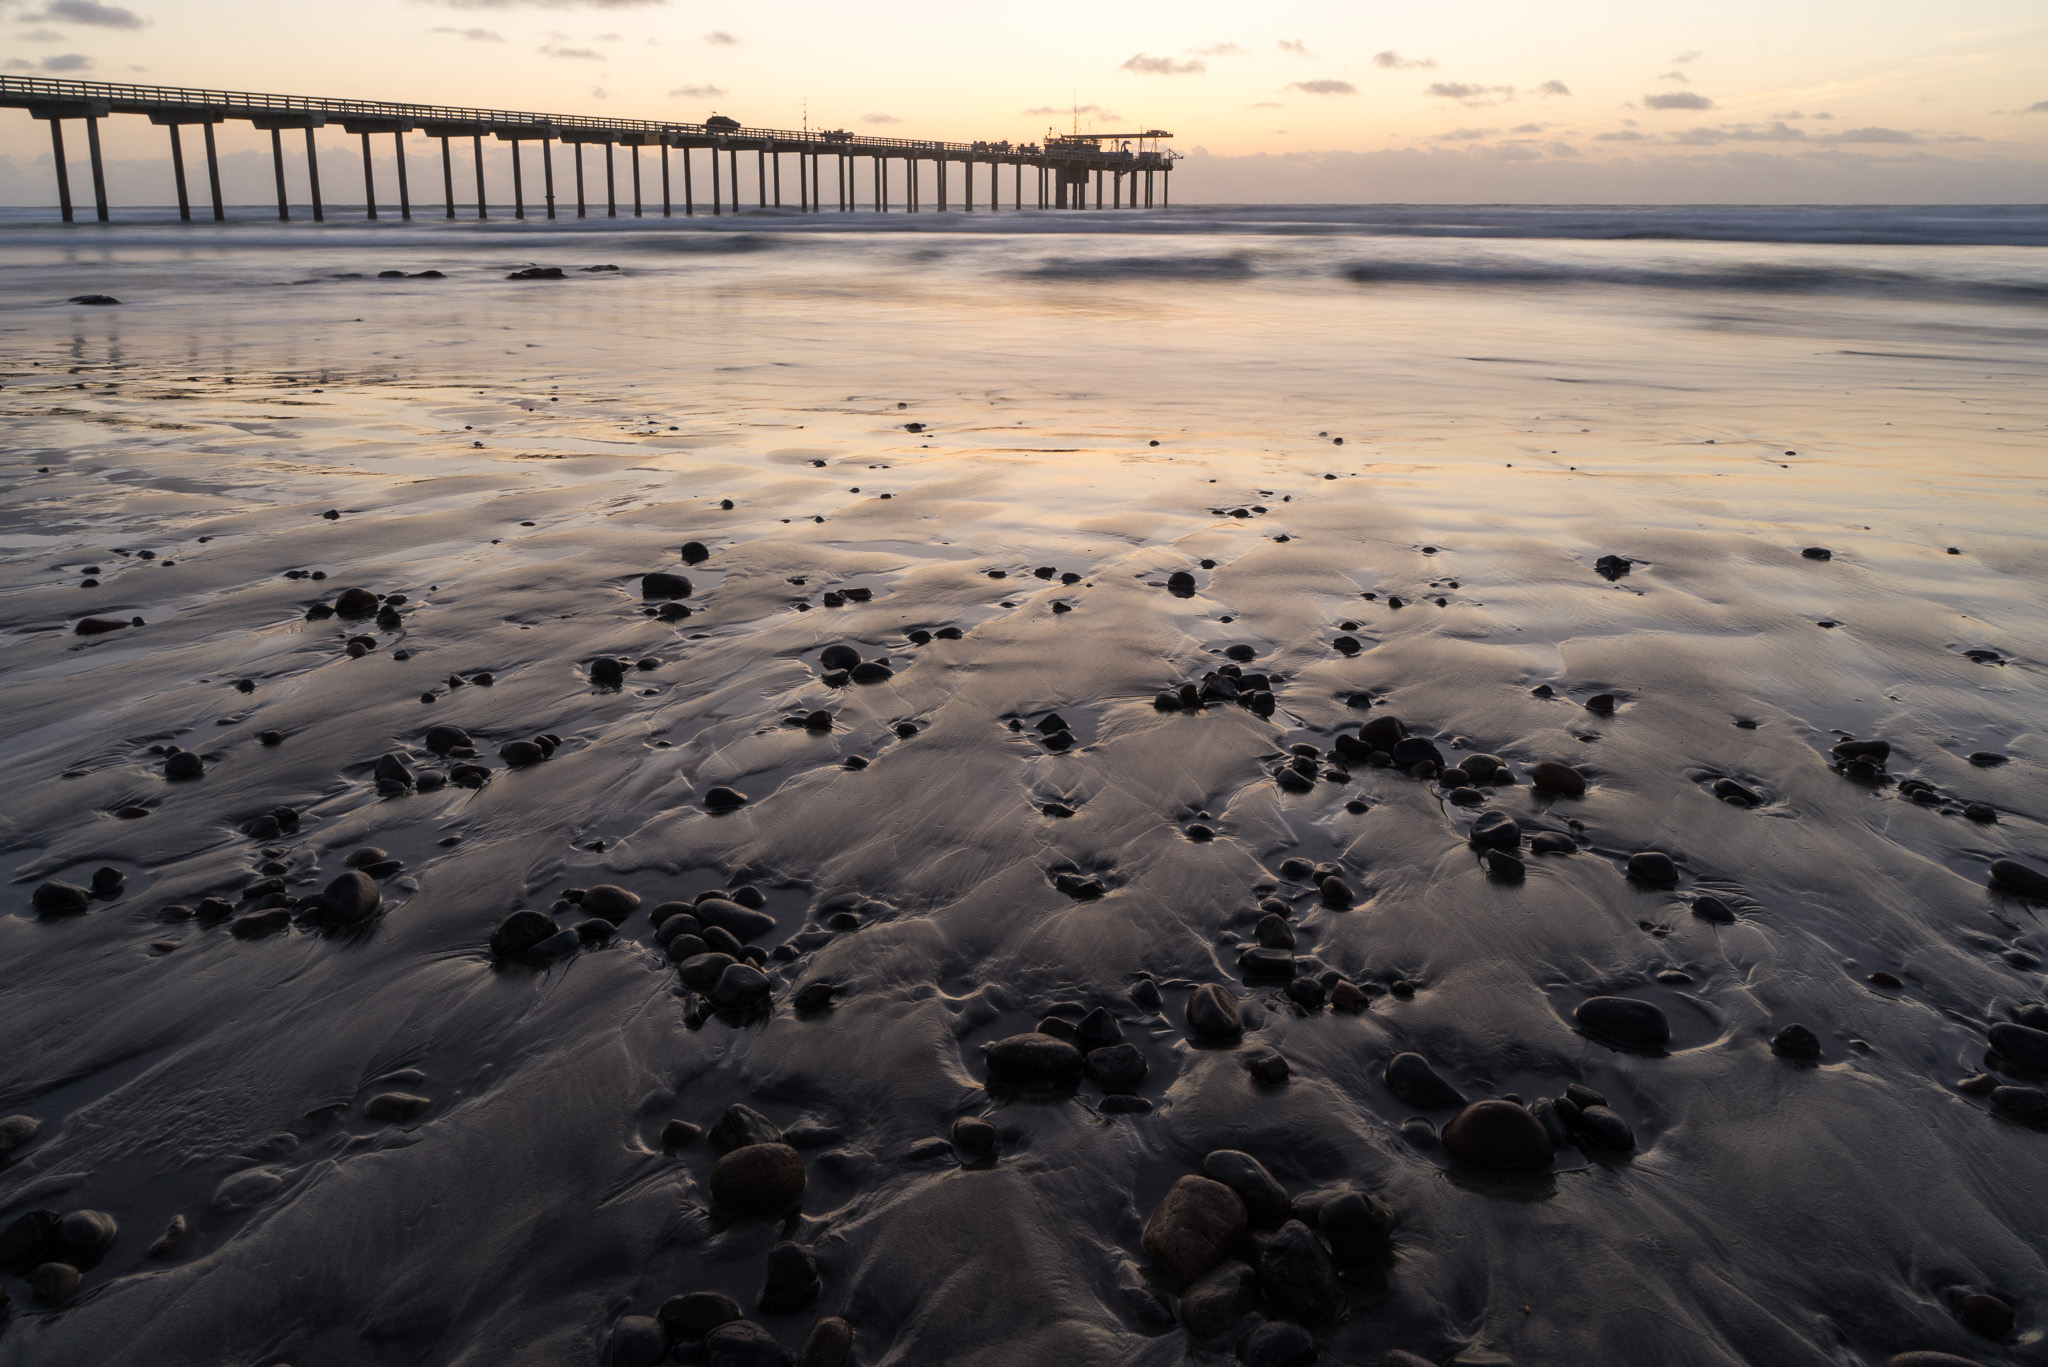
The graduated filter tool in Lightroom is a go-to tool to darken skies or brighten foregrounds. It's also quite handy to warm up your photo. The little mental hurdle for me was realizing a graduated filter can be applied to an entire photo. Let's start with this base photo:
 Original Photo
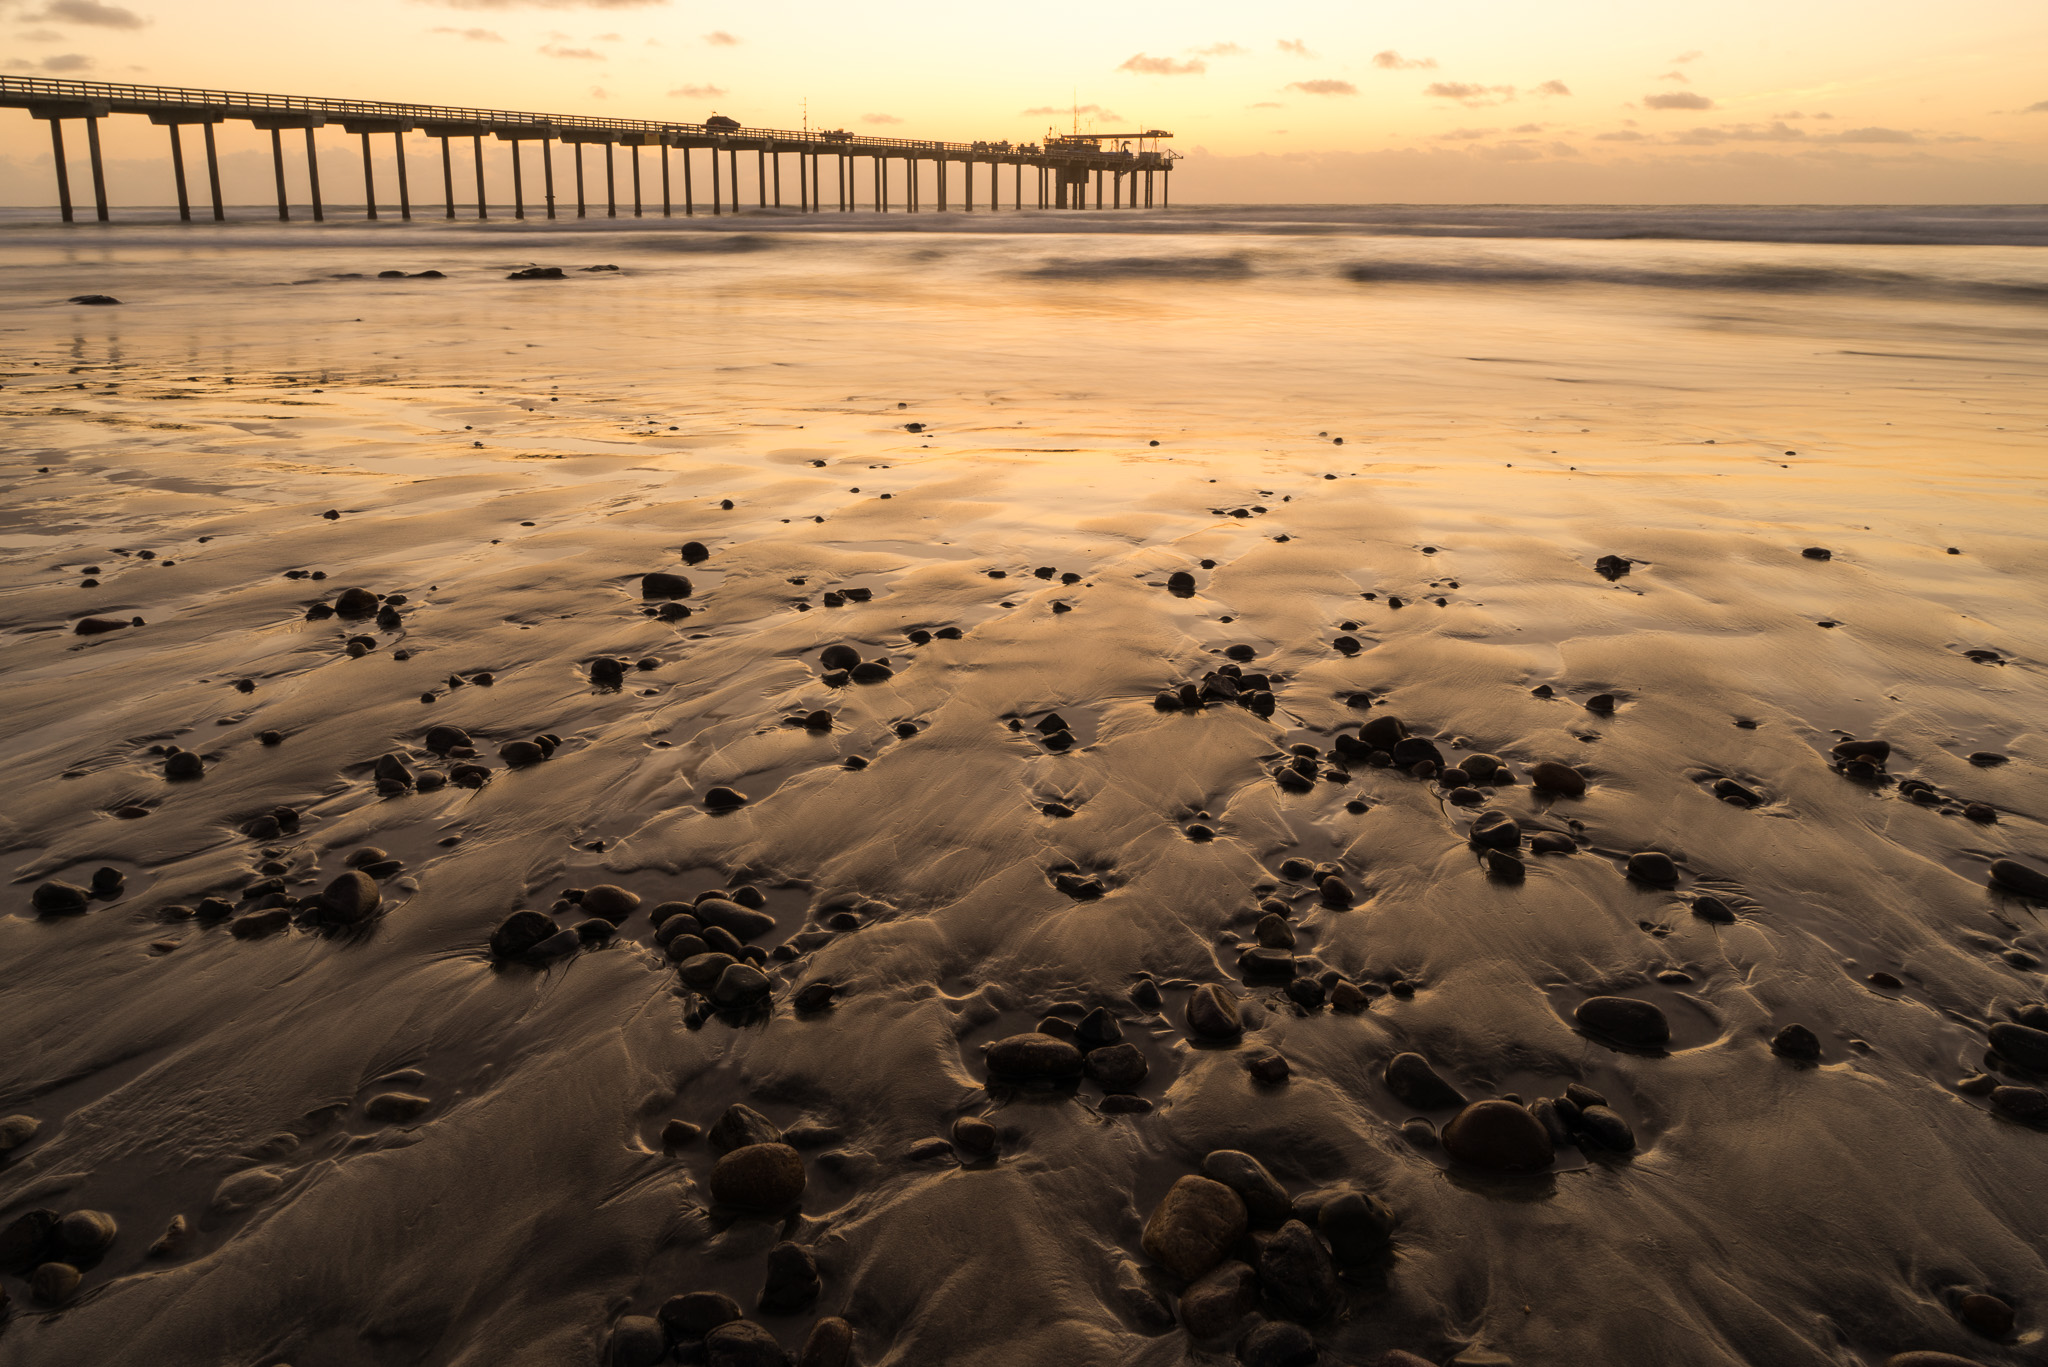
It was an overcast evening, but with a little post processing magic, the illusion of a warmer sunset is a few clicks away. First, I'll drag a graduated filter on to the image so the entire photo is covered:
 Drag a graduated filter over the entire photo
(If you're unfamiliar with the gradient and radial filters tools, check out Live Training Session 210; Develop part 5.)
I have not made any changes to the filter sliders yet, so there's no change to the photo. Hovering the mouse over the filter pin shows the entire photo will be affected by the filter.
 Hovering over the graduated filter
Now let's warm this scene up!
Method 1: Warm with temperature
The first technique to warm the photo is the more obvious one – the Temperature slider. Nudging the slider to the right towards yellow adds warmth to the graduated filter:
 Adjust the Temperature slider toward yellow to warm the scene
Since the filter I'm using covers the entire photo, the whole scene is warmed up.
This method is no different really than adjusting the Temperature slider in the Basic panel. In the original photo, I did make changes in the Basic panel, but more true to the scene as observed, close to the Cloudy preset.
Method 2: Warm with color
The second technique is to add a color effect, or tint, to the graduated filter. At the bottom of the filter panel is a color swatch. By default it's a white box with a black “X” meaning no color effect. Clicking on the swatch pops up a color selector.
 Use a Color Effect to add a custom tint to your photo
The Color Effect approach gives you much more control over the tone to add to your photo. You are not limited to the tones on the temperature slider.
Using the Color Effect in a graduated filter is similar to the Split Tone filter if you were to select the same hue and saturation for both the shadows and highlights. Here, you can do it in a single click.
The Key Takeaway
When applied globally, the Temperature slider of a graduated filter is relatively uninteresting. However, the Color Effect is a great way to add tints to your photo, be it a portion of the photo or the entire scene.
Do you have any other techniques for warming up your photos?
More like this
- Tip
- Tip
- Tip
- Tip
- Store
Comments
on October 8, 2016 - 5:03pm
Scott, Keep these gems coming!
Florian
Florian Cortese
www.fotosbyflorian.com
on October 8, 2016 - 10:22pm
Thanks Florian. You are always so kind to comment on my posts. Much appreciated.
Scott
http://scottdavenportphoto.com/