How to Use X-Rite ColorChecker Passport in Lightroom CC
Photo Moment - May 24, 2019
Step 4 — Import the Profile to Lightroom and apply it to the photo
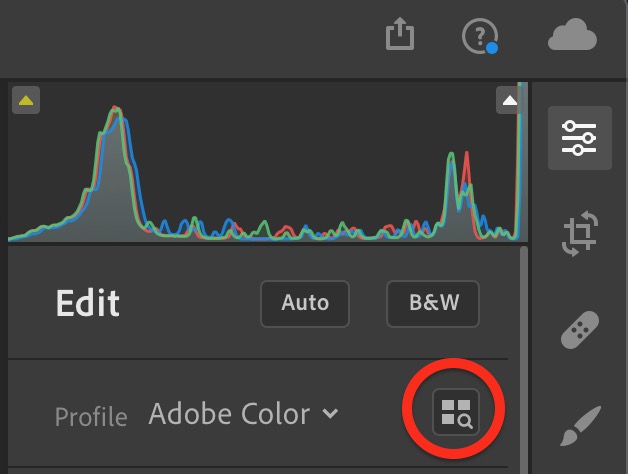
Finally, it's time to import the profile! Double-click the same photo of the color chart so you're in the Detail view, and open the Editor or tap E. At the top of the editing tools you'll see the Profile pane; click the browser icon at the right:
 Enter the Profile browser in Lightroom
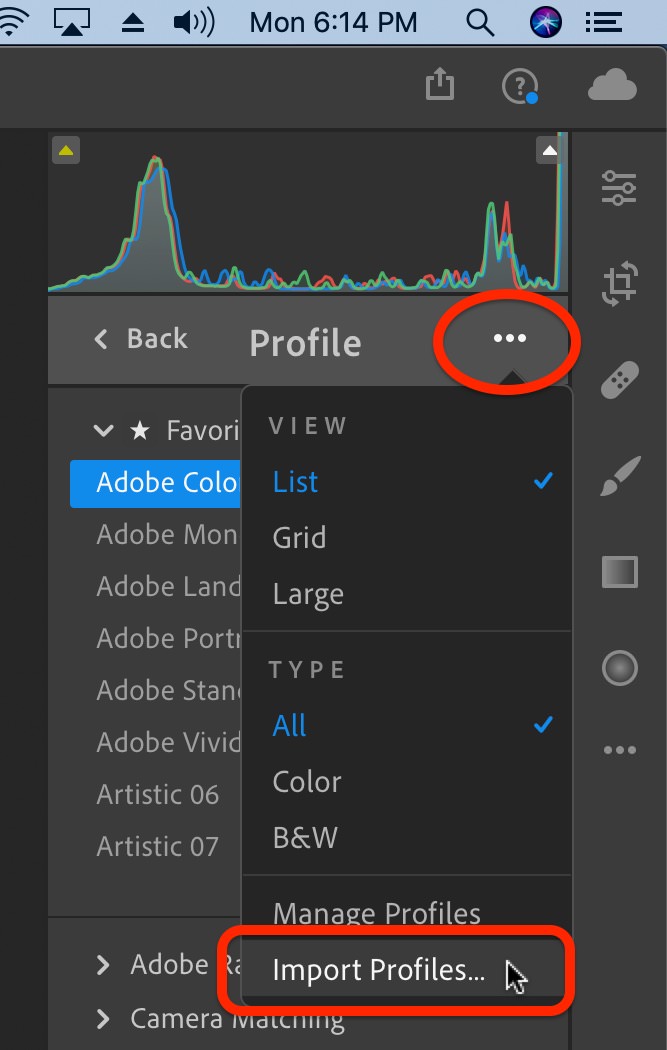
Then click the three dots menu, and choose Import Profiles…
 Import your custom Profile into the Lightroom Profile browser
Select the profile you created in step 3, and click Import.
~/Library/Application Support/Adobe/CameraRaw/CameraProfiles/Your new profile will show up under the category simply called Profiles. At this point as you hover your mouse over it, even without clicking it, you'll see the image change to what it will look like with that profile applied. This is a great time to move your mouse on and off of that profile while watching the image to see the difference. Click to apply the profile, then click Back to back out of the Profile Browser.
Drag the line between the two images below to see the difference between the original and the profiled photo of the ColorChecker Passport (Photo Edition):


Step 5 — Check white balance
If you went so far as to shoot a color chart, odds are you also did a custom white balance in-camera before you shot it. If you didn't, definitely set your white balance now. (Assigning a custom profile does NOT correct for white balance — more on that below in the “note” field). Even if you did create a custom WB in-camera, it can be comforting to see how accurate your white balance was by re-setting it here.
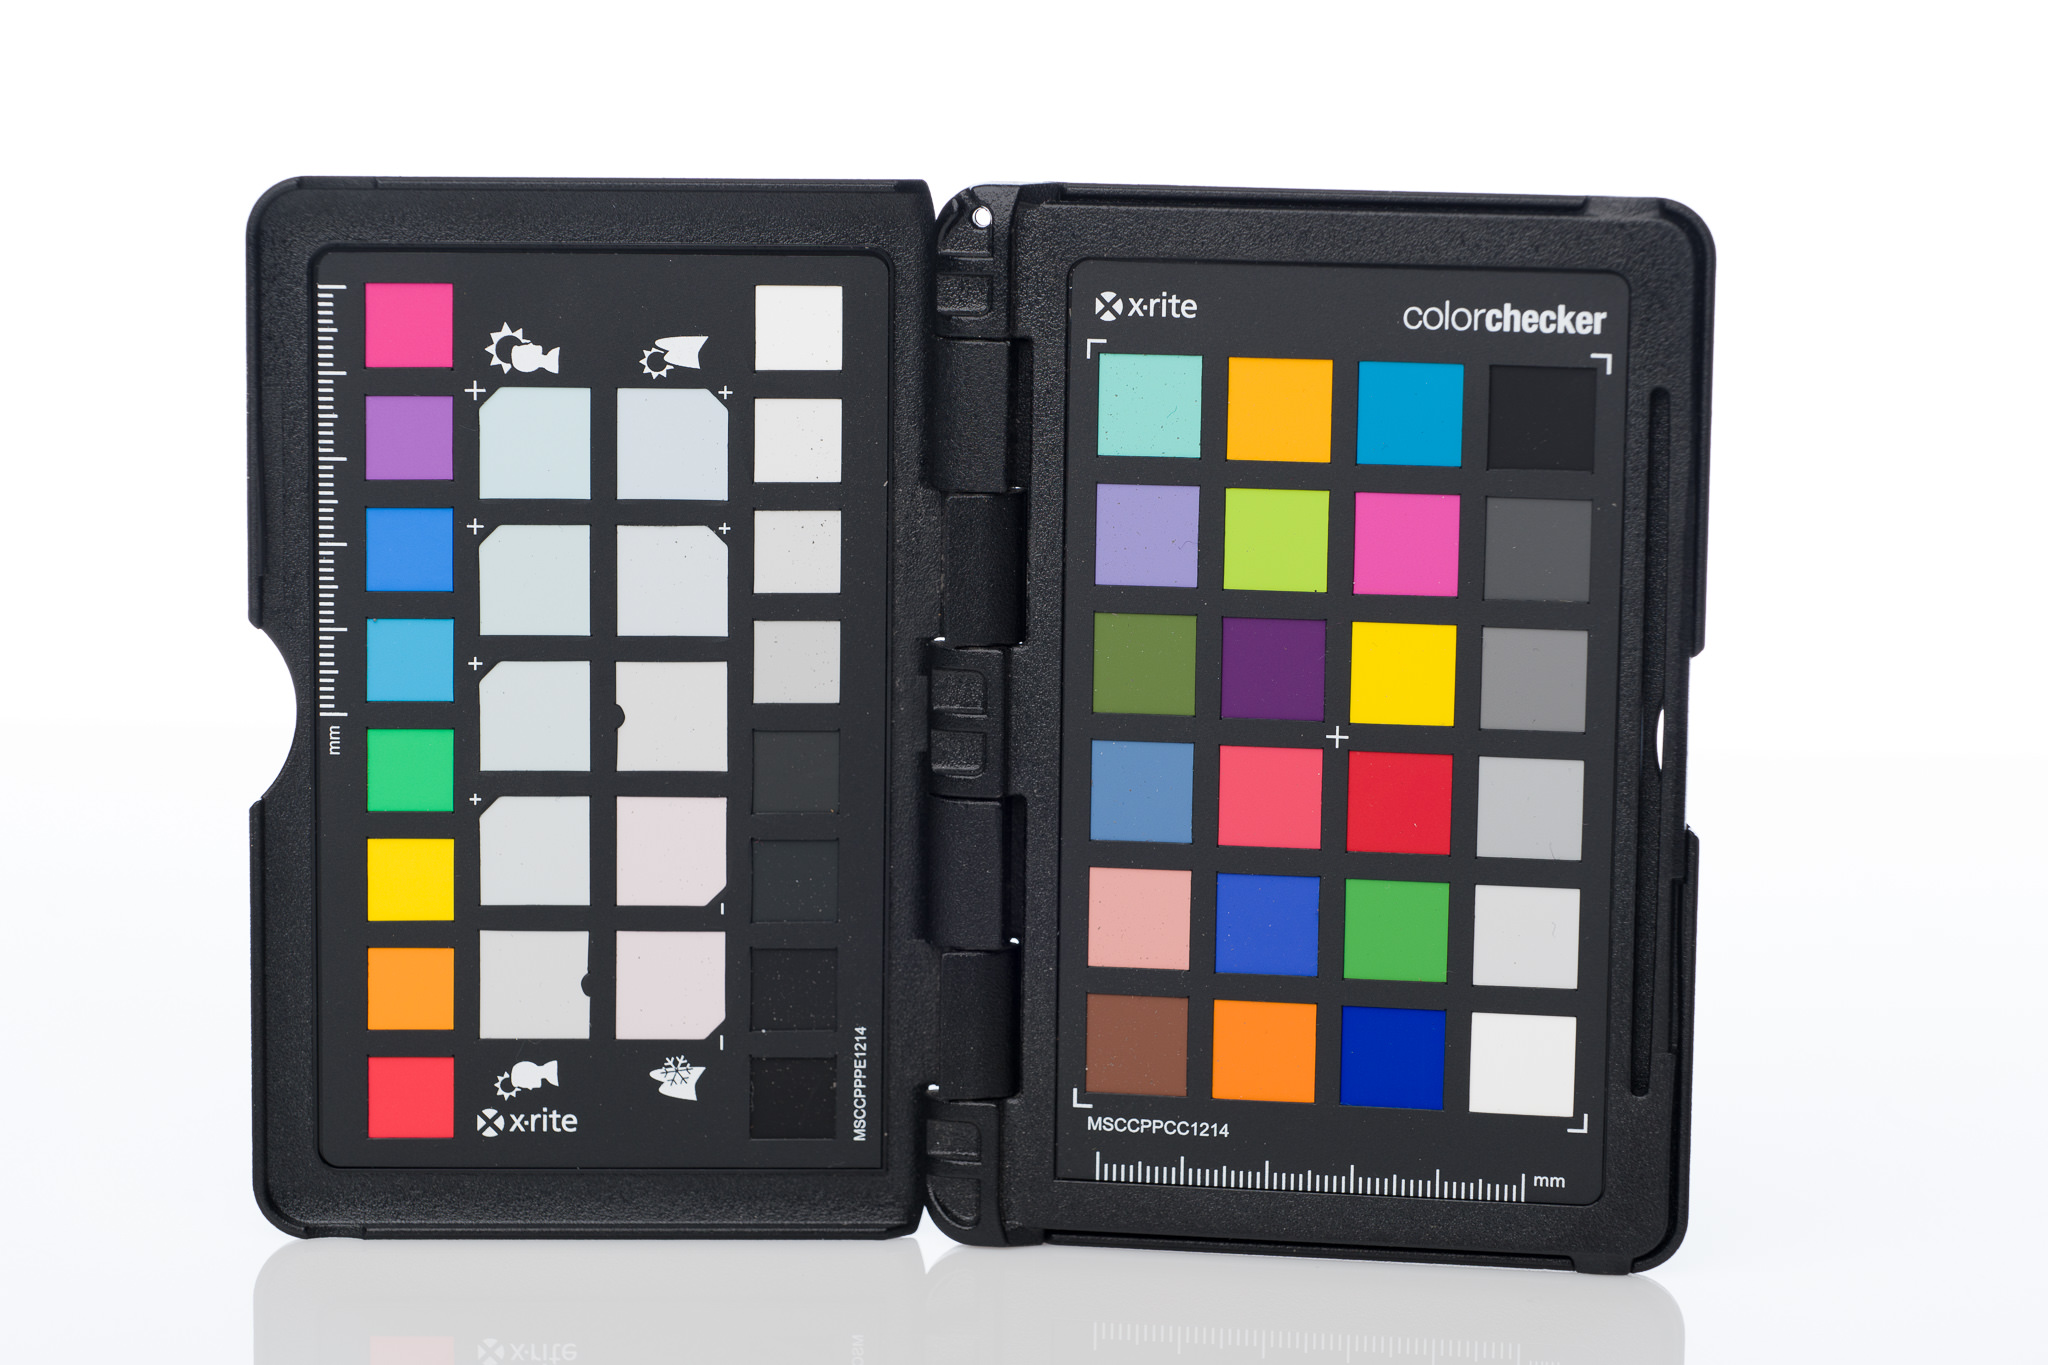
Using the ColorChecker Passport, your White Balance chips are in two rows. The top row has a human icon next to it, indicating photography of people. The bottom row has a mountain, indicating scenery. Each has not just one, but five WB chips to choose from. The idea here is that while in many cases you probably want accurate white balance, sometimes you want your WB to be a little cooler or a little warmer than neutral. That's what the extra chips are for. I've added the colored circles and letters below to make this more clear; the grey (N) is the neutral point, and the (N) on both the people row and landscape row are the same. The people row then contains four more chips, each progressively warmer than the previous, indicated here with an orange (W). The landscape row has both warmer and cooler (C) chips. The differences are subtle, and should really only be judged on a color calibrated monitor, but you can click each chip with the white balance eyedropper to see the difference. Watch the WB settings in Lightroom as you do this, and you'll see subtle shifts as you go down the line. To reiterate though, if you're going for pure accuracy, then you want to keep your white balance neutral.
 White balance can be set to neutral, or warmer or cooler depending on your needs
Assuming you set a custom white balance in the camera, setting a white balance now in Lightroom should make virtually no difference. However if you forgot to set a custom WB before you shot, then this can be a life saver!
Next… copy settings to multiple photos
In my opinion, the directivity white balance filter is the most accurate white balance tool in the world.
Joseph
Comments
Hi joseph, nice tutorial. I have problems with my colorchecker. the program creates the wrong color profile, especially the reds and blues. I shot with nikon d850 in nef and lossless compression.
I have the 2019 version of x rite colorchecker and I use lightroom classic cc, latest version 10.1.1
I tried using Adobe DNG_Profile_Editor and it seems to recognize colors well.


Comments from YouTube