1
00:00:00,340 –> 00:00:01,660
- If you've been using one of these,
2
00:00:01,660 –> 00:00:04,480
the X-Rite ColorChecker
Passport and you've been using
3
00:00:04,480 –> 00:00:07,080
Lightroom Classic, then you
know that to build a profile
4
00:00:07,080 –> 00:00:09,190
for this, you had a
plugin that you simply ran
5
00:00:09,190 –> 00:00:11,200
the photo of this passport through
6
00:00:11,200 –> 00:00:12,700
and that created the profile for you.
7
00:00:12,700 –> 00:00:15,670
However, if you're using
Lightroom CC now, as I am,
8
00:00:15,670 –> 00:00:17,780
there is no plugin architecture,
so you no longer have
9
00:00:17,780 –> 00:00:19,970
access to the plugin to make the profile.
10
00:00:19,970 –> 00:00:22,650
You can still do it, it's
just a manual process,
11
00:00:22,650 –> 00:00:24,767
takes a few steps so, I'm
going to show you how.
12
00:00:24,767 –> 00:00:27,934
(upbeat techno music)
13
00:00:33,470 –> 00:00:35,230
The process to do this
is actually quite easy,
14
00:00:35,230 –> 00:00:36,900
it just requires several steps.
15
00:00:36,900 –> 00:00:41,160
First you have to export the
RAW file from Lightroom CC
16
00:00:41,160 –> 00:00:43,900
and convert that to a DNG,
and then you take the DNG
17
00:00:43,900 –> 00:00:46,980
and run that through the
X-Rite software which generates
18
00:00:46,980 –> 00:00:48,420
the profile, and then you import
19
00:00:48,420 –> 00:00:50,850
the profile into Lightroom CC.
20
00:00:50,850 –> 00:00:52,040
That's all there is to it, really.
21
00:00:52,040 –> 00:00:53,730
But, let me show you exactly how.
22
00:00:53,730 –> 00:00:55,850
This is a shoot that I
did for a client's product
23
00:00:55,850 –> 00:00:57,920
and of course, we want to make
sure that the product colors
24
00:00:57,920 –> 00:00:59,610
are totally accurate, so to do that,
25
00:00:59,610 –> 00:01:02,230
we photograph the X-Rite
ColorChecker Passport.
26
00:01:02,230 –> 00:01:04,190
Now the first step is going
to be to export the picture,
27
00:01:04,190 –> 00:01:06,340
so I'll go to the File > Save To menu
28
00:01:06,340 –> 00:01:08,893
and you want to make sure this
is set to Original + Settings
29
00:01:08,893 –> 00:01:11,840
and you want to save this
not to the Desktop itself,
30
00:01:11,840 –> 00:01:14,040
but to a folder on the Desktop.
31
00:01:14,040 –> 00:01:16,930
If you save it to the Desktop
itself, the next step,
32
00:01:16,930 –> 00:01:20,622
the DNG conversion actually
wants to look at a folder
33
00:01:20,622 –> 00:01:21,530
and then you'll end up looking
34
00:01:21,530 –> 00:01:22,480
at everything on your Desktop.
35
00:01:22,480 –> 00:01:23,599
So just create a folder at this stage,
36
00:01:23,599 –> 00:01:25,640
it makes it a little bit easier.
37
00:01:25,640 –> 00:01:26,960
I'll create a new folder on the Desktop
38
00:01:26,960 –> 00:01:29,350
called DNG and save that.
39
00:01:29,350 –> 00:01:32,710
Next I'll open the DNG Converter,
click on Select Folder,
40
00:01:32,710 –> 00:01:35,140
select that folder that we
created in the previous step
41
00:01:35,140 –> 00:01:36,200
and click Convert.
42
00:01:36,200 –> 00:01:38,170
You don't actually have to
change any of the settings.
43
00:01:38,170 –> 00:01:40,470
The default settings for
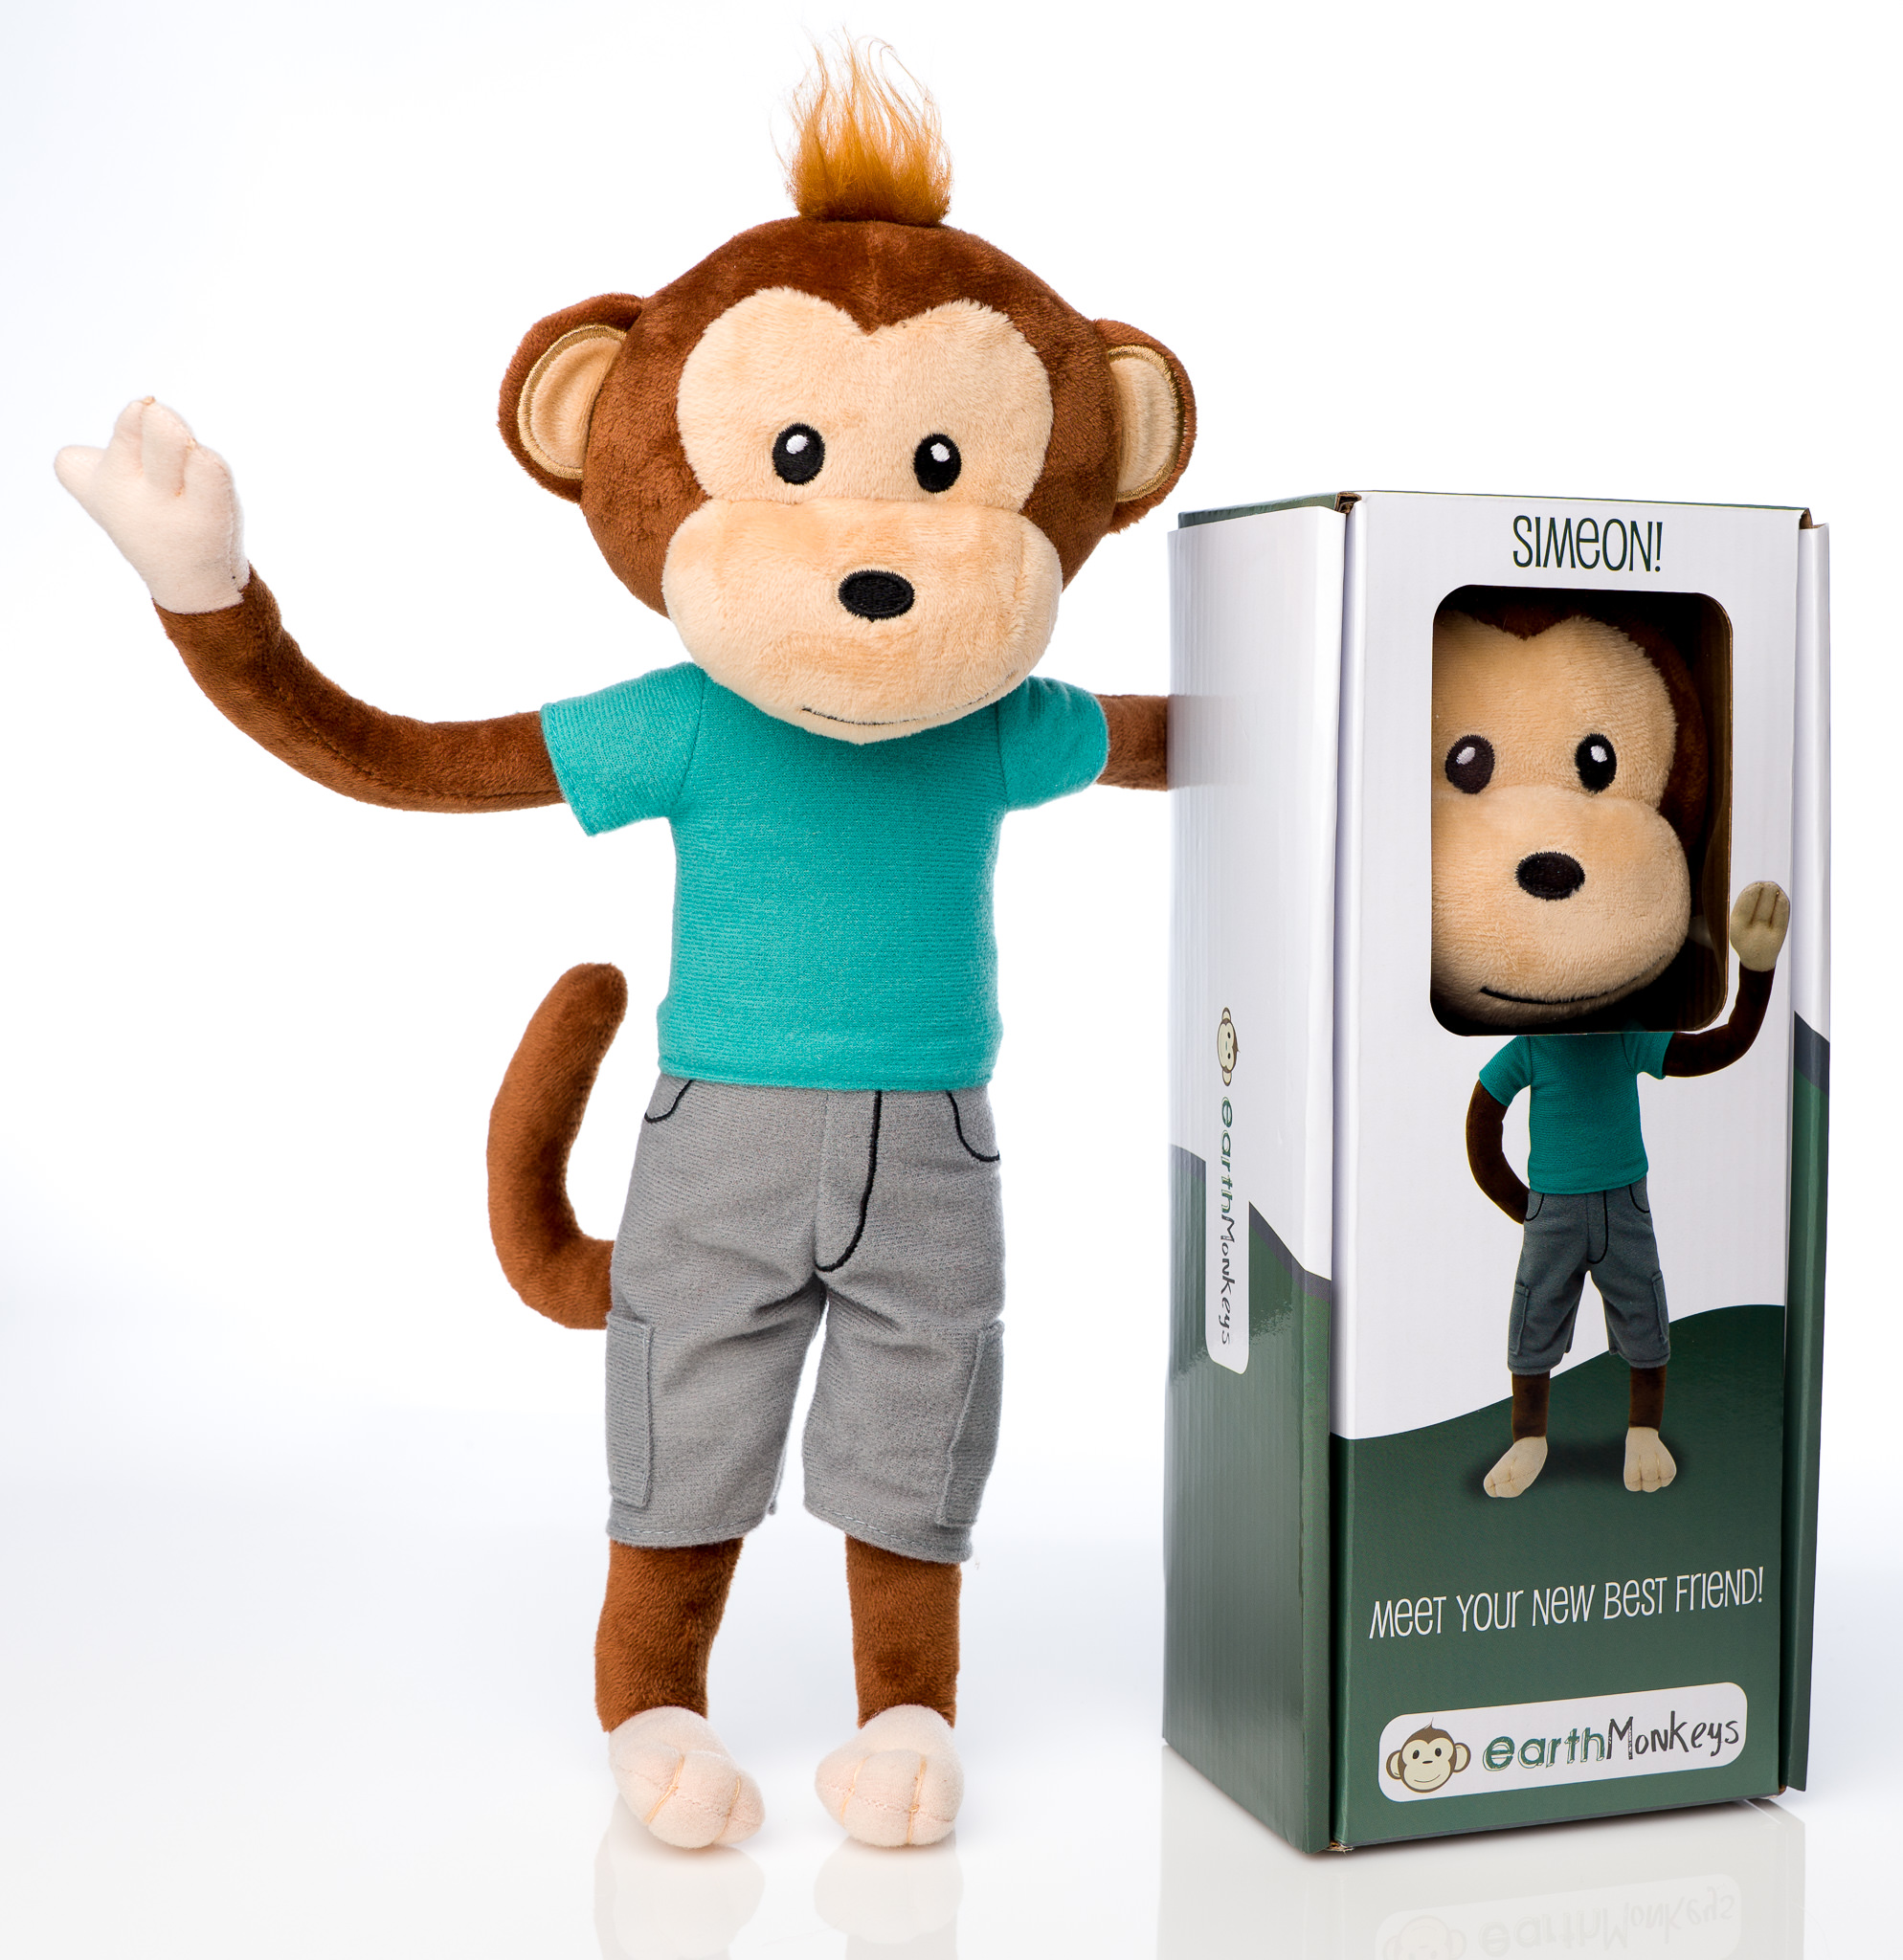
everything here is totally fine.
44
00:01:40,470 –> 00:01:41,823
It's going to create that DNG
45
00:01:41,823 –> 00:01:44,610
in the same location as the RAW file was.
46
00:01:44,610 –> 00:01:46,720
The next step is to go to the ColorChecker
47
00:01:46,720 –> 00:01:49,590
Camera Calibration software
and all you have to do here
48
00:01:49,590 –> 00:01:51,910
is just drag and drop this picture in.
49
00:01:51,910 –> 00:01:54,060
The software will actually
look at the picture,
50
00:01:54,060 –> 00:01:55,775
look for that ColorChecker Passport
51
00:01:55,775 –> 00:01:58,718
and draw its grid around
it, isolating all the colors
52
00:01:58,718 –> 00:02:00,940
and doing all the work for you.
53
00:02:00,940 –> 00:02:02,530
It's really simple.
54
00:02:02,530 –> 00:02:04,720
You can see here that it
has located the color grid.
55
00:02:04,720 –> 00:02:06,420
It's drawn this square
around it and each one
56
00:02:06,420 –> 00:02:08,210
of those little green squares is lined up
57
00:02:08,210 –> 00:02:10,306
over the color squares in the Passport.
58
00:02:10,306 –> 00:02:13,200
Now if for some reason
it didn't get it right
59
00:02:13,200 –> 00:02:15,960
or it didn't get it at all,
you can create one manually.
60
00:02:15,960 –> 00:02:17,520
You would simply click on this arrow here
61
00:02:17,520 –> 00:02:20,605
and then start clicking on the
four corners of the Passport.
62
00:02:20,605 –> 00:02:22,850
And if you needed to
readjust this for any reason,
63
00:02:22,850 –> 00:02:25,180
you can simply grab the
corner and move it around.
64
00:02:25,180 –> 00:02:27,640
Click on Create Profile and at this point,
65
00:02:27,640 –> 00:02:30,860
it's gonna want to save it to
the CameraProfiles location.
66
00:02:30,860 –> 00:02:33,770
Now this is fine if you
were using it inside
67
00:02:33,770 –> 00:02:35,814
of Lightroom Classic or
even inside of Photoshop,
68
00:02:35,814 –> 00:02:38,730
but this is a location that is deep inside
69
00:02:38,730 –> 00:02:41,660
of the Application Support
folder in your Library
70
00:02:41,660 –> 00:02:43,300
which is where those other Adobe apps
71
00:02:43,300 –> 00:02:44,600
are going to be looking for it.
72
00:02:44,600 –> 00:02:46,530
Lightroom CC isn't going
to be looking for it there,
73
00:02:46,530 –> 00:02:48,040
so I'm just going to
save it to the Desktop,
74
00:02:48,040 –> 00:02:51,800
which will make it easier to
import into Lightroom CC later.
75
00:02:51,800 –> 00:02:53,250
We'll go ahead and save that.
76
00:02:54,210 –> 00:02:55,940
Profile's been created successfully
77
00:02:55,940 –> 00:02:58,040
and now back over to Lightroom.
78
00:02:58,040 –> 00:03:00,600
Open the Editor, and at
the top under Profile,
79
00:03:00,600 –> 00:03:02,303
where it says, by default, “Adobe Color”,
80
00:03:02,303 –> 00:03:06,160
click on the Profile Gallery
and then from the three dots
81
00:03:06,160 –> 00:03:09,300
menu here, choose Import Profiles.
82
00:03:09,300 –> 00:03:11,590
There's the profile I just
created on the Desktop,
83
00:03:11,590 –> 00:03:14,870
click Import and that's
it, now it's been imported.
84
00:03:14,870 –> 00:03:16,810
Next I need to apply it to this photo
85
00:03:16,810 –> 00:03:18,590
and the cool thing about the
way that profiles are applied
86
00:03:18,590 –> 00:03:21,430
in here is you'll see it as
you roll the mouse over it,
87
00:03:21,430 –> 00:03:24,570
so it makes it really easy
to see the before and after.
88
00:03:24,570 –> 00:03:27,630
It's going to show up under
a category called “Profiles”,
89
00:03:27,630 –> 00:03:29,550
and here's the one that I just created.
90
00:03:29,550 –> 00:03:31,930
And you'll see as I run the
mouse over this back and forth,
91
00:03:31,930 –> 00:03:34,170
the difference that the
color profile is making.
92
00:03:34,170 –> 00:03:36,370
Look at the purples
and blues specifically.
93
00:03:36,370 –> 00:03:38,280
Those are having the biggest change.
94
00:03:38,280 –> 00:03:40,410
Go ahead and click it
to apply it permanently
95
00:03:40,410 –> 00:03:42,440
and then you can back out
of the Profile window.
96
00:03:42,440 –> 00:03:45,070
The next step is to do
a custom white balance.
97
00:03:45,070 –> 00:03:47,310
Now odds are, if you
went as far as shooting
98
00:03:47,310 –> 00:03:50,035
a ColorChecker Passport, you
also did a custom white balance
99
00:03:50,035 –> 00:03:52,630
in-camera before you shot this so you know
100
00:03:52,630 –> 00:03:54,570
that you have perfect white balance.
101
00:03:54,570 –> 00:03:56,990
But if you didn't or if you
just want to double check it,
102
00:03:56,990 –> 00:03:59,530
you can create a white
balance in the software
103
00:03:59,530 –> 00:04:01,670
using these colors on here.
104
00:04:01,670 –> 00:04:03,540
Now here's the really
cool thing about this.
105
00:04:03,540 –> 00:04:06,080
Let's just say that my white
balance was completely off,
106
00:04:06,080 –> 00:04:09,460
like I shot this at 2000
degrees Kelvin for some reason.
107
00:04:09,460 –> 00:04:13,210
If I then took that completely
wrong white balanced photo,
108
00:04:13,210 –> 00:04:14,980
ran it through the same
process we just did,
109
00:04:14,980 –> 00:04:16,670
it's not going to adjust
the white balance.
110
00:04:16,670 –> 00:04:19,520
The color profile ignores
the white balance completely.
111
00:04:19,520 –> 00:04:22,150
So it doesn't actually matter
what the white balance was
112
00:04:22,150 –> 00:04:24,320
when you shot it, when
you create the profile.
113
00:04:24,320 –> 00:04:26,480
You're still going to
get an accurate profile
114
00:04:26,480 –> 00:04:27,870
and then at this stage in the game,
115
00:04:27,870 –> 00:04:30,520
you can go ahead and create
a perfect white balance.
116
00:04:30,520 –> 00:04:33,520
To do that, I would go to
my white balance selector,
117
00:04:33,520 –> 00:04:35,420
grab the eyedropper and then click on
118
00:04:35,420 –> 00:04:37,400
one of the neutral white balance squares.
119
00:04:37,400 –> 00:04:39,670
But before I do that,
notice the white balance
120
00:04:39,670 –> 00:04:43,870
that came out of camera,
5500 and +27 Tint.
121
00:04:43,870 –> 00:04:46,200
I go and I click on
that white balance tool
122
00:04:46,200 –> 00:04:50,610
and it has just barely
changed it, 5450 to +25.
123
00:04:50,610 –> 00:04:52,490
In fact, if I click on
a few different places
124
00:04:52,490 –> 00:04:54,490
within that square, you're
going to see those numbers
125
00:04:54,490 –> 00:04:56,930
changing ever so slightly
no matter where I click.
126
00:04:56,930 –> 00:04:59,196
There's always going to be a
tiny, tiny bit of variation,
127
00:04:59,196 –> 00:05:00,900
but it's fine.
128
00:05:00,900 –> 00:05:03,070
Now I'm ready to copy the color profile
129
00:05:03,070 –> 00:05:05,220
and the white balance that
I applied to this photo
130
00:05:05,220 –> 00:05:07,330
to all the other photos in the shoot.
131
00:05:07,330 –> 00:05:10,820
To do that you'd go to the
three dots menu over here
132
00:05:10,820 –> 00:05:12,730
and you could choose Copy Edit Settings,
133
00:05:12,730 –> 00:05:14,610
which is going to copy
all of the edit settings
134
00:05:14,610 –> 00:05:16,410
and at this point, all
we've done is change
135
00:05:16,410 –> 00:05:18,770
the white balance and the
profile, so that's fine…
136
00:05:18,770 –> 00:05:20,436
but if you want to make sure you're
137
00:05:20,436 –> 00:05:22,690
only copying what you need, go to
138
00:05:22,690 –> 00:05:26,250
Choose Edit Settings to Copy
or hit Shift + Command + C.
139
00:05:26,250 –> 00:05:28,610
And then from here, you'll see
there's the profile selected
140
00:05:28,610 –> 00:05:31,010
with a bunch of other stuff
potentially selected as well.
141
00:05:31,010 –> 00:05:34,300
So I'll go ahead and choose
“None”, re-enable the profile
142
00:05:34,300 –> 00:05:38,410
and then under Color, enable
White Balance and hit Copy.
143
00:05:38,410 –> 00:05:40,250
And now those settings are
copied to the clipboard
144
00:05:40,250 –> 00:05:42,780
and I can paste them to all
the other photos at once.
145
00:05:42,780 –> 00:05:45,180
To do that you have to
get out of this view,
146
00:05:45,180 –> 00:05:47,170
tap the G key to go into the Grid view
147
00:05:47,170 –> 00:05:49,236
and I'll just hit Command +
A, select all of these images
148
00:05:49,236 –> 00:05:52,360
and Command + V to
paste, and you see there,
149
00:05:52,360 –> 00:05:54,800
it says “Paste Edit
Settings to 95 Photos”,
150
00:05:54,800 –> 00:05:57,290
and that is now being
applied to all the pictures.
151
00:05:57,290 –> 00:05:58,880
If you want to see the
difference of what one of these
152
00:05:58,880 –> 00:06:00,796
would look like, let's go
ahead and open up one of these
153
00:06:00,796 –> 00:06:03,470
of Simeon, our little monkey here.
154
00:06:03,470 –> 00:06:05,567
There's the photo with the
correct profile applied to it
155
00:06:05,567 –> 00:06:08,960
and if I want to see what the
original would look like…
156
00:06:08,960 –> 00:06:10,620
there's the difference. And you can see
157
00:06:10,620 –> 00:06:12,320
it's actually pretty dramatic.
158
00:06:12,320 –> 00:06:14,420
The blue in the shirt
has changed quite a bit.
159
00:06:14,420 –> 00:06:17,520
The “skin tone” on the
doll has changed a bit.
160
00:06:17,520 –> 00:06:19,520
This looks much more accurate and this is
161
00:06:19,520 –> 00:06:20,840
what I want to send to my client.
162
00:06:20,840 –> 00:06:22,150
Now one more thing I want to tell you.
163
00:06:22,150 –> 00:06:24,160
Since this is going to
sync across Adobe Cloud
164
00:06:24,160 –> 00:06:25,820
to all of your devices, you will have
165
00:06:25,820 –> 00:06:28,080
this custom color profile on your iPhone,
166
00:06:28,080 –> 00:06:30,980
your iPad or any other
computer you're using it on.
167
00:06:30,980 –> 00:06:31,880
Let's take a look.
168
00:06:32,790 –> 00:06:34,470
I'll go ahead and launch Lightroom
169
00:06:34,470 –> 00:06:36,540
and there's the shoot that we're in.
170
00:06:36,540 –> 00:06:38,350
There's the studio shoot selection.
171
00:06:38,350 –> 00:06:41,070
There's the picture of
the ColorChecker Passport.
172
00:06:41,070 –> 00:06:43,630
You'll see down on the
bottom, there's my Profiles.
173
00:06:43,630 –> 00:06:45,070
And from here, I have access to all
174
00:06:45,070 –> 00:06:46,590
the profiles that were installed.
175
00:06:46,590 –> 00:06:50,280
There's “Profiles”, and there's
the one I just brought in;
176
00:06:50,280 –> 00:06:52,660
”S1 EarthMonkey”. And
that's all there is to it!
177
00:06:52,660 –> 00:06:54,770
If you like what you saw today,
please hit that like button.
178
00:06:54,770 –> 00:06:56,280
If you like me and the videos that I do,
179
00:06:56,280 –> 00:06:58,380
please subscribe, and
we'll see you next time.
 Copy Edit Settings or Choose Edit Settings to Copy
 The Choose Edit Settings to Copy dialog in Lightroom


Comments from YouTube