Check out the video version of this tip at the end!
Split toned images are those photos where the original color is gone, and the shadows shift to one tint while the highlights shift to another. If a monochromatic image has only one tint added to it, such as a brownish tint making a sepia image, that’s simply a color tint. But when you split the shadows to one direction and the highlights to another, you have a split tone.
I released a preset pack called “ApertureExpert’s Preset Pack Split Tone” quite a while ago, and while of course you can reverse engineer those to see how it’s done, I thought I’d share the process here. It’s quite simple, and this way you can make hundreds of your own presets, too.
The starting point
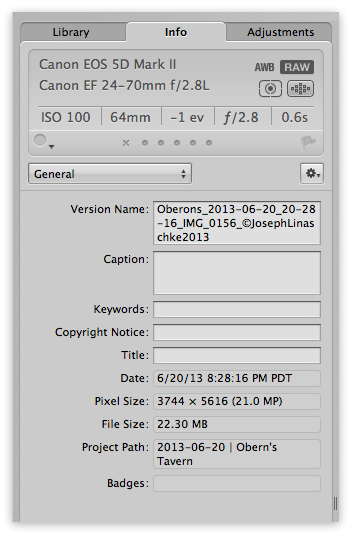
Like any effect, there are images where this treatment works very well, and images where it simply doesn’t. Here’s the photo I’ll be starting with. It’s largely monochromatic to begin with, but that’s actually not terribly important. What’s more important is that it has good range from shadows to highlights. In this shot the sky is blown out (it was a terribly overcast day) but the statues themselves have good range from dark to light, and that’s the part of the image we’ll be focusing on.
 The original image shows good tonal range in the statues, making a great candidate for the split tone effectUndoubtedly you’ll want to experiment, and you’ll find that some photos look awful with this treatment, while others look great.[more]