Macphun Noiseless 1.1 Gains Batch Processing

Macphun Noiseless has just been updated to include batch processing, a significant feature for serious users of the app, as well as adding a slight speed boost. If you haven't seen Noiseless before, check out this article I wrote back in April, “Noiseless by Macphun is Now Available… and It's Amazing”. It's a very impressive noise reduction tool that, in my earlier article, took a 25,600 ISO salt-and-pepper image and made it totally usable.
Here are the official release notes:
Noiseless Pro 1.1.0 What’s new?
This update introduces batch processing. Batch processing let's you enhance many images at once: remove noise, resize, change file names. This saves your time and improves your workflow.
Other updates include: 14% speed increase - Noiseless remains the fastest noise reduction software for Mac. We've also improved Light, Moderate and Medium presets to give you better results with portraits and photos where the noise is very small.
How to get it
If you already own the Pro version, which is what you would have bought from the Macphun website directly, simply launch Noiseless Pro and it should notify you of the available FREE update, or if you've disabled auto-update, select the menu Noiseless Pro > Check for Updates…
If you don't already own it, you can buy it here [affiliate link].
If you own the non-Pro version, purchased from the Mac App Store, then it's available as an in-app purchase for $7.99. You'll see an update waiting that you'll need to run first, then the in-app purchase will be available.
Let's have a look
Using the batch tool is exceedingly simple. First, select the menu File > Batch Processing ⌘B and you'll be greeted with the Batch Processing window, inviting you to load or drag-and-drop your photos in. One curiosity is that when you first launch Noiseless, you'll see an open dialog, which you can't get past without opening something. And you can't access the Batch Processing menu until you get past this open dialog. So you have to open an image first, which you'll then ignore, and move on to Batch Processing. I think an update that lets the Batch Processing menu be selected while in the initial open dialog would be a good idea.
 The Macphun Noiseless Batch Processing window
Once loaded, click Process, and you'll see the following Batch Options window, which as you can see offers automatic Auto or Manual settings, output format choices, and image sizing options.
 The Batch Options window in Noiseless gives you a variety of choices, including manual or automatic noise removal processing
Once you've chosen your settings, the processing ensues…
 The Noiseless Batch Processing in action
That's all there is to it. The preview window above, by the way, simply shows the original image it's working on, not the final result. You'll have to wait for each image to be done to see how it came out. Of course since it's exporting to a folder, you can spot check as you go, and if you decide that the results aren't what you're looking for, you can Cancel the process, make some adjustments and start over.
Save settings for later use
Another cool feature is that you can save your settings — including noise reduction method, file format and size, and naming conventions — as a preset to re-use later.
 Batch Process settings can be saved as presets for future use
How fast is it?
As you can see from the screenshot above, I processed 127 images. These were RAW files from a LUMIX GH4, and the total duration was 37m 27s, or 17.7 seconds per image. That's very fast for noise reduction, actually. I left the settings on automatic since there were mix of ISO settings in the shots, and a variety of lighting conditions too, and just let Noiseless do its thing.
I re-ran the test on ten TIF images, since that's probably more realistic of what you'd do. Processing RAW files in Noiseless means you're not doing any retouching, exposure adjustments, etc. before de-noising. If you prefer to work that way, you'd want to export TIF files from Noiseless, then open those in your editor of choice for further processing. Or if you do your editing first, you'd want to export as TIF files, process those with Noiseless, and probably have those saved as JPEG files. Regardless, running that version of the workflow on ten images resulted in a virtually identical per-image processing time of about 17 seconds.
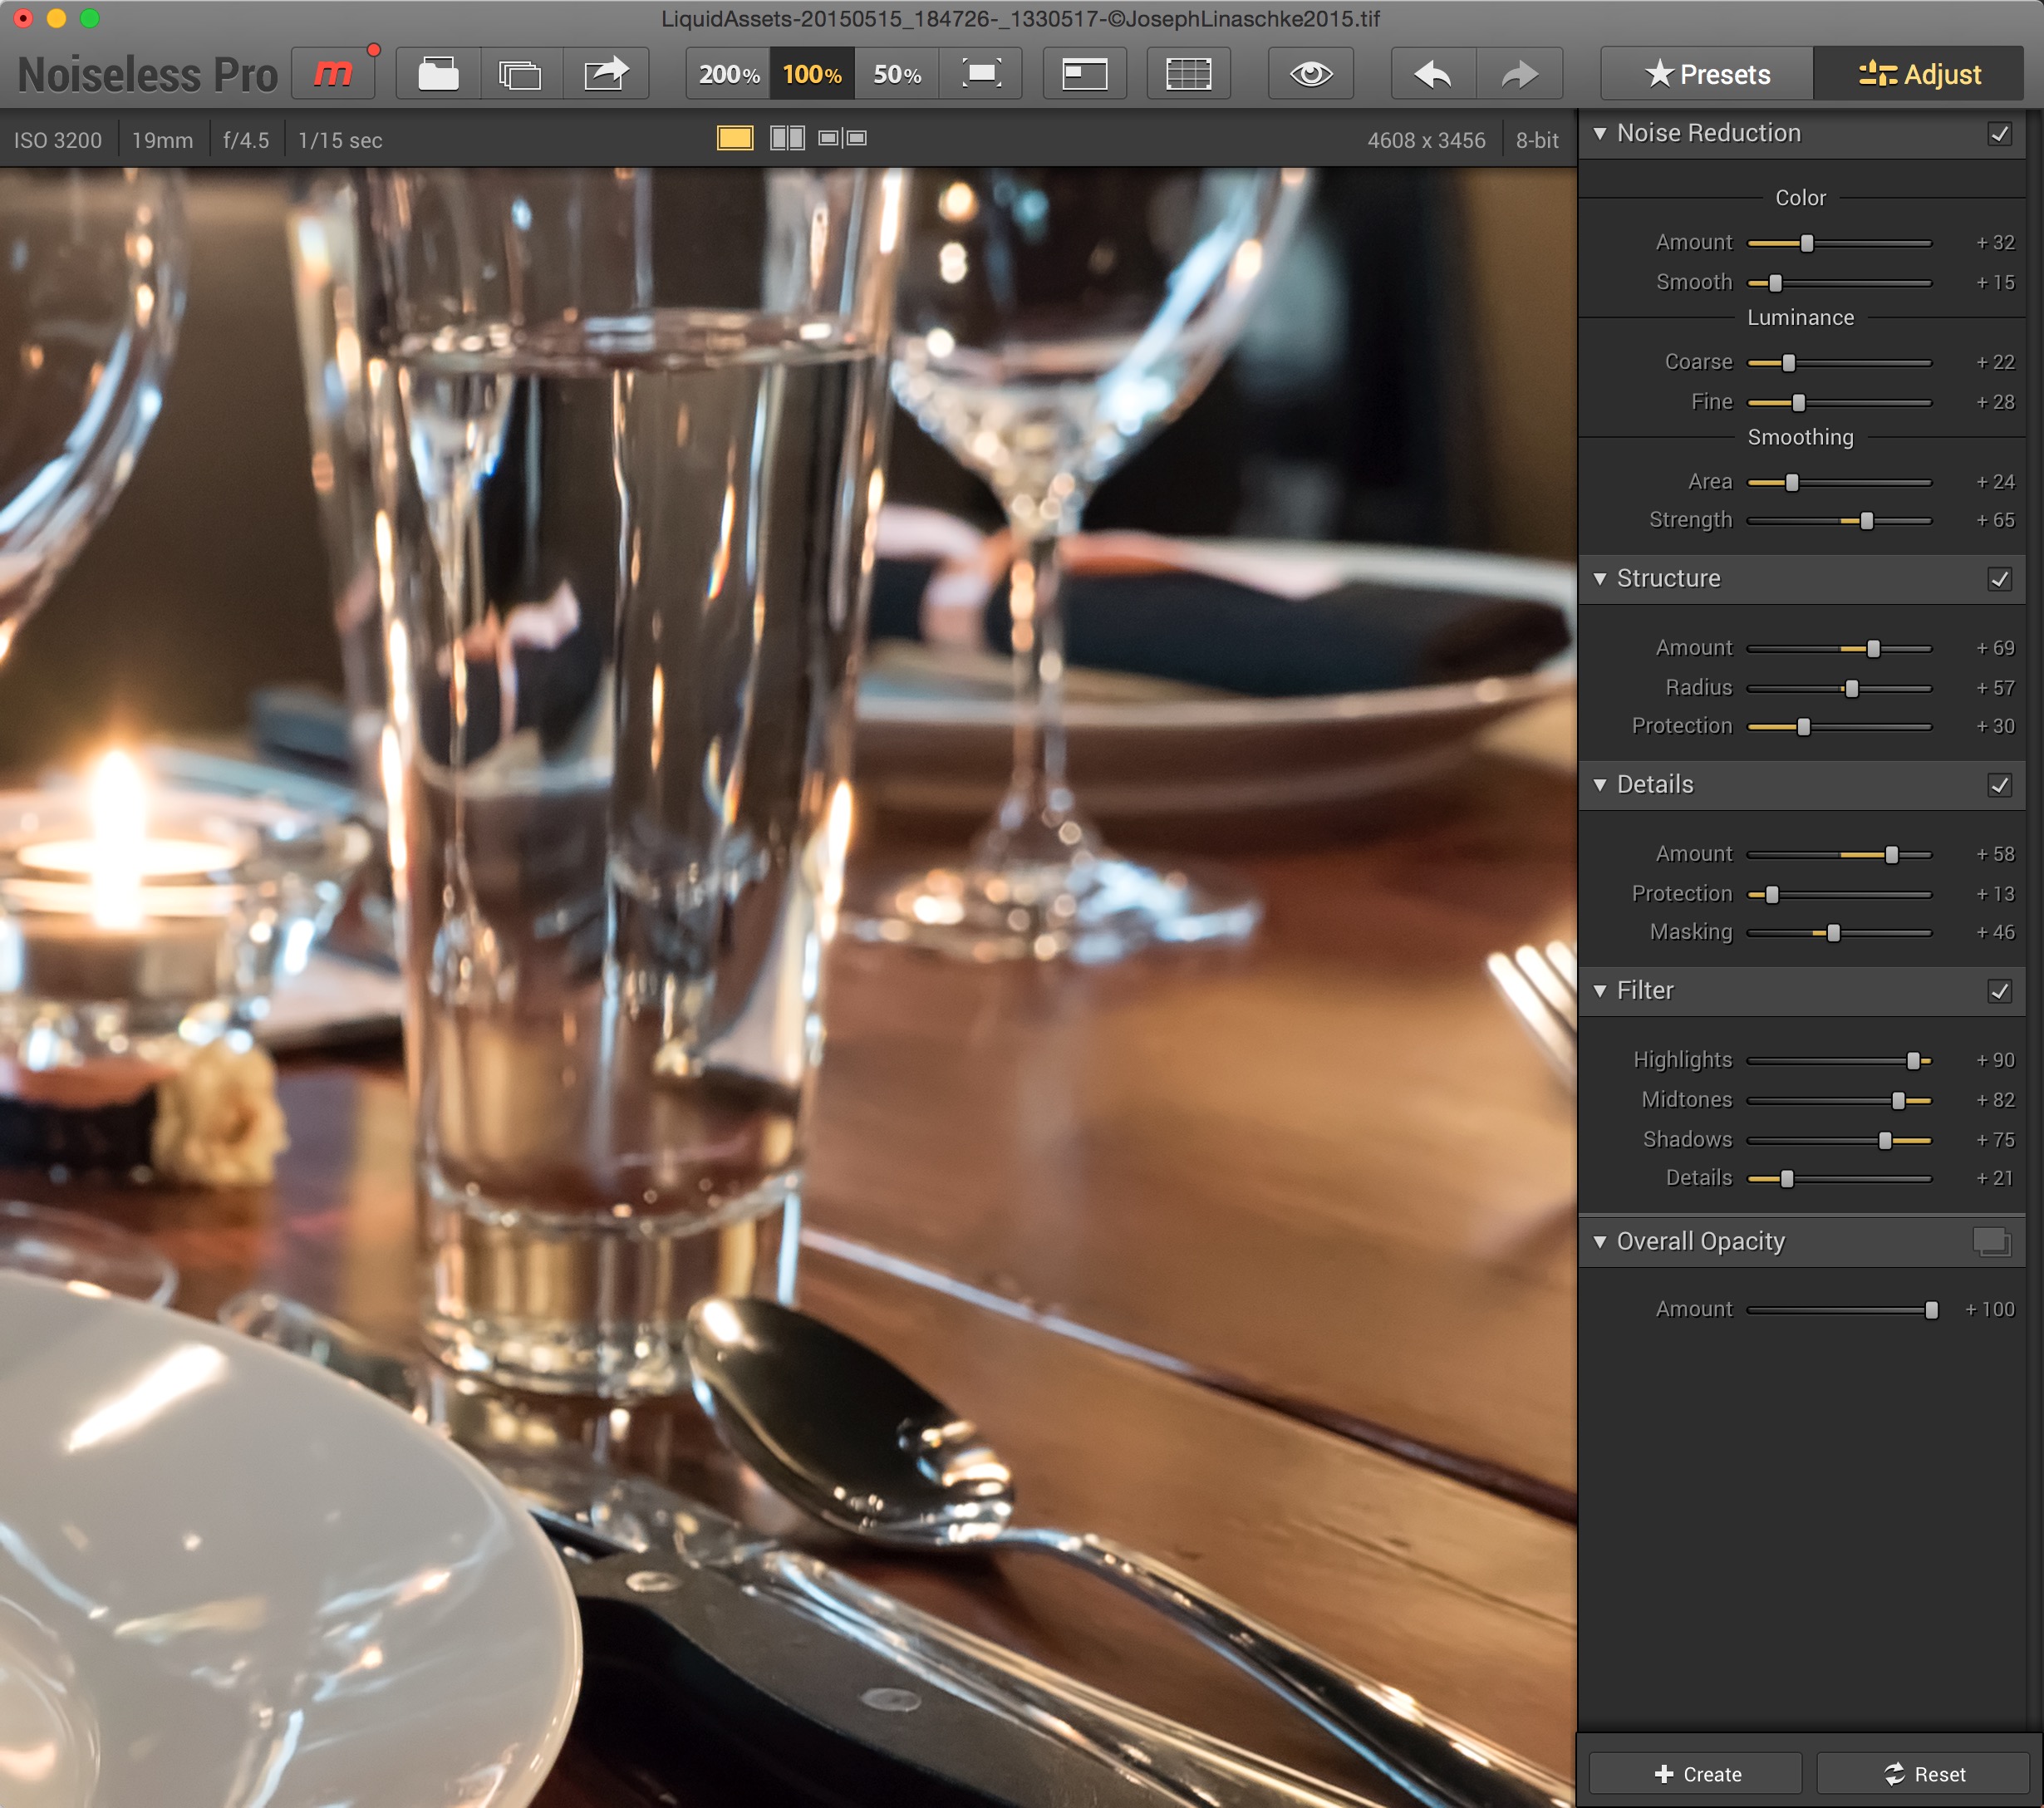
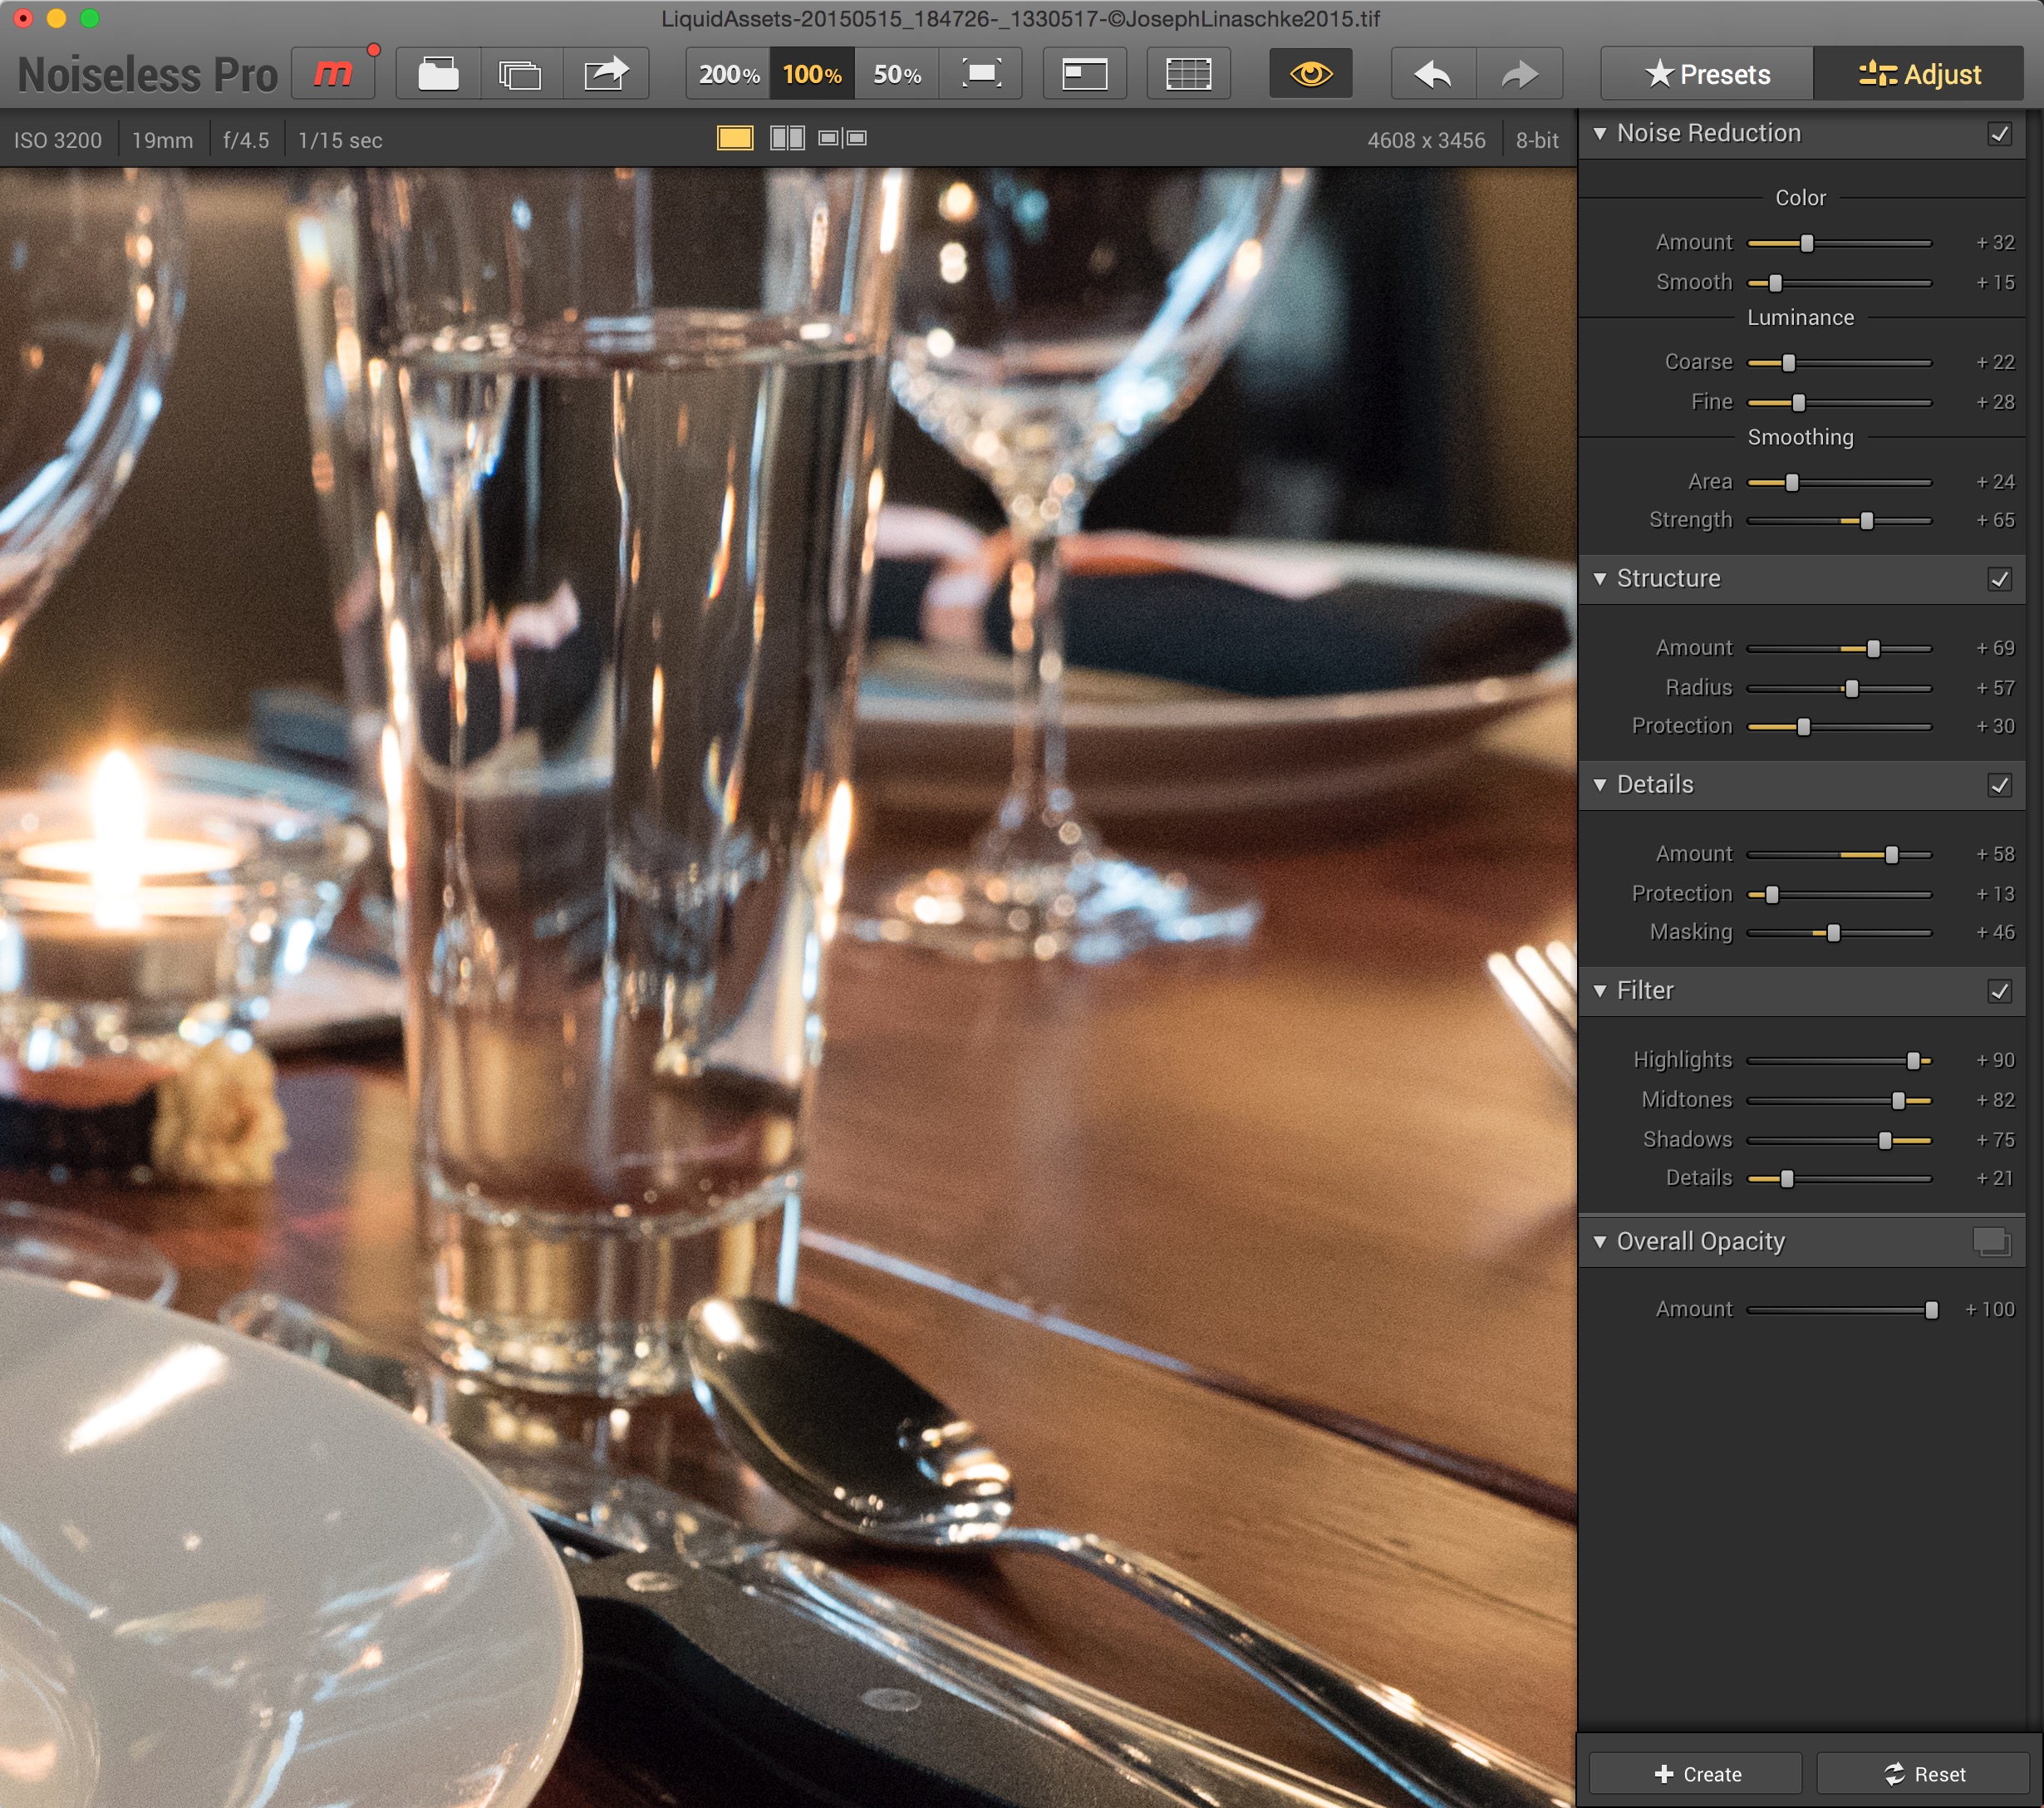
Results, please
Here's a before/after view of the image you see in the Batch Processing screenshot above. This was an interesting screenshot comparison to create, actually. It turns out that what you're seeing on the “original/before” side, as well as what you're seeing in the screenshot above, is a totally pure, non-de-noised image. When you open the same photo in Photoshop, Lightroom, or even Preview, some degree of noise reduction is applied automatically. So the “original” isn't quite as bad as what you see here, but the end result is definitely better than it started in any app.
Demo video from Macphun
Check out the video below, from Macphun, demoing the new batch processing feature.
Comments
on September 3, 2015 - 12:42am
Thanks for the write-up on Batch processing, Joseph. I’m glad you pointed out the “curiosity” above: I’m pretty sure the logic was that photographers would open one of the images in the batch, select the best preset and/or create a custom one fine-tuned for that session, and then move on to process the entire session’s photos.
That being said, I agree that simply making the Batch menu available right from the onset would be a good idea and I’ll make sure the engineering team hears about it.
Kevin (from Macphun)
Kevin La Rue, Skylum
on September 3, 2015 - 1:27am
Right on, thanks! Appreciate you being here to answers user questions, Kevin. I wish more companies were as involved!
@PhotoJoseph
— Have you signed up for the mailing list?