Using GPX Tracks to Geotag Photos with Places in Aperture 3
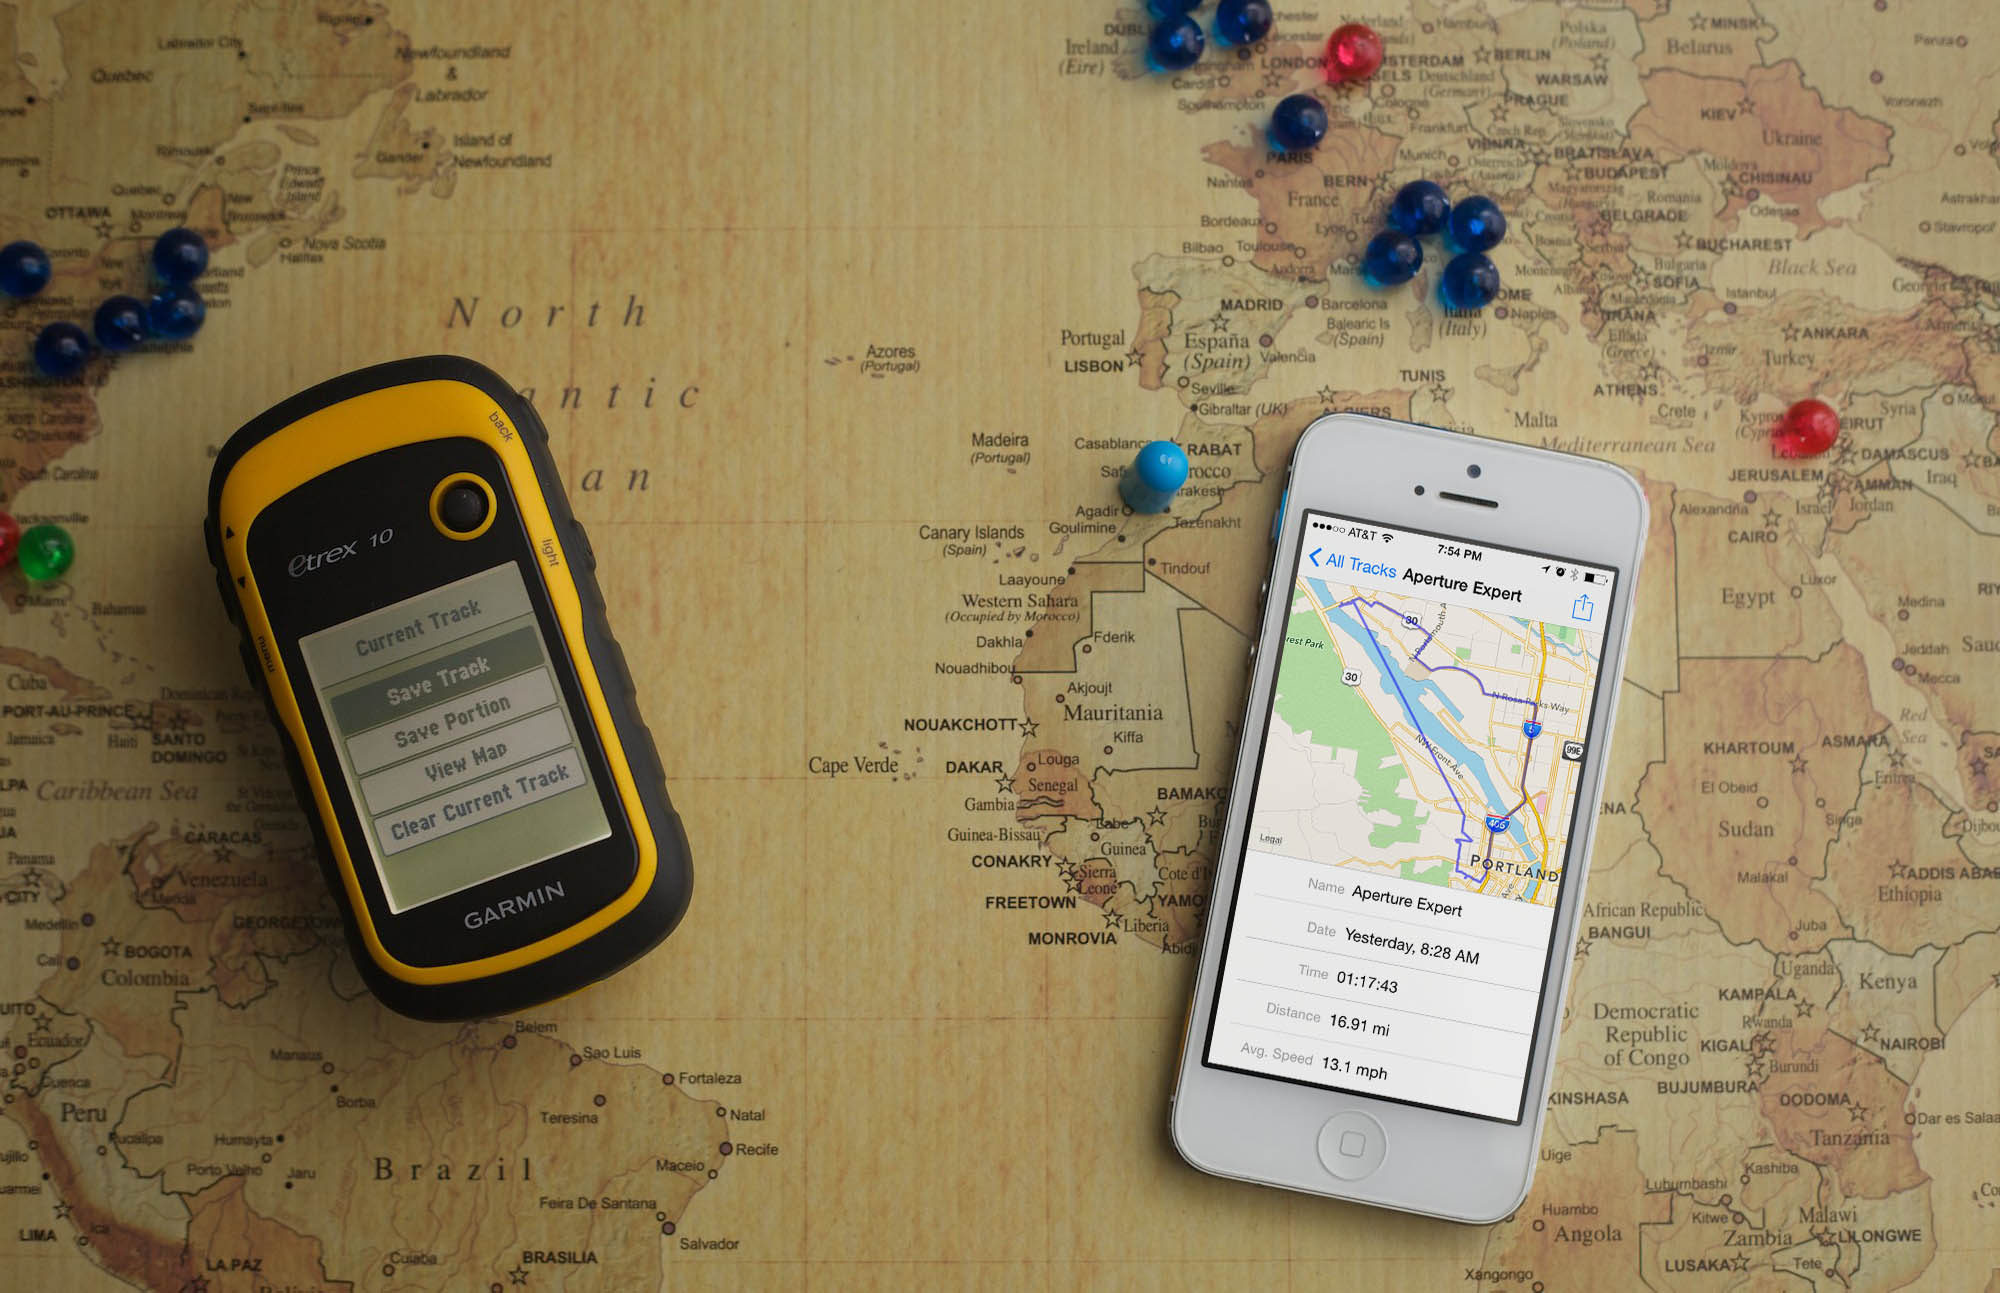
 You can use dedicated GPS Units such as the Garmin Etrex 10 or your iPhone using apps such as Tracker.
What are GPX Files and How to Create Them
I do a lot of exploring and geotagging of my images using Places in Aperture 3; it's a great way to catalog where I've been. It not only gives me the ability to look up where a specific image was captured, but can benefit the images online with increased SEO performance. Aperture has a great feature that lets you sync your location with estimated location coordinates taken from images captured on an iPhone. But for people like me who forget to snap a photo with your iPhone, there's another approach using a GPS device that automatically tracks your location.
So first, what exactly is a GPX file and how do you create them? In basic terms, as you move around a location a GPS enabled device will periodically connect to the GPS satellites in space to determine and log your location. All of your logged locations together make up your track, which is stored in a .GPX file that can then be used to sync up with your photos to quickly geotag them within Aperture. In the past I have mostly created GPX tracks with a dedicated GPS unit designed for hikers and explorers to navigate and log their locations. Lately, I have been experimenting using my iPhone and the app Trckr to create GPX files. Both methods will work but come with their own pros and cons. From my experience the dedicated GPS units are clunky, complicated, and have terrible user interfaces. The benefits are that they have their own dedicated battery that will last much longer than an iPhone, and tend to be slightly more accurate. The apps I've used on my smartphone however have much better interfaces and are much easier to use. The major downside to using a smartphone for creating GPX tracks is that it drains your battery quickly and tends to be slightly less accurate.
Time Sync Your Devices
Before I go out on a shoot where I know I'm going to geotag the resulting images, the first thing I do is check the clock on my camera to make sure it matches the time listed on my GPS enabled device. This is key; Aperture will use the time stamps in the image file to sync up with the locations in the GPX file. If you forget to set your camera's clock before you go out, there is something you can do to prepare your images before geotagging them in Places—you can use the Adjust Date and Time command to fix the times after the fact.
To use Adjust Date and Time, select all of the images you want to change. Navigate to the command under the file menu Metadata > Adjust Date and Time. That opens a dialog that will allow you to modify the time appropriately. The dialog will display just one of your images (the primary selection); make the appropriate change to the capture time listed in the window and select “Adjust”, and this will make the same adjustment to all of the selected images. If your camera was set to 9:01:25 AM, and you then adjusted it to 9:06:25 AM, it would adjust all of the images by 5 minutes, not just the image in the window.
If you select “Also change original files”, then the original RAW/JPG files will have their EXIF metadata changed as well. I recommend doing this; you may as well correct the files everywhere.
 One of the images is displayed - make your adjustment to this image and the rest of the selected images will get the same time adjustments applied
Steps to Geotag Your Images
If you haven't already done so you now need to retrieve the .GPX track file from your GPS device. The procedure for this varies by device, and you can store the file anywhere you want that is accessible by the finder.
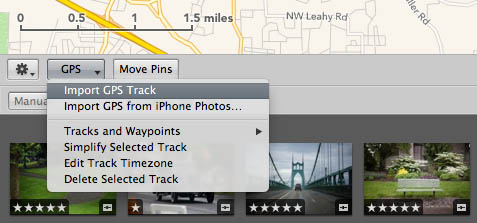
In Aperture, find the images from your shoot and open them in Places. Click on the GPS drop down button at the bottom of the window and select Import GPS Track. Now navigate to the file in the finder and choose the track file.
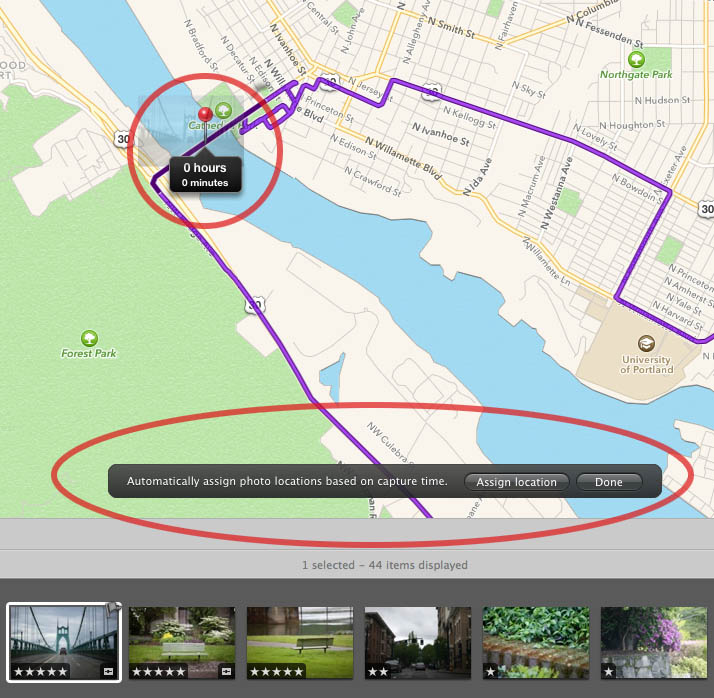
The map in Places should have automatically zoomed in to the locations' geographical region of your track and your track is shown as a purple line on the map. To sync up your photos you now need to choose an image and drag it onto the purple track line and find its location based in time. A popup info box will appear below a pin for the photo telling you where the photo was in conjunction to the time stamp of the GPX track. Assuming the two are in sync, you will want to move your photo until the time stamp displays 0 Hours / 0 Minutes. This is frankly an inconvenient part of this process because it should be automatic, and I'm hoping this will be easier in a future version of Aperture.
A new dialog box will appear at the bottom of the map window that will give you the option to automatically geotag the remaining images. Click on the Assign location button to do so and the rest of your images will be automatically added to the Places map and geotagged for you.
 As you drop the pin over the track (the purple line) the time syncs up to match and displays 0 hours 0 minutes. After you place the pin you can use the box at the bottom of the screen to automatically tag the rest of the photos.
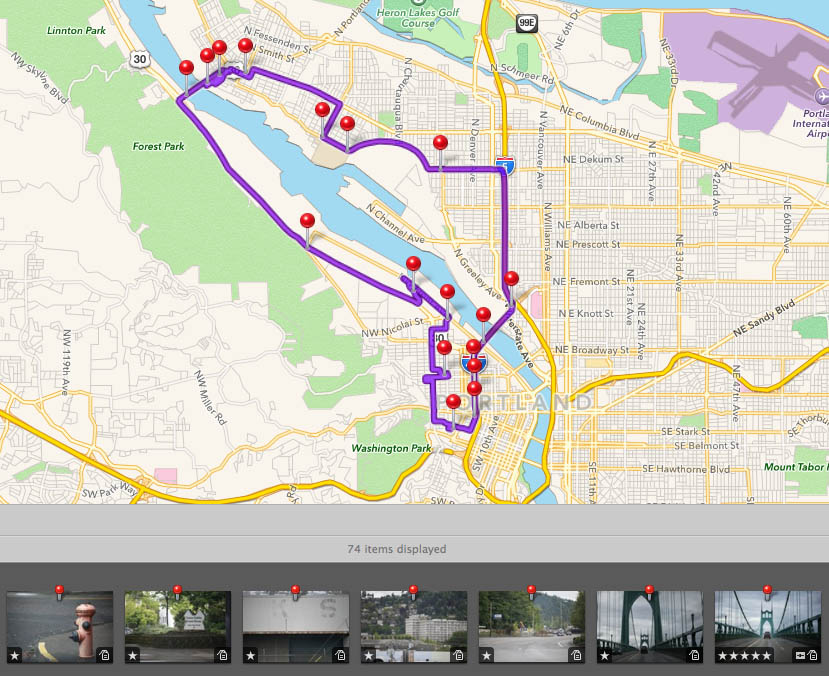
Once your images have been tagged, a red pin will appear above the image in the film strip as seen in the screenshot below.
Conclusion
Geotagging your images with Aperture is not only convenient but also very informative. The images on the map are a virtual place holder of where you have been and where you have yet to go. Make sure to set the time in your camera to match up with your GPS enabled device before you go out; otherwise you will have to compensate after the fact. Have fun tagging and exploring!
More like this
- Tip
- Tip
- Tip
- Forum
- Tip


Comments
on May 31, 2014 - 4:59pm
Thanks, Nick. A really nice review; very informative and much appreciated.
Florian Cortese
www.fotosbyflorian.com
on June 2, 2014 - 12:07pm
Nice but while Trckr is not bad to create your GPX files, iMoves has muuuuuch more features with a lower price tag. Also doesn’t drain the battery as fast as the others I have tried
on June 2, 2014 - 6:07pm
Hello Oliver,
iMoves does look like a nice app with more features. I really like the user interface.
For me the one thing I liked about tracker is how 1 functioning the app is. It just tracks no frills; for me that's mostly what I need. For people who want more features iMoves definately looks like a great alternative.
It looks like they are both free with in-app purchases so I would recommend people try both out
For photographers I really think if you want to continue using either of these it sounds like the in-app purchases they offer are a must:
> Trckr has a $2.99 in-app purchase that will let you email tracks that are over the first 5 minutes
> iMoves looks like it has a $1.99 to tracker longer than 15 minutes per activity or trip.
Thanks for the recommendation!
www.nicknieto.com / Portland, Oregon
on June 7, 2014 - 9:03pm
There’s also MotionX GPS which is free (well, it was when I got it a couple of years ago). The interface is a touch clumsy but it works well enough. It emails the track to you which is very convenient - it remembers several email addresses, you just tick the one(s) you want.
GPS does indeed drain the battery and, be warned, you might find your iPhone doesn’t last the day. But I wouldn’t expect battery life to vary with the app - iOS controls and ‘runs’ the GPS receiver, the app just reads the data.
Anaxagoras, Newcastle upon Tyne, UK
on June 11, 2014 - 1:22am
Hello All!
This is my first post on your site; firstly, I would love to just say thanks for being here. What an amazing wealth of knowledge on Aperture! I had been looking at Apple’s website on Aperture (in particular this link) and had wondered how to use GPS / GPX / Geo-tagging properly - especially with the purple track lines which wasn’t very clear to me. This article and the comments are so helpful. Taking my Aperture Exam soon and hope to certify. Thanks much!
Daniel
on June 11, 2014 - 5:16am
Thanks for the comment Daniel. I'm really glad this helped you! I love those aperture in action videos - Good luck on your exam!
www.nicknieto.com / Portland, Oregon
on June 26, 2014 - 6:43am
Great article! I’m obsessed with adding location metadata to my photographs. I use an app called Geotagr that’s built for photography specifically.
I wrote a review of Geotagr a while ago and I still love it. You can export the gpx data as well, but you can also tag your photos before importing into Aperture (which is what I do) and avoid the whole trying to find the zero moment by dragging.
Another place I learned a lot about it is with the Live Training Session on Places here on the site.
Gabriel Ponzanelli
http://www.disturbancesinthewash.net