Interview and Demo with Sean Bagshaw… “Extending Dynamic Range”
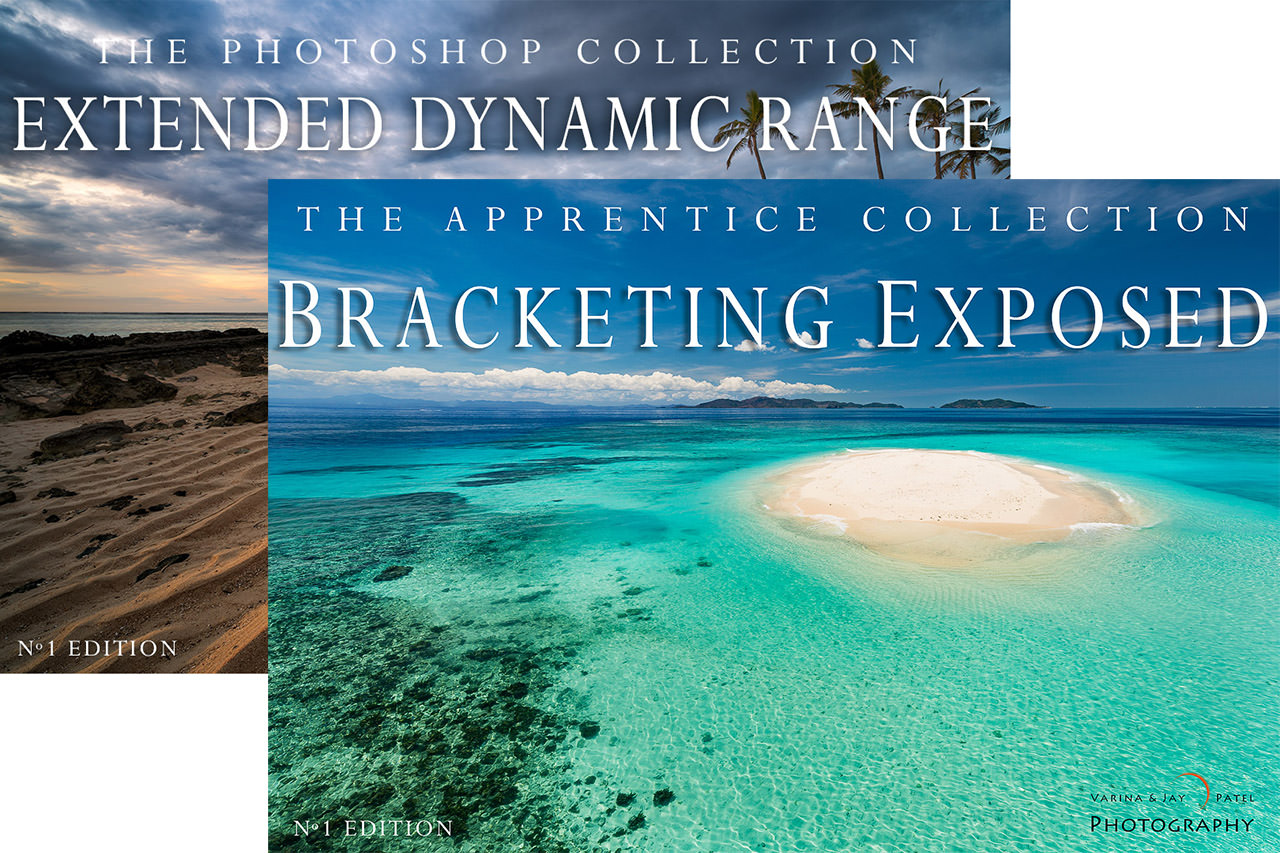
You know those HDR image that don't look like HDR? Those fantastic landscape photos where every shadow and every highlight and every drop of color just ooze off the screen? In this interview and live demo, landscape photographer and renowned educator Sean Bagshaw introduces us to his course, “Extended Dynamic Range”, available as part of the “Bracketing and Blending Bundle” which also contains the “Bracketing Exposed” course by Jay and Varina Patel, plus six new exposure blending workflow tutorials.
This brand new course is available for nearly half-off until midnight EST on Feb 16th. The collection retails for $150, but is only $80 right now. Don't miss this chance!
Head to VisualWilderness.com to check it out
Watch the interview and demo with Sean Bagshaw below, recored on Feb 04, 2016.
Launch price $80 (regular price $150)
Again the sale ends on Feb 16, so don't miss the opportunity!


Comments
on February 5, 2016 - 10:50pm
For Sean: When shooting between the twilights, say at sunrise, and you opt to add a transition capture, is it most useful later in post, to have captured it in tandem with your darker exposed sky capture (just after), or a bit later, in tandem with your lighter foreground exposures (just before your foregrounds) Thanks
on February 6, 2016 - 2:41am
Hey Big Wave - I don’t know If I’m on it enough to plan this sort of thing out in advance and I think it is one of those things that varies from case to case. When I’m photographing as the light is changing I usually take exposures to cover the entire tonal range multiple times over the course of the sunset/sunrise. Later I evaluate all the exposures and select the sky and land frames that I think will work together the best. Sometimes I might find that a sky exposure taken earlier gives me the look I want and other times it might be a sky exposure taken later. There are so many variables that I just try to capture as much good material in the moment as I can and then decide how to best put it to use later. That’s not a very concise answer, but neither is my shooting style I guess :-D
on February 6, 2016 - 5:46am
The live demo was great. You’re getting me inspired for some great landscape photography.
Hope you don’t mind me getting off topic. This video had some of the best sound of all so far. I’d be interested in any details on the mic setup. I know you’ve been experimenting with different mic setups. I’m guessing this is the shotgun mic setup? If so, which mics and what placement? In addition to always trying to advance my understanding of photography and “photo apps”, I’m also trying to improve my audio recording techniques for video. I’m working on a 5th production of a local musical youth theater group and recording great audio is my biggest challenge. The audio is more important than the video.
Thomas
on February 6, 2016 - 9:15pm
No problem Thomas. Yes new mic, and a bit of tweaking. The mic is a boom; the Rode NTG2 and then there's a compressor, the “Really Nice Compressor” FMR RNC 1773. I actually got to compare the Rode to a Sennheiser MKH 416, which is somewhat of a gold standard (or so I'm told), and my audio engineer liked the Rode better for my voice and room. Which is nice as it's ¼ of the price!
The Compressor is in place to increase levels and add more of that “radio” voice sound, although it's not dialed in yet.
Finally on this particular recording the encode got a little EQ, which will now happen automatically for all future encodes (built a nice preset in Compressor).
The boom mic will sound even better when it's just me in there and can be pointed right at me; in this case it was pointed between us which is not ideal but clearly does work. And actually for me only, it gets pointed about an inch to the left of my mouth when facing camera, so as I turn to the computer, it's an inch off right and balances out nicely.
Finally the compressor is only in line for the broadcast work. When I'm recording for future editing (like for my DxO or Panasonic videos), then a) I bypass the compressor as we want as clean a signal as possible for the audio engineer, and b) I will use the lapel mic as it's a cleaner signal with less background noise and therefore a better result when you can edit it later.
@PhotoJoseph
— Have you signed up for the mailing list?
on February 8, 2016 - 3:51am
Hi Joseph: do you know if this extended dynamic range video package is CC or subtitled?
Steve Hadeen
on February 8, 2016 - 5:58pm
That's a question for Sean… hey buddy, see above!
@PhotoJoseph
— Have you signed up for the mailing list?
on February 9, 2016 - 7:37pm
Hi Steve - Thanks for your question. Unfortunately these videos are not captioned.
on February 9, 2016 - 9:47pm
Sean,
I purchased your “Developing For Extended Dynamic Range” video series last year. How does this latest series differ?
Thanks.
Carl Brauer
on February 9, 2016 - 10:02pm
Hi Carl - The bundle includes the same Developing for Extended DR tutorials that you already have plus the Bracketing Exposed course by the Patels and six new exposure blending workflow tutorials I produced specifically for the bundle. People, such as yourself, who already own my Developing for Extended DR tutorials may not find enough value in the bundle to get it just for the additional content. Unfortunately, Visual Wilderness isn’t able to make just the additional content available by itself at this time.