Fixing Color Casts in Post with a Graduated Filter
The graduated filter
Have you ever used a graduated filter with your camera? It's a piece of glass that's tinted or shaded on one side and gradually fades to another tint or brightness on the other. For years, graduated neutral density filters were a staple for landscape and outdoor photographers. A classic way they are used is to darken bright skies to get a balanced exposure of a scene.
A graduated filter in post processing works the same way. However, with digital tools, we can do more than control brightness and tint. We can change white balance, color, contrast, sharpness — a whole host of characteristics. And we can do that all with a single digital filter. In this article, I'll show you two quick examples of using a graduated filter in post processing. I'll use Lightroom in this article, however the concepts I present are completely applicable to many other processing tools. Graduated filters are also in ON1 Photo RAW, Photoshop, Aurora HDR, Luminar and many other software packages.
Balance exposure
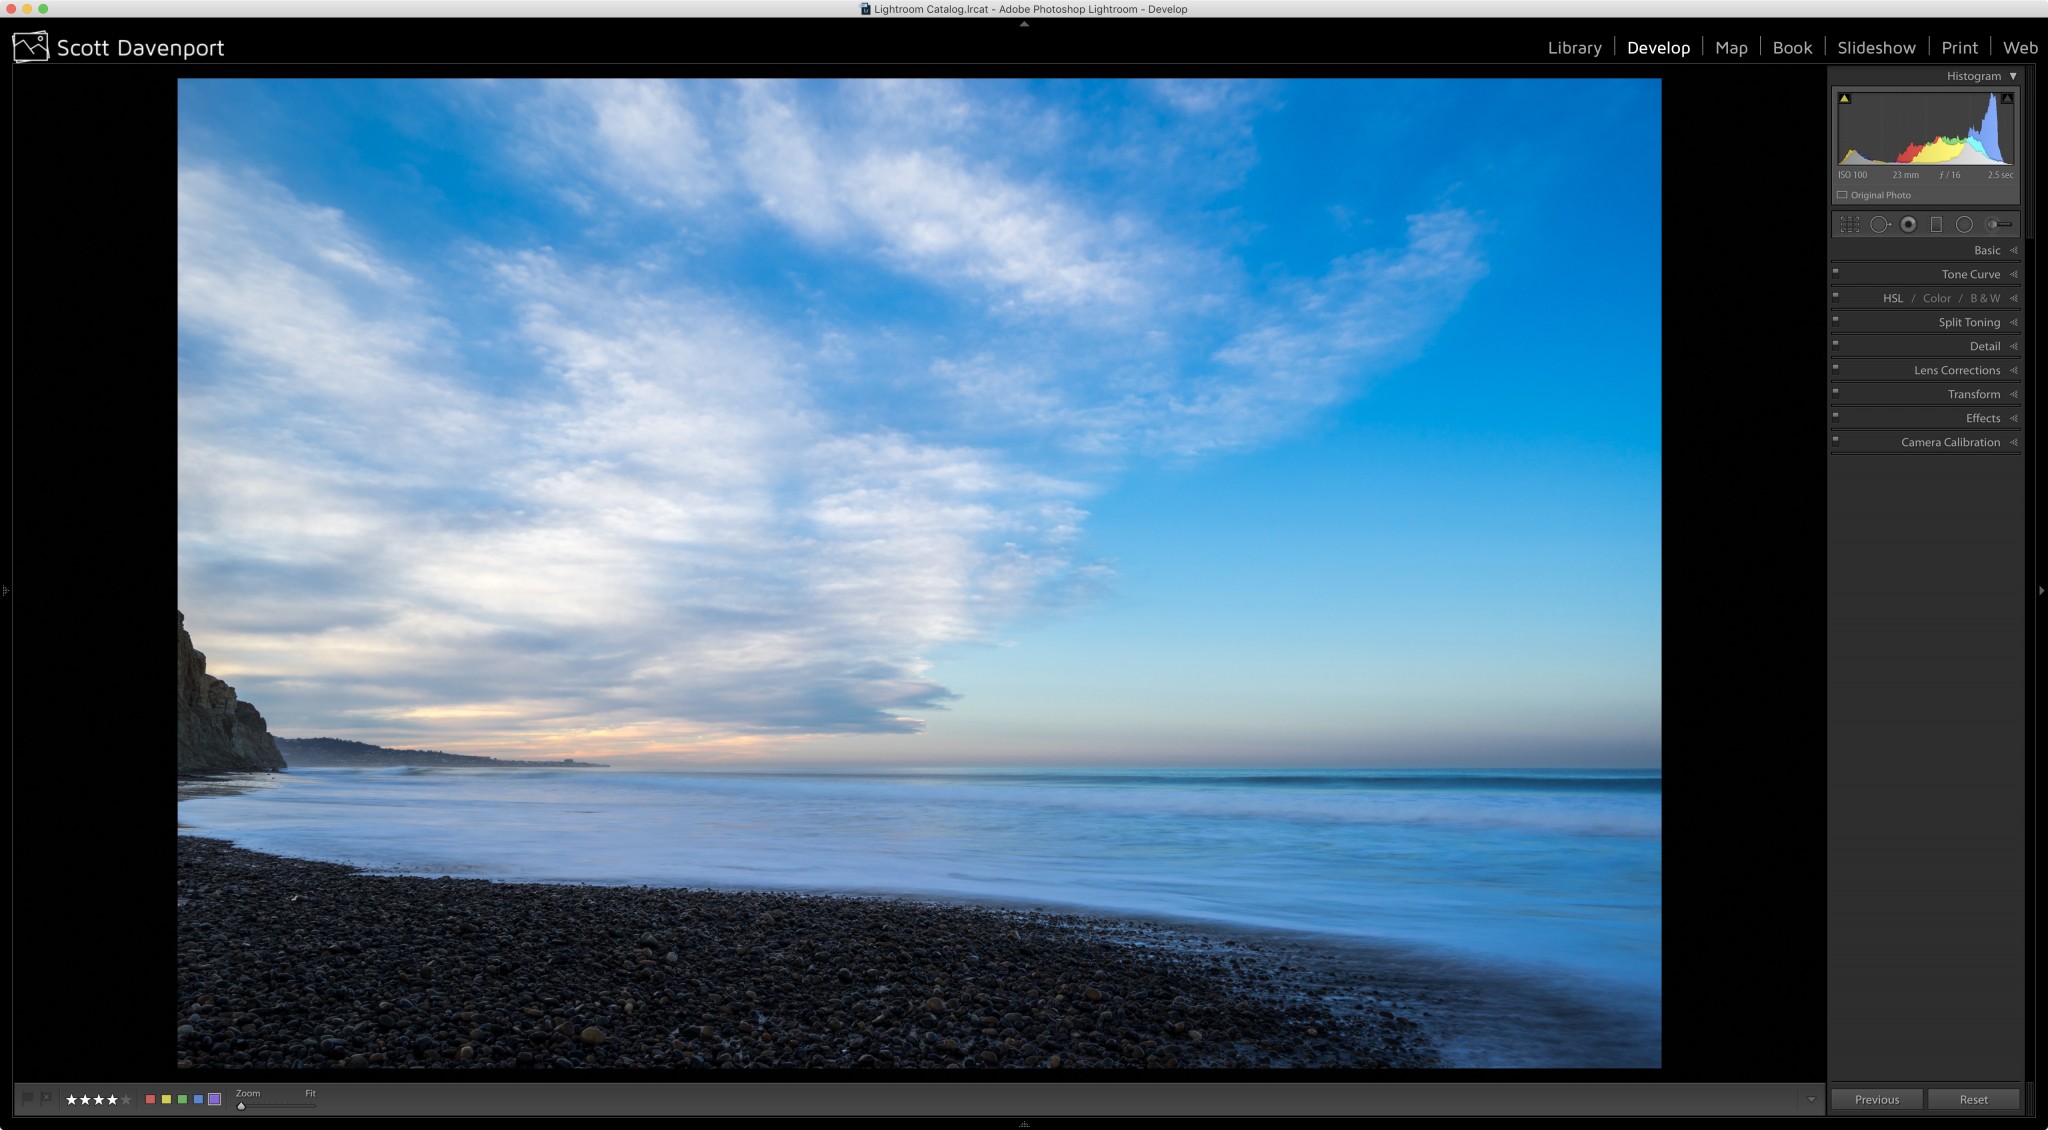
Let's have a look at the classic example of balancing exposure in a scene. Here, I have a photo of one of my favorite beaches in San Diego, the Torrey Pines State Beach.
Basic adjustments to exposure, highlights and shadows balanced the scene pretty well. I actually used a couple of graduated filters to further pull in the highlights of the sky and open the shadows on the pebbles in the foreground. Yet the foreground still feels too dark.
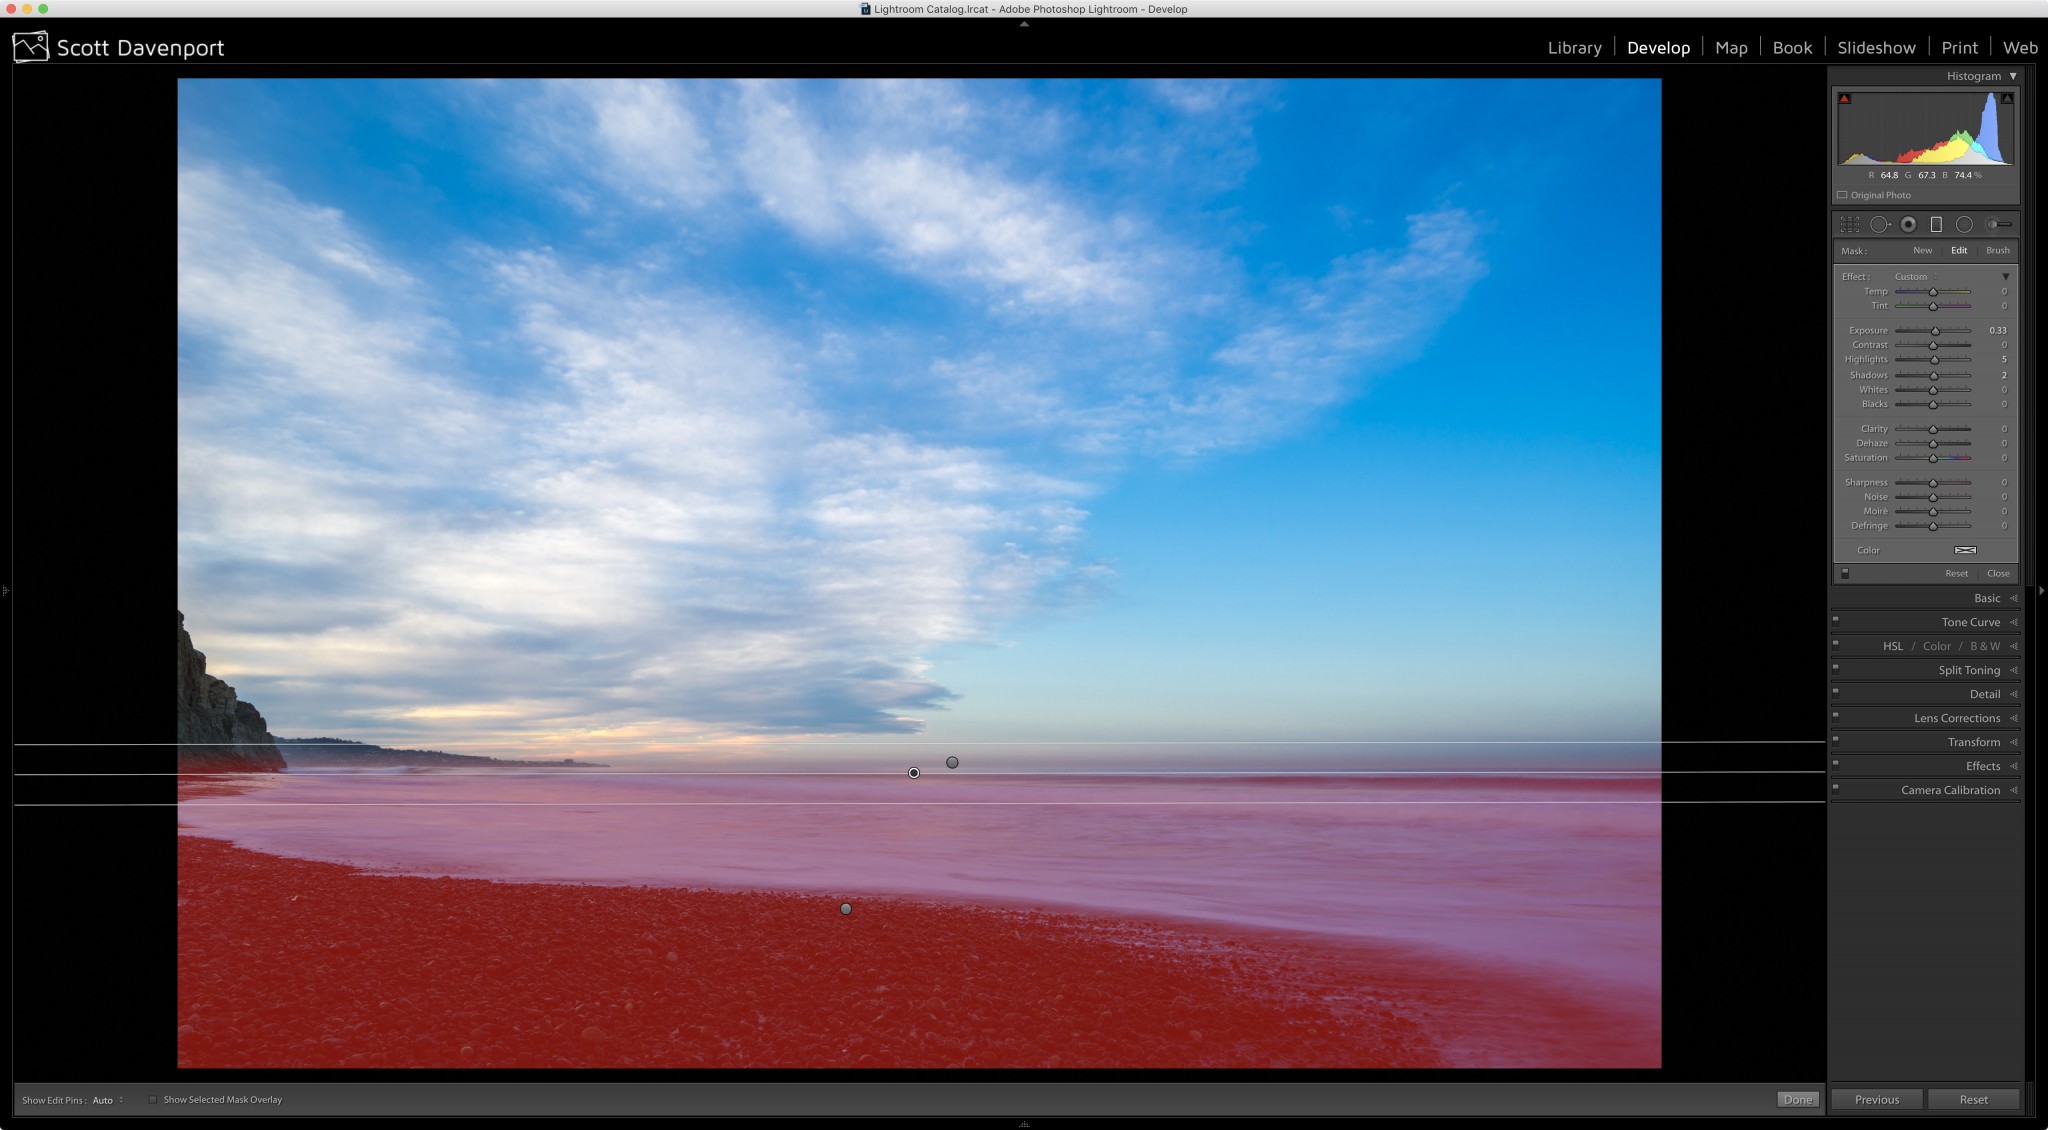
I'll add another one on the horizon line:
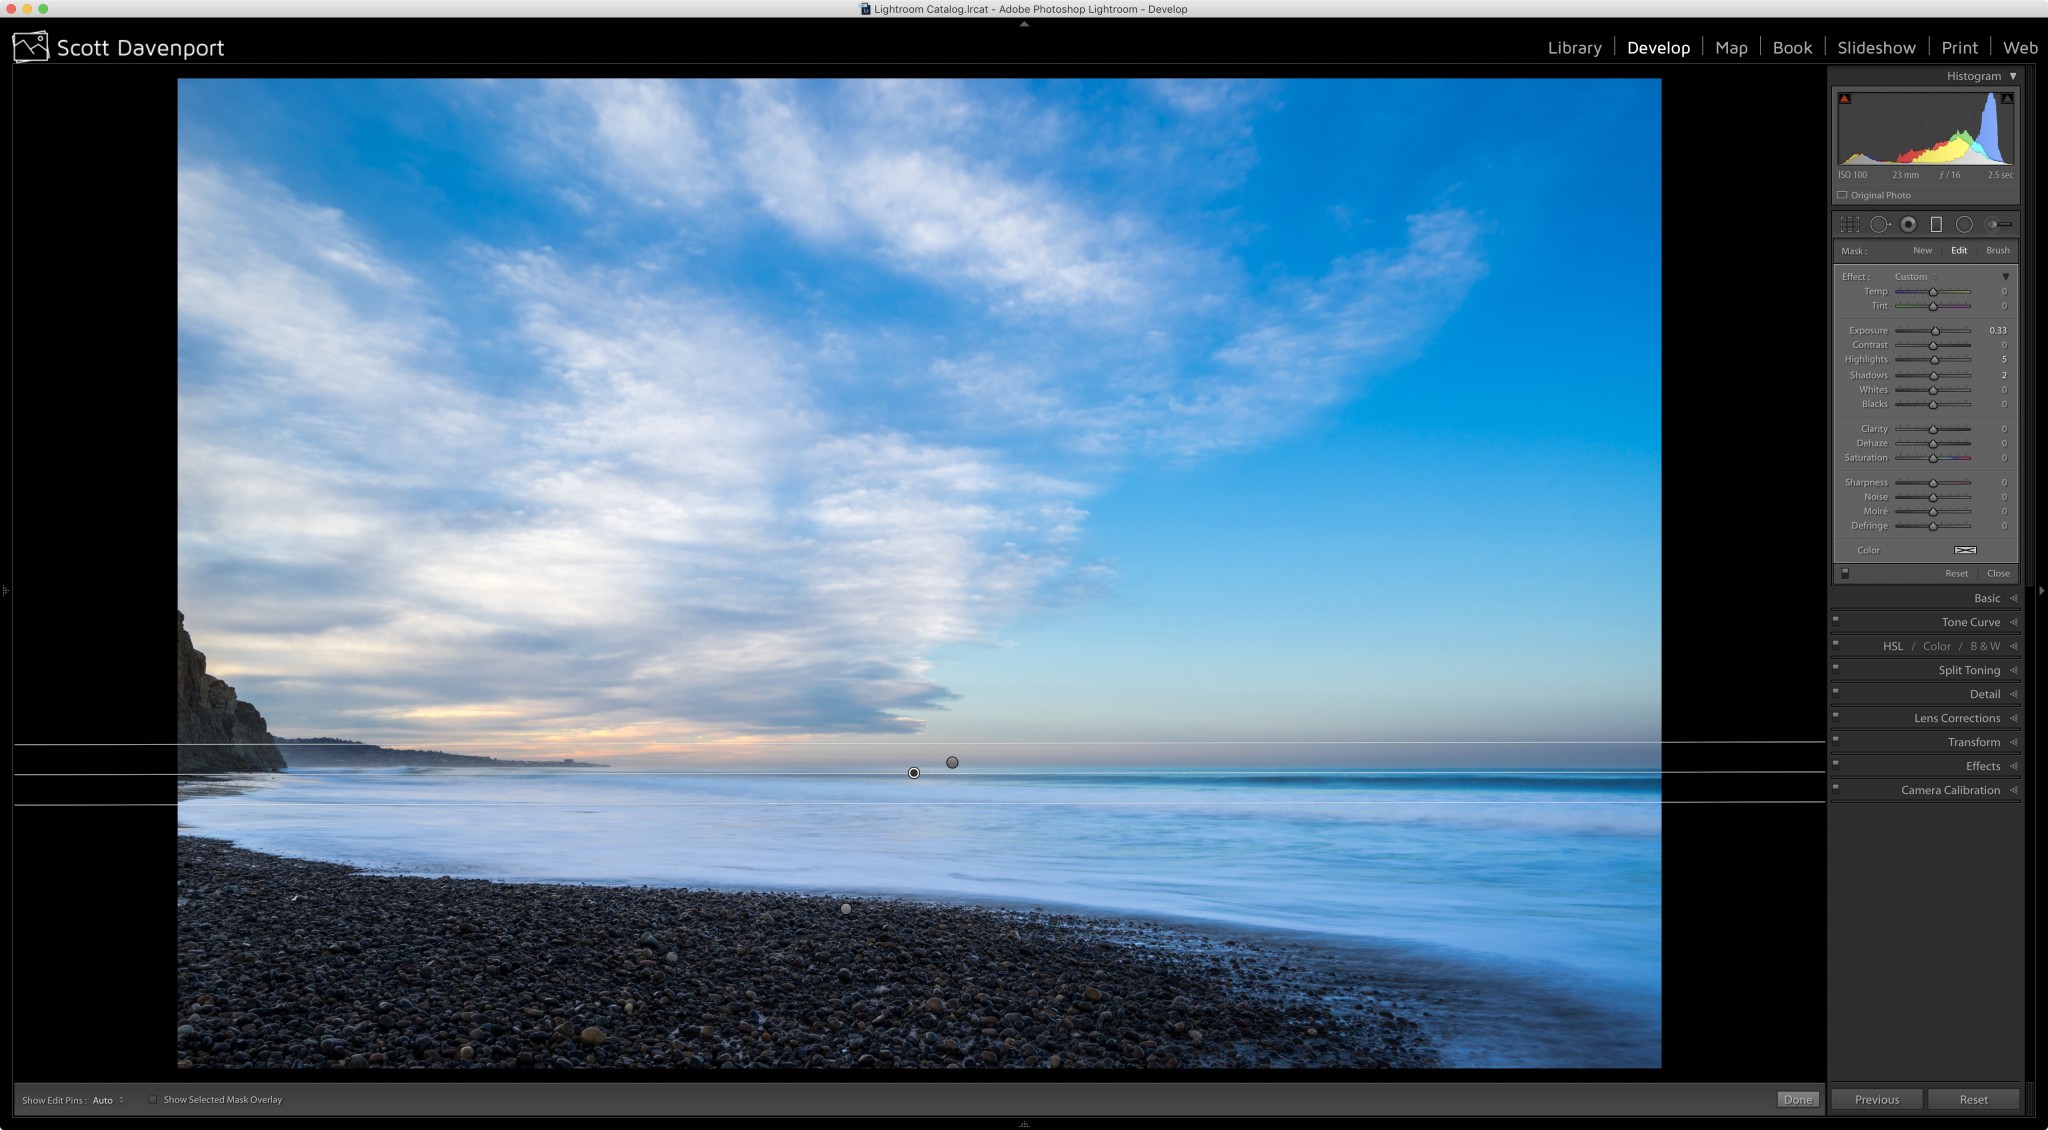
Notice in the control panel for the filter, the Exposure slider has been increased about 1/3 of a stop. Let's see how that adjustment improved the photo:
Fix A Color Cast
In the introduction, I said you can do a lot more than exposure with graduated filters. You can! Look at all of the controls Lightroom offers. There's even a color tint tucked away in the lower right corner of that control panel.
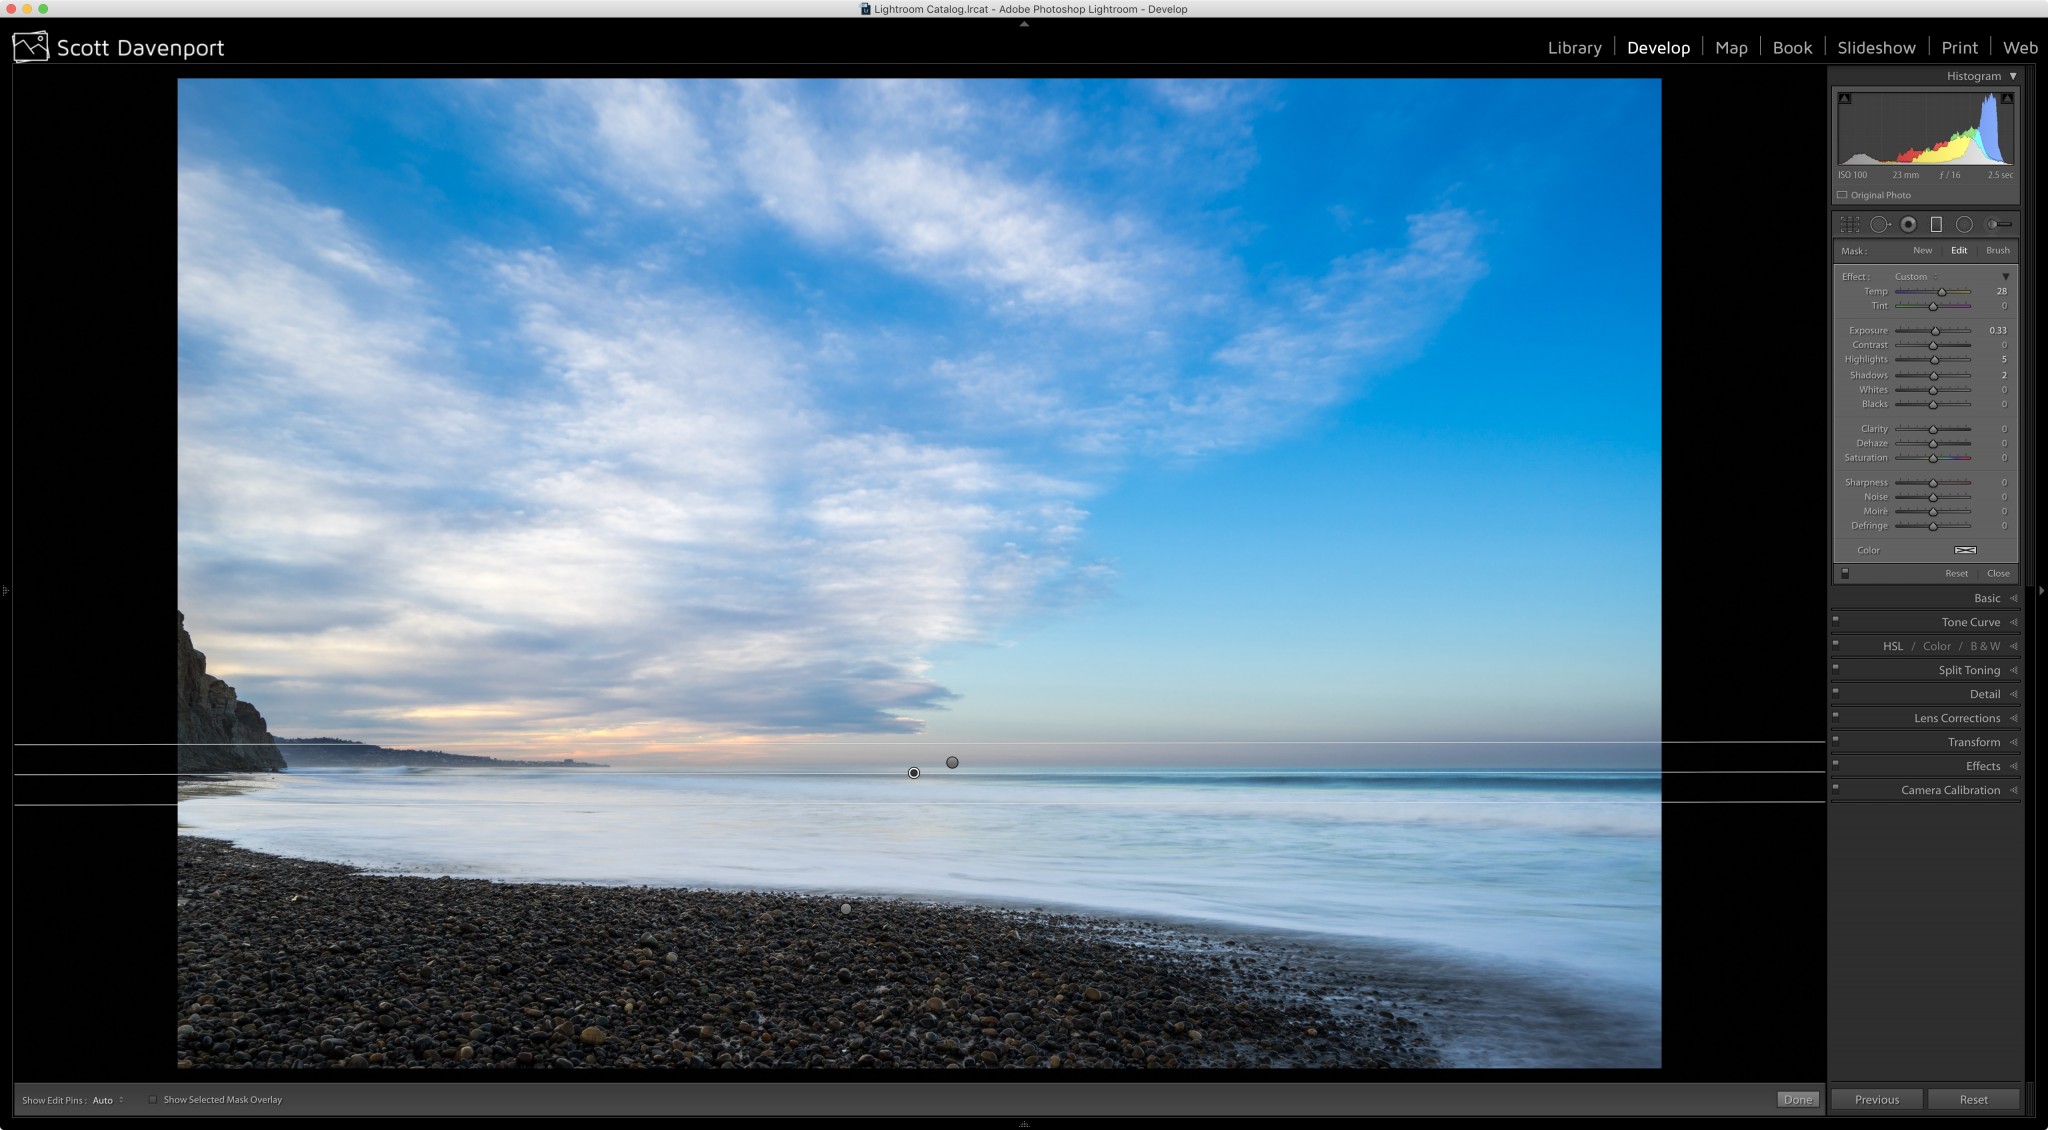
For this scene, the foreground is brighter now, however it is still very blue. The ocean was not that blue on this morning. The foam on the surf was actually white. Using the same filter, I will adjust the temperature to warm up the foreground and remove that blue color cast.
There! That is so much better and more true to the scene as I remember it.
Do More With Graduated Filters
The next time your photo calls for a selective adjustment over a large area, try out a graduated filter. They are very versatile and will help you shape and craft your final photo. There are radial filters, too, for circular and elliptical shapes.
Most processing packages also have a brush tool to erase graduated filter effects from areas you don't want to be changed, too. Your photo does not need a straight, flat horizon.
More like this
- Tip
- Tip
- Tip
- Tip
- Store


Comments
on January 26, 2017 - 4:48am
Very nice, Scott. You’re always a wealth of information and tips.
Florian
Florian Cortese
www.fotosbyflorian.com
on January 26, 2017 - 4:49am
And you are so kind to always comment, Florian. Happy shooting.
Scott
http://scottdavenportphoto.com/