A Faded Pastel Look in Lightroom

Overview
Matte looks for landscape photos have been popular for a while. I like to mix a matte, faded look with softer pastel tones and take a photo in a whole other direction. The technique is quite easy. In this article, I'll use Lightroom, however any processing tools that give you curves control and split toning will work, too.
Basic adjustments
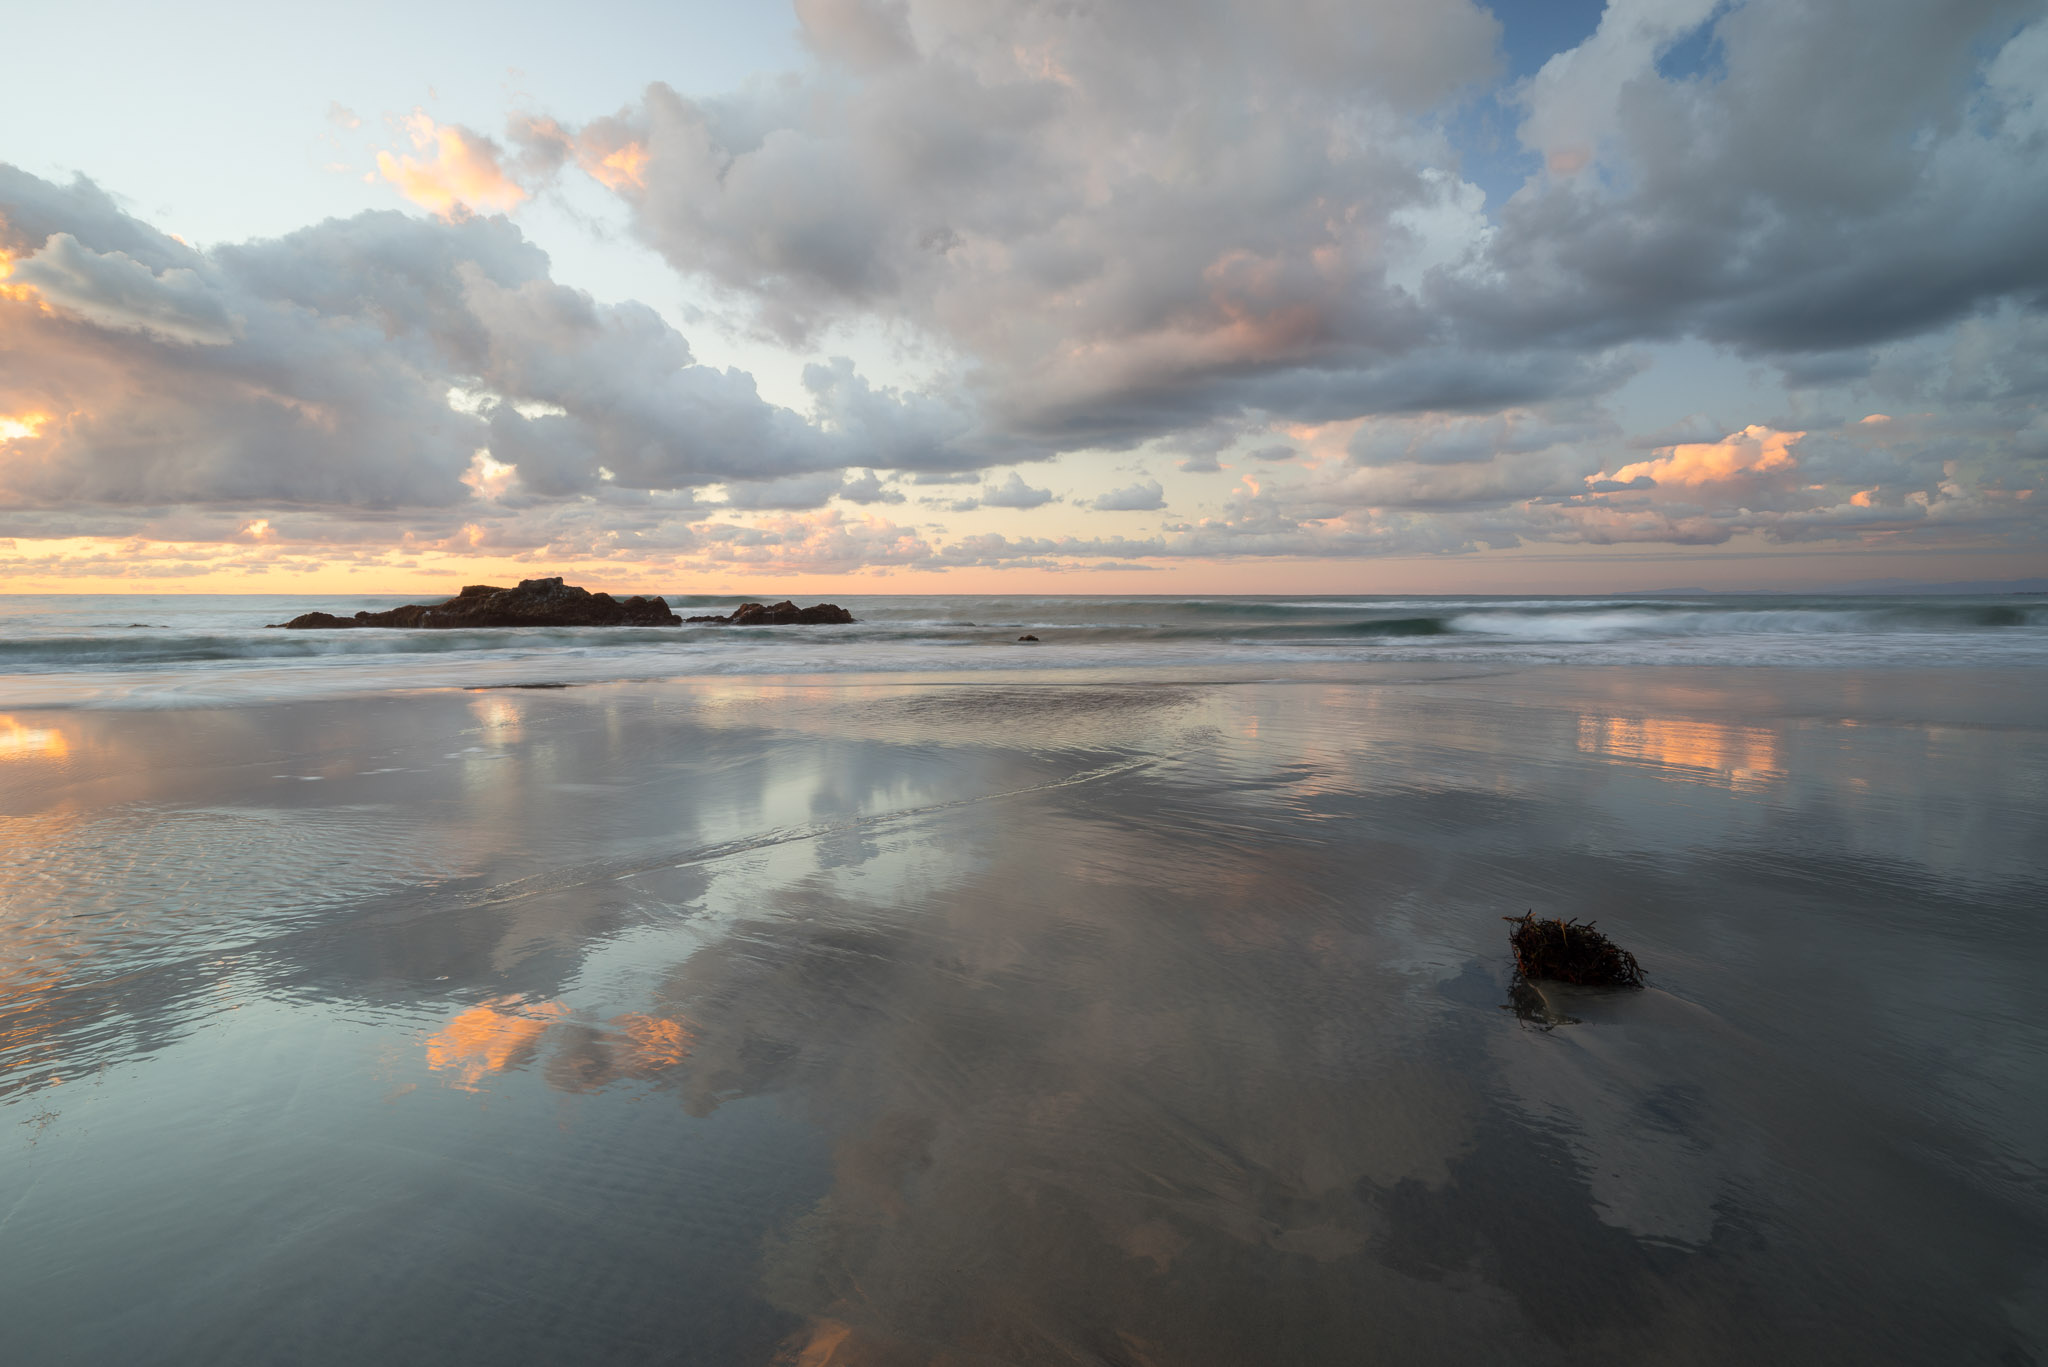
Before going for the matte look, first do your basic adjustments. These vary from photo to photo. For this image, I want the overall Exposure looking good, and I want to take the Highlights and Shadows right up against pure white and pure black, without actually clipping. I also reduced Clarity (local contrast) to maintain a soft, calm feel.
 Apply basic adjustments such as exposure, contrast and black & white points.
The faded look
A faded or matte look has less contrast. I like to apply this type of effect using the Tone Curve. I you've used a curves tool before, you are familiar with adding points to the curve and dragging them up or down to increase or decrease the relative brightness in certain tones in your photo. You can also change the end points on the curve, redefining what is considered pure black and pure white. This is perfect for faded, matte looks.
For this photo, I raised the far left edge of the curve. Notice that the dark shadowy areas in the rocks and the scruff of seaweed are brighter. The lower right quadrant of the image is brighter and faded, too. You can also lower the white point to fade the highlight areas, as well as add points to the curve.
 Use the Tone Curve to raise pure black and lower pure white.
Add the split tone
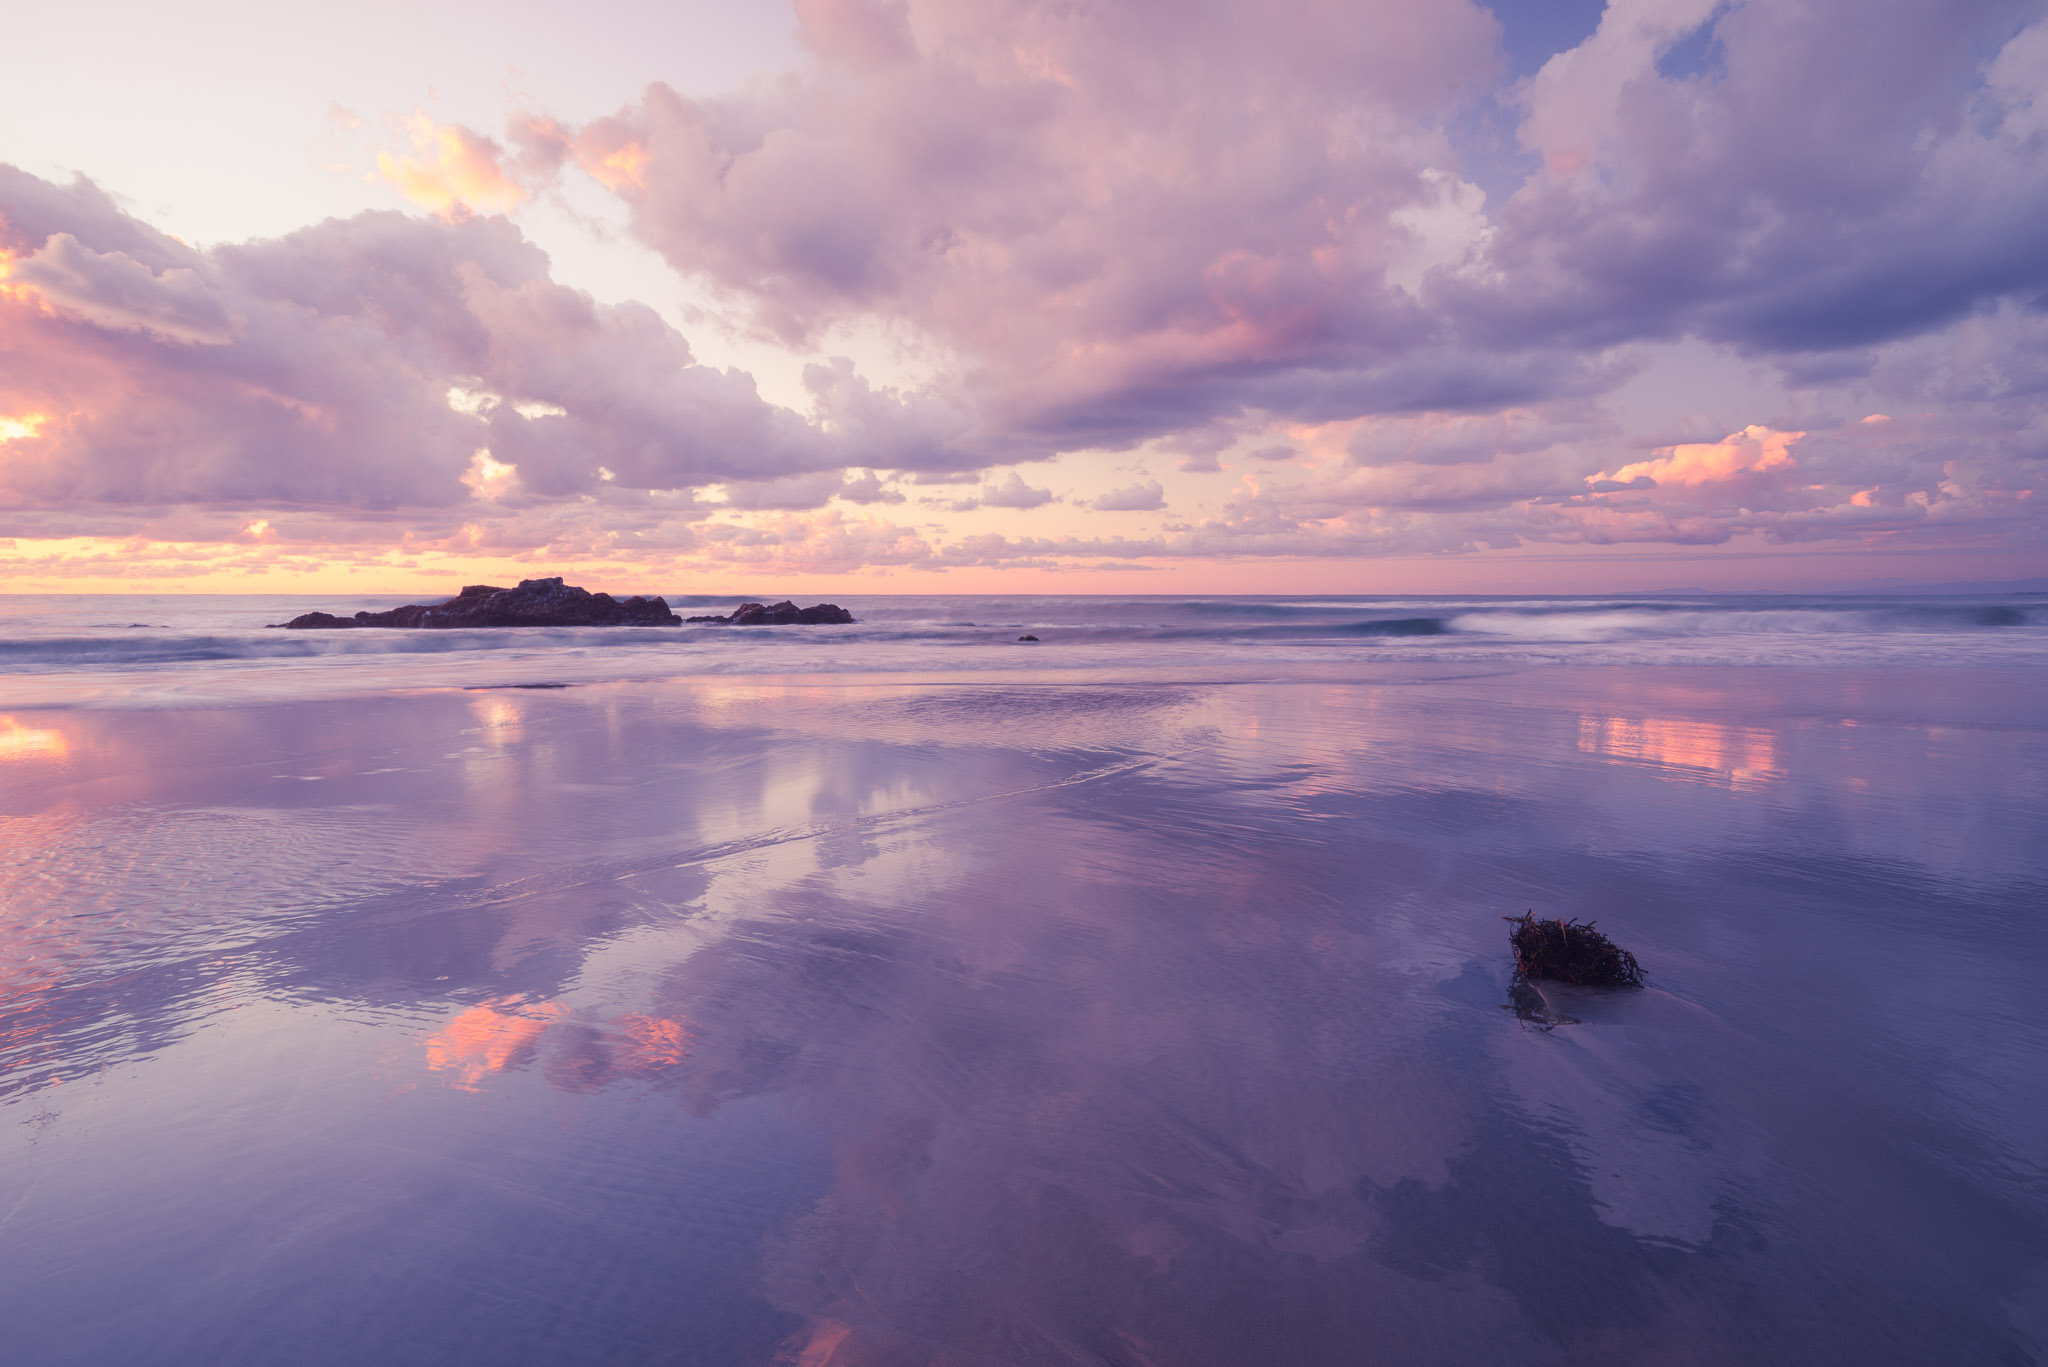
It's on to Splitsville! A Split Tone is a nice complement for a matte look, tinting the shadows and highlights with color. I took this photo in a pastel direction, choosing soft end-of-day colors. The highlights are tinted with a dull, earthy tone and the shadows in a more vibrant purple. If your editor doesn't have a dedicated Split Tone module like Lightroom does, then you can do this in curves as well. Check out this older tip to learn how to do it there (and you clearly don't have to go black and white first, as is done in the old tip, to play with split toning).
 Add a split tone to tint the highlights and shadows
Here's a before and after…
That's It!
Three easy steps. Well, two maybe. You were probably going to do basic adjustments on your photo anyway, right?
Comments
on February 19, 2016 - 1:46am
Scott, Thanks for the tip. Always educational! Will have to give this one a try.
Florian Cortese
www.fotosbyflorian.com
on February 19, 2016 - 4:31am
Sure thing, Florian. Do experiment with the color choices when split toning. It may take a little tinkering to get a nice color balance across the highlights and shadows.
Scott
http://scottdavenportphoto.com/